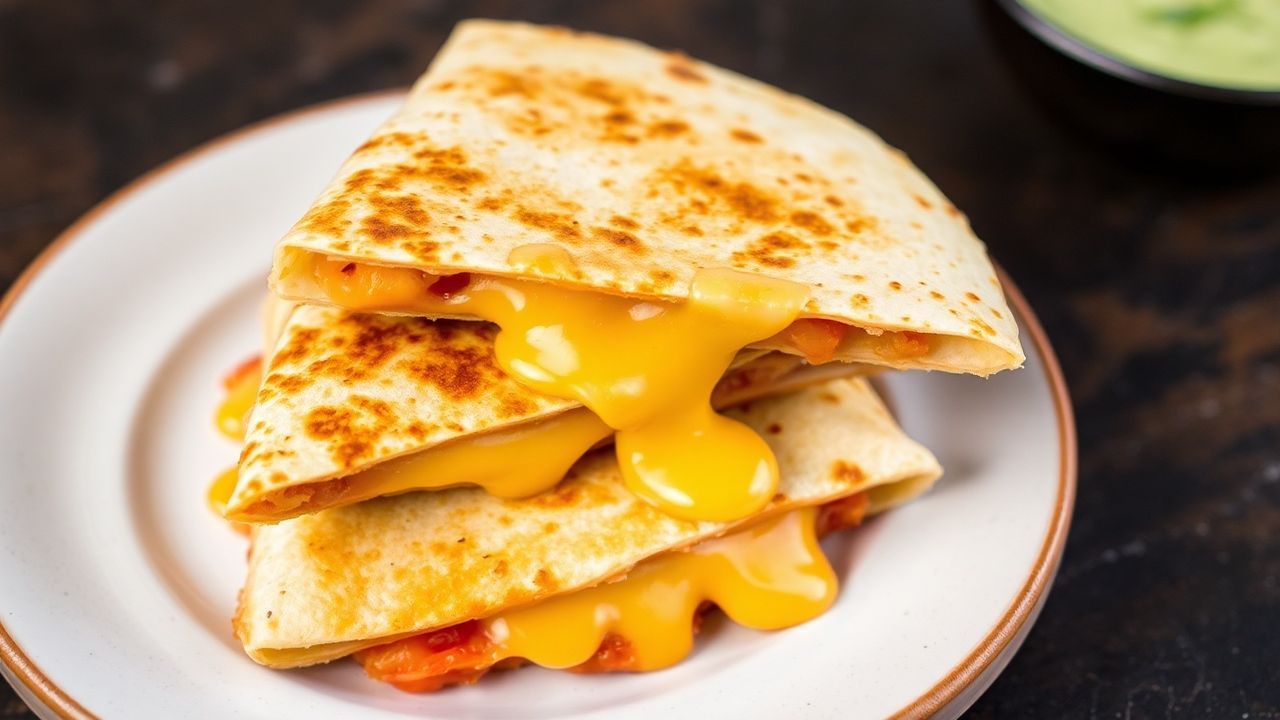
There’s real comfort in a quesadilla where melty cheese stretches in warm, golden strands. When you get the texture right, the tortilla stays crisp while the interior turns silky and savory.
- What Makes a Quesadilla Truly Melty?
- Prep Setup: Timing, Tools, and Portioning
- Ingredients for the Best Melty Cheese Quesadillas
- Step-by-Step: How to Cook Crispy, Gooey Quesadillas
- Step 1: Preheat for Even Heat
- Step 2: Mix Your Cheese Blend
- Step 3: Butter the Tortilla Surface
- Step 4: Build the Quesadilla
- Step 5: Top, Press, and Seal
- Step 6: Cook, Flip, and Finish
- Step 7: Rest for Better Slicing
- Step 8: Slice and Serve
- Chef’s Notes for Consistent Melt Every Time
- Cheese Blend Magic
- For Perfect Heat and Color
- Butter vs. Oil (Crisp Preference)
- Make Ahead and Storage
- Creative Fillings That Keep the Cheese Star
- Serving Suggestions and Pairings
- Nutrition Facts (Estimated)
- FAQ
- Use mixed cheeses for both melt and flavor.
- Control heat so the tortilla browns before the cheese dries out.
- Press lightly to bond layers without squeezing out all the fat.
- Rest briefly so molten cheese sets into clean slices.
Many home cooks miss one step and end up with a tortilla that’s tough or cheese that won’t flow. Mastering melty cheese quesadillas comes down to a simple system: pick the right cheeses, use proper heat transfer, and give the finished quesadilla a short rest.
What Makes a Quesadilla Truly Melty?
Melting happens when fat and proteins soften and the cheese network breaks into a smooth, pourable layer. That process depends on cheese moisture, fat content, and how finely you shred the cheese.
For reliable results, choose cheeses known for good melt behavior. Oaxaca-style cheese and mozzarella provide stretchy melt, while cheddar adds sharper flavor. A mix usually beats a single-cheese approach because each cheese brings a different melt curve.
Cheese Blend Basics (No Guesswork)
Start with a base cheese that melts smoothly, then add a sharper cheese for depth. Oaxaca and mozzarella tend to stretch, while cheddar adds bite and browning.
If you want extra tang, consider a small amount of crumbly cheese like queso fresco. Avoid going heavy on very wet or very lean cheeses, since they can separate and turn grainy.
Heat Transfer: Why Your Skillet Matters
Quesadillas need steady, even heat across the whole tortilla. A heavy pan holds temperature better, so the tortilla browns evenly and the cheese melts at the same pace.
Use a skillet that heats consistently, and keep the flame at medium. For background on cooking fats and heat behavior, see Maillard reaction to understand why browning turns magical when moisture drops.
Prep Setup: Timing, Tools, and Portioning
Good melty cheese quesadillas start before the pan gets hot. Set up your work area so you build quickly, press gently, and flip without breaking the tortilla.
Plan for a short cooking window because you want browning and melt at the same time. If you cook too long, the tortilla dries out and the cheese can lose its smooth texture.
Prep and Cook Time
- Preparation Time: 10 minutes
- Cook Time: 8 minutes
- Total Time: 18 minutes
Yield and Difficulty
- Serves 4 (makes 4 quesadillas)
- Difficulty: Easy
Ingredients for the Best Melty Cheese Quesadillas
Build flavor with a balanced cheese blend and keep the tortilla lightly coated for crisp edges. You don’t need a long list—quality cheese and correct heat do the heavy lifting.
Choose fresh tortillas if possible, since dry tortillas crack during folding and can ruin the texture.
Core Ingredients
- 4 large flour tortillas (10-inch diameter)
- 1 cup shredded Oaxaca cheese (or mozzarella as a substitute)
- 1 cup sharp cheddar cheese, shredded
- ¼ cup Monterey Jack cheese, shredded
- 1 tablespoon unsalted butter
- 1 teaspoon olive oil
Optional Flavor Boosters
- Optional: ½ teaspoon smoked paprika or chili powder for warmth
- Fresh cilantro, chopped (for garnish)
- Sour cream and salsa (for serving)
Step-by-Step: How to Cook Crispy, Gooey Quesadillas
Follow these steps in order to get consistent melt and crisp edges. Move carefully on flipping so the tortilla stays intact and the cheese layer remains even.
Work at a calm pace and watch the color. When the surface turns golden, the interior usually reaches the melt stage.
Step 1: Preheat for Even Heat
Use a heavy-bottomed non-stick skillet or cast-iron skillet for steady heat. Warm the pan over medium heat for about 3 minutes before you add tortillas.
Preheating prevents uneven melting. If the pan is cold, the tortilla heats slowly and the cheese may dry or turn oily.
Step 2: Mix Your Cheese Blend
Combine shredded Oaxaca, sharp cheddar, and Monterey Jack in a bowl. Toss well so each bite gets both stretch and flavor.
When you want customization, add a small amount of queso fresco for tang or mozzarella for extra stretch. Keep any add-ins modest so the texture stays smooth.
Step 3: Butter the Tortilla Surface
Brush one side of each tortilla with melted butter. The butter helps browning and creates a crisp, tender bite.
Use olive oil sparingly in the pan or with the butter if you want a slightly lighter finish. Fats support crispness because they transfer heat and reduce sticking.
Step 4: Build the Quesadilla
Place one tortilla butter-side down in the skillet. Scatter about ½ cup of the cheese blend over the surface in an even layer.
If you use smoked paprika or chili powder, sprinkle it lightly over the cheese. Too much spice can burn and make the flavor taste harsh.
Step 5: Top, Press, and Seal
Place a second tortilla on top, butter-side up, or fold the single tortilla over the filling. Press gently with a spatula so the layers bond.
Light pressing improves contact, which improves melt. Avoid hard pressing, since it can squeeze out fat and create dry spots.
Step 6: Cook, Flip, and Finish
Cook for 3–4 minutes, until the bottom turns golden and crisp. Flip with a wide spatula, then cook another 3–4 minutes.
Adjust if your stove runs hot. Cheese should bubble and soften, while the tortilla stays crisp rather than leathery.
Step 7: Rest for Better Slicing
Transfer the quesadilla to a cutting board and rest it for 1–2 minutes. This short pause lets melted cheese set slightly so slices hold their shape.
Cheese can still feel molten right after cooking, but the structure improves during resting. If you cut instantly, the layers slide more easily.
Step 8: Slice and Serve
Slice into quarters with a sharp knife or pizza cutter. Clean cuts also help you manage cheese stretch without shredding the tortilla.
Serve with sour cream and salsa, plus fresh cilantro. A squeeze of lime brightens the blend and balances richness.
Chef’s Notes for Consistent Melt Every Time
Even experienced cooks vary results when they skip details like shred size and heat level. These notes help you stay consistent from batch to batch.
Use them as a checklist the next time you cook for family or guests.
Cheese Blend Magic
Avoid single-cheese versions when you want the classic stretch plus flavor. Mixing a stringy melt like Oaxaca with sharp cheddar and creamy Monterey Jack gives both gooey texture and balanced taste.
For more experimentation, try adding queso fresco for tang or mozzarella for extra stretch. Keep the added cheese in a small portion so you don’t dilute the melt structure.
For Perfect Heat and Color
Medium heat helps the tortilla crisp while the cheese melts fully. Too hot can scorch the surface, and the interior may remain underheated.
Cast iron and thick pans offer strong heat retention. That stability reduces hot spots and keeps melt timing consistent.
Butter vs. Oil (Crisp Preference)
Butter adds rich flavor and browning. It also helps create a thin, crisp layer on the tortilla exterior.
A small amount of olive oil can reduce sticking and improve crispness at the edges. Oil also spreads heat quickly across the surface.
Make Ahead and Storage
Cooked quesadillas hold up in the fridge up to 2 days in a covered container. Reheat them in a skillet over low heat so the tortilla re-crisps.
Toaster oven reheating often works well too. Avoid microwaving for best texture since it steams the tortilla.
Creative Fillings That Keep the Cheese Star
For extra depth, add cooked fillings that are not watery. Sauté mushrooms, caramelized onions, or roasted peppers add flavor without ruining melt.
Keep fresh spinach dry by squeezing excess moisture before adding. Moisture competes with melting and can make the quesadilla soggy.
Serving Suggestions and Pairings
Serve melty cheese quesadillas hot so the cheese stretches when you bite in. Pair them with bright sides to cut through richness.
Simple garnishes boost both taste and visual appeal.
Fresh, Bright Toppings
- Serve wedges with pico de gallo or guacamole for freshness.
- Top with chopped cilantro and a squeeze of fresh lime.
- For smoky heat, drizzle chipotle crema or add a few drops of hot sauce.
Drinks and Texture Balance
A cool drink works well with warm, cheesy food. Try agua fresca or a citrus-forward beverage to refresh your palate.
If you want a scientific lens on why acidity tastes good with fat, read about acidity and its role in flavor perception.
Nutrition Facts (Estimated)
Nutrition varies based on tortilla brand and exact cheese amounts. The numbers below use typical values for flour tortillas and shredded cheese.
Use this as a general guide, not a strict medical measure.
| Nutrient | Per Serving (1 Quesadilla) |
|---|---|
| Calories | 350 kcal |
| Protein | 18 g |
| Carbohydrates | 30 g |
| Fat | 18 g |
Now you can cook melty cheese quesadillas with repeatable results. You’ll get crisp edges, a clean cheese melt, and slices that hold together.
FAQ
Use these quick answers to fix common problems and level up your next quesadilla batch.
Each response focuses on practical steps you can apply right away.
1) What cheese melts best for quesadillas?
Cheeses that melt smoothly—like Oaxaca or mozzarella—give you stretchy results. Add cheddar or Monterey Jack for flavor and a more complex melt.
2) Should I cook on medium or medium-low heat?
Medium heat usually works best for crisping and full melt. If your pan browns too fast, drop slightly and cook a minute longer.
3) Why does my quesadilla get soggy?
Too much filling moisture often causes sogginess. Drain watery ingredients and keep add-ins cooked and dry before assembling.
4) Can I make melty cheese quesadillas ahead?
Yes. Refrigerate up to 2 days, then reheat in a skillet or toaster oven. This method restores crispness better than microwaving.
5) How do I get clean slices without cheese leaking out?
Rest the quesadilla 1–2 minutes before cutting. Then slice with a sharp cutter while the interior sets slightly.
With the right cheese blend, steady heat, and a brief rest, your quesadillas deliver gooey, golden perfection every time.
See also: melty cheese