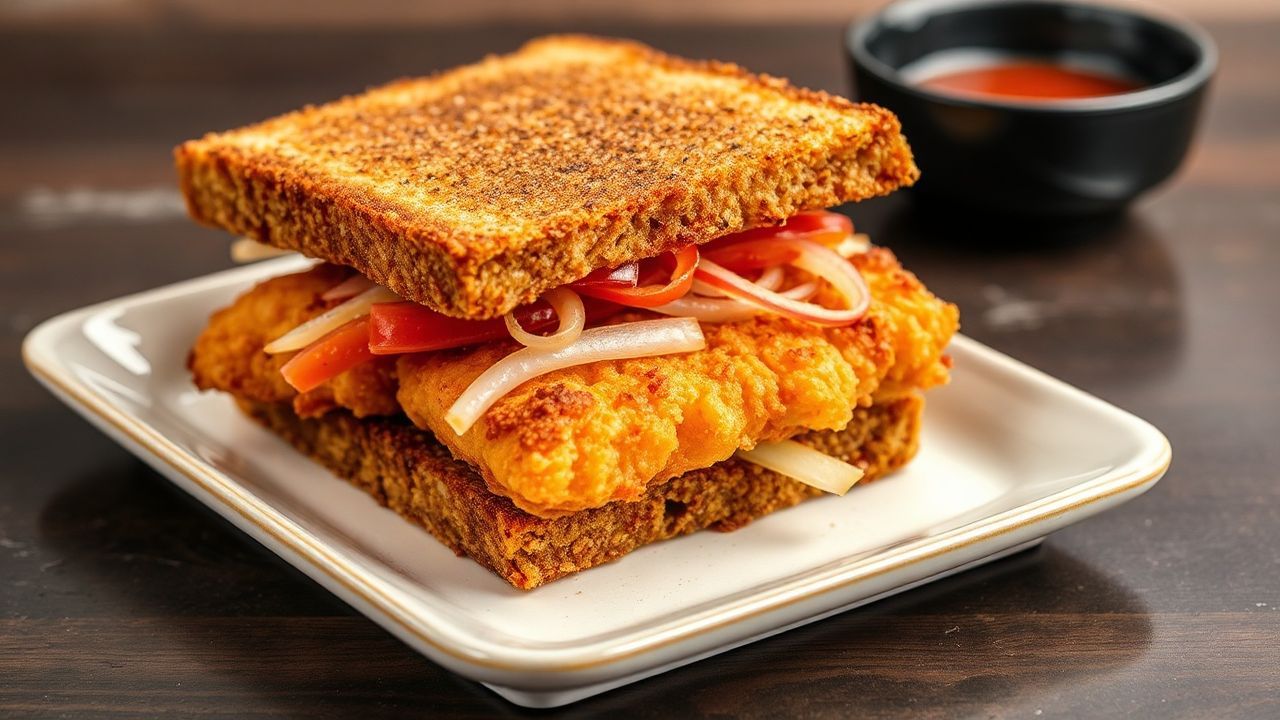
There’s something deeply satisfying about a sandwich that balances crisp texture with savory, tender chicken. The Japanese chicken katsu sandwich does that in a single, portable bite: panko-crusted cutlet, tangy sauce, and soft bread.
- Why the Japanese Chicken Katsu Sandwich Hits Different
- Prep and Cook Time
- Yield, Difficulty, and What to Expect
- Essential Ingredients for Authentic Japanese Flavor
- Mastering the Katsu Sauce Blend to Elevate Your Sandwich
- Instructions for a Crispy and Flavorful Result
- Chef’s Notes & Tips for Success
- Serving Suggestions and Pairings for a Complete Meal
- Nutrition Snapshot
- Q&A
- What makes the Japanese Chicken Katsu Sandwich special?
- Which chicken cut works best for katsu?
- Why does panko stay crisp longer than regular breadcrumbs?
- How do I prevent the sandwich from getting soggy?
- Can I make this ahead for meal prep?
- The Way Forward
- Crunch comes from panko and the right oil temperature.
- Katsu sauce adds sweet-tang umami that ties the sandwich together.
- Cabbage stays fresh when you slice it thin and assemble fast.
- Assemble right before serving to keep the bread crisp.
This sandwich traces its inspiration to Japanese breaded cutlets like tonkatsu, then adapts the concept into a handheld form. In Japan, breaded cutlet dishes commonly rely on flour, egg, and panko for a light, crisp crust.
In this guide, you’ll learn what makes the crunchy Japanese chicken katsu sandwich special, how to cook the cutlet so it stays crisp, and how to build a clean, balanced sandwich at home. You’ll also get practical timing and texture tips so the result feels like a counter-service favorite, not a soggy remix.
Why the Japanese Chicken Katsu Sandwich Hits Different
The key difference versus a basic chicken sandwich sits in the coating system. Panko breadcrumbs form an airy crust that stays crisp longer than finer breadcrumbs, especially when fried at a controlled temperature.
Next comes the sauce balance. A classic katsu sauce profile blends sweetness, tang, and savory depth, which helps the fried chicken taste full without masking its flavor. Many versions lean on pantry staples, similar in spirit to the way Japanese condiments build layered taste.
Texture Map: Crunch, Juiciness, and Soft Bread
For a top-tier bite, aim for three textures in one row. The outside should crack gently, the chicken should stay juicy, and the bread should soften only after it meets sauce—briefly and evenly.
Slice and assemble with intention. Thin shredded cabbage adds a crisp, fresh counterpoint, and it keeps the sandwich from feeling heavy even though the cutlet is fried.
Prep and Cook Time
Readiness time: 20 minutes.
Cooking time: 15 minutes, depending on oil stability.
Total time: about 35 minutes.
Yield, Difficulty, and What to Expect
Yield: serves 4.
Difficulty level: medium. You can do this at home if you measure heat and coat with care.
You’ll get the best results when you treat frying as a controlled process. The crust sets fast, so you need consistent oil temperature, steady handling, and quick assembly.
Essential Ingredients for Authentic Japanese Flavor
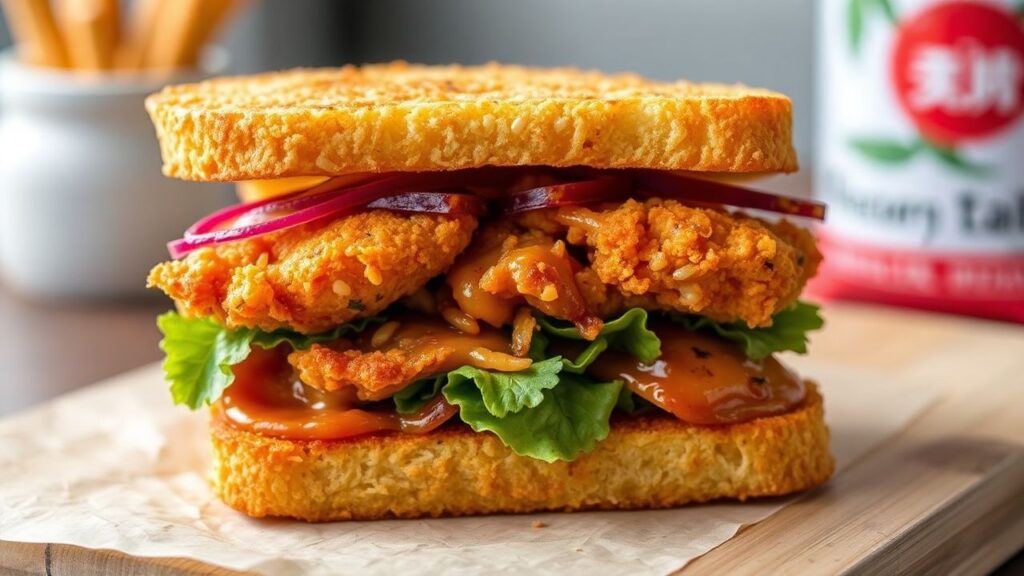
Use simple, dependable ingredients. The goal is a crisp coating, juicy chicken, soft bread, and a sauce that tastes sweet-tangy instead of one-note.
For authenticity, focus on panko-style crunch and Japanese condiments like Kewpie mayonnaise for creaminess, plus cabbage for freshness.
- 4 boneless, skinless chicken breasts, about 6 oz each, pounded to ½ inch thickness
- 1 cup all-purpose flour, sifted
- 2 large eggs, beaten
- 1 ½ cups panko breadcrumbs for distinctive airy crunch
- Vegetable oil for frying (about 2 cups)
- 4 soft sandwich rolls or shokupan (Japanese milk bread)
- 1 small head shredded green cabbage, rinsed and dried thoroughly
- Japanese mayonnaise (Kewpie recommended)
- Salt and pepper, to taste
Choose Bread That Handles Sauce
Soft rolls or shokupan work best because they absorb sauce without tearing. They also toast quickly, which adds structure under the hot cutlet.
If you skip toasting, the sandwich can feel flat. A quick toast creates a barrier so the bread stays tender, not drenched.
Mastering the Katsu Sauce Blend to Elevate Your Sandwich
The sauce is where flavor comes together. A classic katsu sauce taste leans sweet with a tangy finish, and it complements the savory fried coating instead of competing with it.
Many cooks treat katsu sauce like a tailored glaze. If you simmer it briefly, the flavors meld and the sauce turns glossy, which helps it cling to the chicken.
Sauce Mix (Make Once, Use Right Away)
- ¼ cup Worcestershire sauce (Japanese-style options if you have them)
- 2 tbsp ketchup
- 1 tbsp soy sauce
- 1 tbsp mirin (optional but helpful for mellow sweetness)
- 1 tsp sugar
Whisk until smooth, then simmer gently for 2–3 minutes. Stir often so sugar dissolves and the sauce thickens slightly.
For sauce accuracy, taste after simmering. You want a balanced sweet-tang profile with a savory back note, which is the signature feel of katsu condiments.
Instructions for a Crispy and Flavorful Result
Frying breaded chicken needs a clear sequence: season, dredge, coat, fry, then assemble fast. If you rush the coating step, the crust won’t bond and the sandwich won’t stay crisp.
Set up your dredging station before you start. Flour in one bowl, beaten egg in the next, and panko in the last bowl makes the process smoother and more consistent.
Step-by-Step Chicken Katsu Method
- Prepare the chicken: Pat chicken dry, then season with salt and pepper. Pound to even thickness so the cutlet fries uniformly.
- dredge method: Coat in flour, then dip in egg, then press firmly into panko. Press gently but thoroughly to help the crumbs adhere.
- Heat the oil: Heat vegetable oil to 350°F (175°C). Use a thermometer for stability, because temperature drift affects crispness.
- Fry the katsu: Fry 4 minutes per side, or until deep golden and cooked through. Avoid overcrowding so oil temperature stays steady.
- Drain and rest: Move cutlets to a wire rack to prevent steam from softening the crust. Rest briefly before assembly.
- Assemble the sandwich: Toast rolls or shokupan. Spread Japanese mayo on one side and katsu sauce on the other.
- Add cabbage: Place the cutlet inside, then mound shredded cabbage. This keeps texture fresh right up to the first bite.
- Finish and serve: Slice and serve immediately while the crust stays crisp.
Common Causes of Soggy Katsu
Soggy results usually come from one of three issues: oil too cool, coating not pressed firmly, or assembly delayed. Fix those, and crispness improves immediately.
Also dry the cabbage well. Wet cabbage adds moisture that can soften the bread sooner than you expect.
Chef’s Notes & Tips for Success
Small details make a noticeable difference in the final sandwich. You don’t need fancy equipment, but you do need consistent heat and clean handling.
Use the notes below as your checklist. If you follow them, you’ll get a crunch that stays audible, even after slicing.
- For ultra-crisp coating: Use fresh panko and press it firmly so it bonds to the egg.
- Oil temperature control: Keep the oil at 350°F (175°C). Thermometer use reduces guesswork.
- Make-ahead hint: Prepare the sauce up to a day ahead. Chill, then warm gently before assembling.
- Substitutions: For gluten-free, use a certified gluten-free flour and gluten-free panko.
- Leftover variations: Slice leftover cutlet and reheat in an oven or air fryer for best texture.
Why Panko Works (Beyond the Name)
Panko’s structure creates more air pockets. That structure supports faster crust setting and a lighter mouthfeel compared to many finer breadcrumbs.
If you want to understand the breadcrumb behavior, review the basics of breadcrumbs and how texture affects frying outcomes.
Serving Suggestions and Pairings for a Complete Meal
A crunchy Japanese chicken katsu sandwich tastes best with sides that cut richness. Choose fresh, acidic, or lightly pickled components to balance the fried coating.
Cabbage works inside the sandwich, but you can also add a simple side salad. Add rice vinegar and a pinch of salt for quick brightness.
Side Ideas That Match the Flavor Profile
Try a cucumber and daikon salad dressed with rice vinegar. Add sesame seeds for aroma, and keep the cuts thin for crunch.
For warmth, serve miso soup as a gentle counterpart. Miso brings savory depth and helps round out the meal without overpowering the sandwich.
For a classic flavor pairing, consider pickles like tsukemono. Their tang works well with katsu sauce’s sweet-tang balance.
Drink Pairings
For drinks, choose something cold and clean. Mugicha (barley tea) is popular because it feels refreshing and non-sweet.
Yuzu-forward drinks also pair well. Yuzu’s bright citrus note lifts fried flavors and keeps each bite tasting new.
Nutrition Snapshot
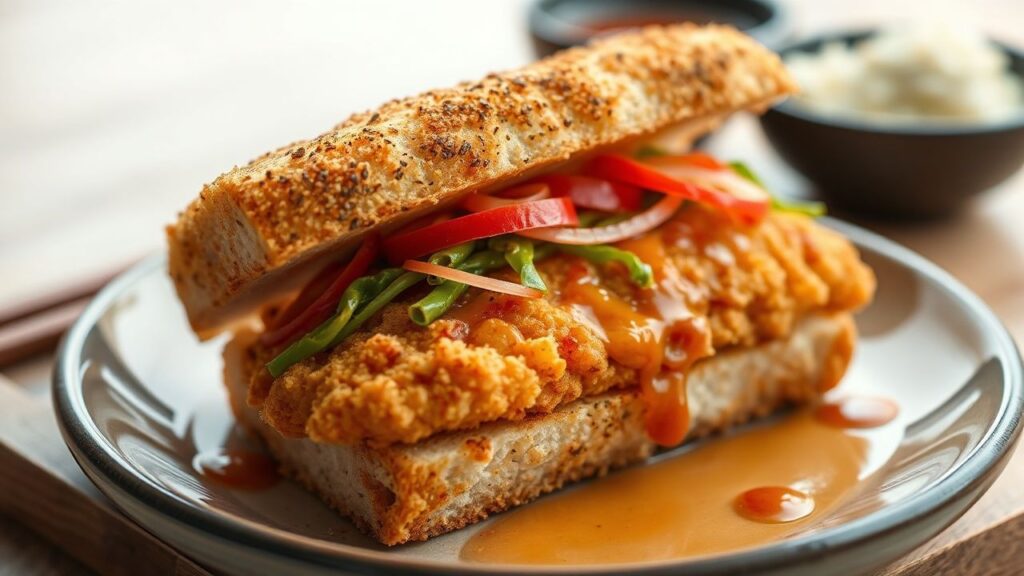
Calories and macros vary by portion size, oil absorption, and the amount of mayo or sauce. Use this table as a practical estimate for planning.
If you reduce oil absorption by draining on a wire rack and assembling quickly, the final feel can stay rich without needing more sauce.
| Nutrient | Per Serving |
|---|---|
| Calories | 520 kcal |
| Protein | 38 g |
| Carbohydrates | 45 g |
| Fat | 18 g |
Q&A
What makes the Japanese Chicken Katsu Sandwich special?
The panko crust creates a light, crisp shell around juicy chicken. Katsu sauce adds a sweet-tang umami profile that makes each bite feel balanced.
Which chicken cut works best for katsu?
Boneless breasts work well when you pound them to even thickness. Thighs also work and can add extra juiciness, but the key is uniform thickness for even frying.
Why does panko stay crisp longer than regular breadcrumbs?
Panko has a coarser, airier crumb structure. Those air pockets help form a crunchier crust that absorbs less oil and softens more slowly.
How do I prevent the sandwich from getting soggy?
Drain on a wire rack after frying, and assemble right before serving. Toast the bread lightly and dry the cabbage well to reduce extra moisture.
Can I make this ahead for meal prep?
Yes, but keep components separate. Store fried cutlets and sauce separately, then reheat the cutlet for crispness and assemble fresh.
The Way Forward
Once you master the coating and oil temperature, the crunchy Japanese chicken katsu sandwich becomes easy to repeat. You’ll notice how the crust crackles, how the chicken stays tender, and how the cabbage adds a clean crunch.
Use the steps, timing, and tips in this guide to build a sandwich that tastes restaurant-made. Then tweak toppings and sauce thickness to match your palate, while keeping the structure that makes katsu so satisfying.
For extra context on the Japanese breaded-cutlet tradition, explore Japanese cuisine and tarte-style sauce concepts that explain why layered condiments matter.
See also: Japanese chicken katsu