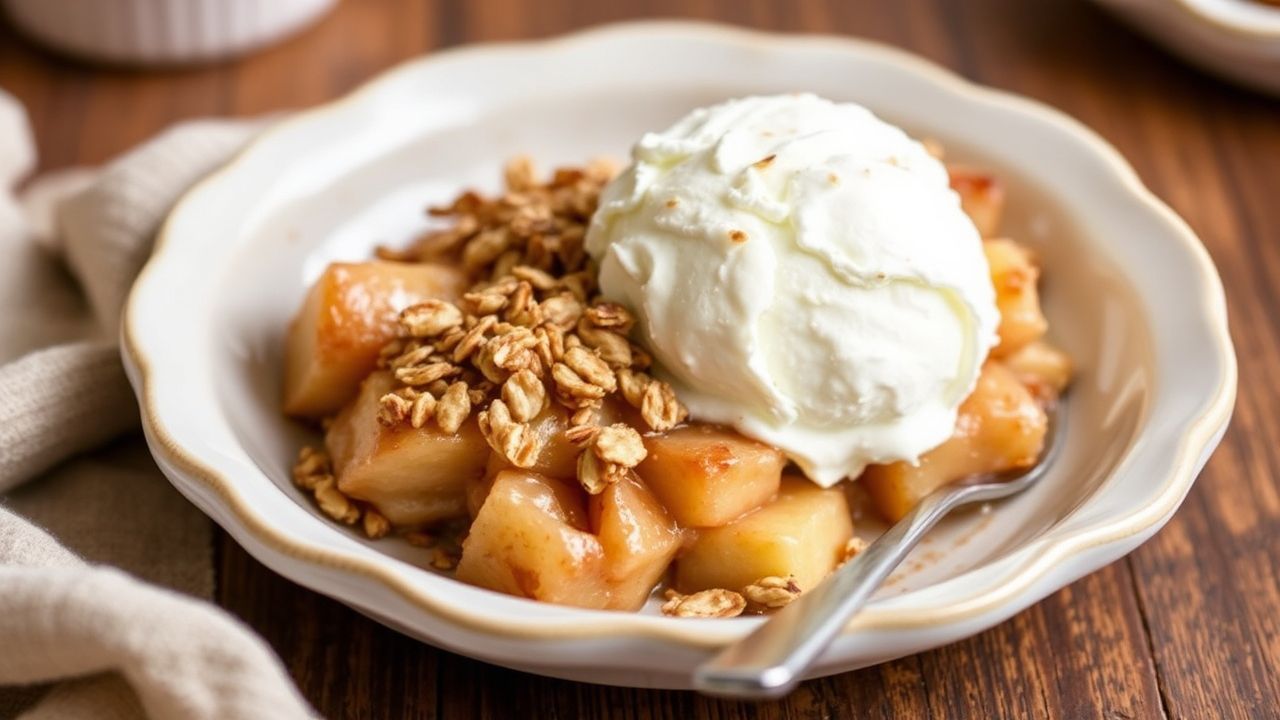
The Best Apple Crisp Recipe with an irresistible oat topping delivers the kind of comfort you can smell from the kitchen. Juicy apples bake until tender, while a golden oat layer turns crisp at the edges and stays buttery in the center. The result feels homey, yet it tastes bakery-level.
At a Glance
- Oat topping stays crisp when you use cold butter and bake uncovered.
- Apple choice matters: use apples that hold shape, then balance tart and sweet.
- Proper thickness of the oat layer helps you get a true “crisp shell.”
- Rest time sets the filling so it doesn’t run.
This crisp works year-round because it uses simple pantry ingredients and flexible fruit. You can keep it classic with cinnamon and nutmeg, or you can add toasted nuts for crunch. Either way, you get a reliable dessert with a texture contrast every spoonful.
To nail the Best Apple Crisp Recipe, you need two things: a well-spiced apple filling and a topping that bakes into crumbs. Below, you’ll find a tested method, timing guidance, and fixes for the most common problems like soggy topping or runny filling.
Best Apple Crisp Recipe with Irresistible Oat Topping
Apple crisp balances warm fruit and toasted crumbs. Apples release moisture while they bake, and the oat mixture absorbs some of that liquid as it turns golden. For crisp texture, the topping must start cold and bake long enough to dry out and toast.
Traditionally, oat crisps rely on rolled oats plus butter and brown sugar. That combination creates both caramel flavor and crunch. If you want a background on the fruit you’re using, you can explore how apple varieties differ on Apple.
Prep and Cook Time
Plan ahead so the butter stays cold for the topping. If your kitchen runs warm, chill your mixing bowl for 5 minutes before you start.
- Planning: 20 minutes
- Cooking: 45 minutes
- Total Time: about 1 hour 5 minutes
Yield and Difficulty
This recipe makes enough for 8 generous servings. It suits family dinners, potlucks, and meal-prep nights because leftovers reheat well.
You’ll find it easy to medium. Most of the work is assembly, and the hands-on time stays short. Once it’s in the oven, you can focus on timing and avoiding over-browning.
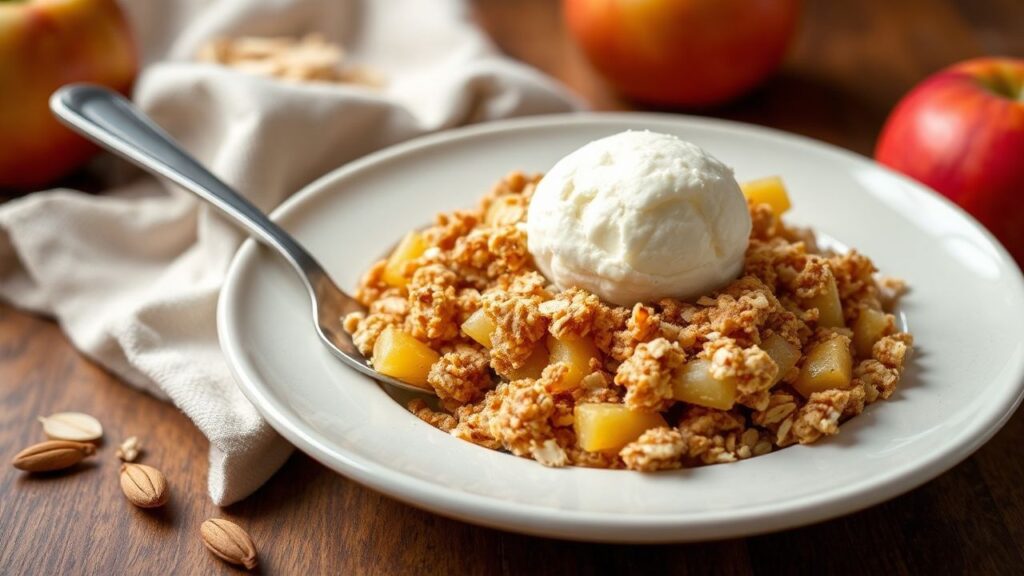
Difficulty Level
Easy to Medium—approachable for home bakers while still rewarding if you care about texture. The key steps are mixing the filling evenly and cutting butter into the oat crumbs.
If you’ve baked fruit desserts before, you already understand the basics. If you’re new, the tips below will keep you on track and prevent the most common topping issues.
Ingredients
Use the quantities below for a 9×13 inch baking dish. Weighing ingredients helps consistency, but measuring cups also work when you level the flour and sugar.
For more on oats and their common baking role, see oat and how they behave when heated. Oats bake into a toasted, slightly chewy crumb layer.
For the Apple Filling
- 6 cups apples (about 6 medium), peeled, cored, and sliced
- 1/2 cup granulated sugar
- 1/4 cup light brown sugar, packed
- 1 tbsp fresh lemon juice
- 1 tsp ground cinnamon
- 1/4 tsp ground nutmeg
- 2 tbsp all-purpose flour
- 1 tsp pure vanilla extract
For the Oat Topping
- 1 cup old-fashioned rolled oats
- 1/2 cup all-purpose flour, sifted
- 1/3 cup light brown sugar, packed
- 3/4 tsp ground cinnamon
- 1/4 tsp fine sea salt
- 7 tbsp unsalted butter, cold and cut into small cubes
Instructions
Follow these steps in order. When you keep the topping cold and bake until truly golden, you get the crisp shell that makes this dessert stand out.
If you’re curious about why spices taste richer when heated, you can review cinnamon and how flavor compounds develop with warm baking.
- Preheat the oven: Set to 350°F (175°C). Grease a 9×13 inch baking dish with a little butter for easy serving.
- Make the apple filling: In a large bowl, toss sliced apples with lemon juice. Sprinkle in flour, sugars, cinnamon, nutmeg, and vanilla. Stir gently until every slice looks evenly coated.
- Transfer to the dish: Spread the apples out in an even layer so they bake consistently.
- Build the oat topping: In a separate bowl, mix rolled oats, flour, brown sugar, cinnamon, and sea salt. Add cold butter and work it in with a pastry cutter or fingertips until the mixture resembles coarse crumbs with pea-sized pieces.
- Top the apples: Sprinkle the oat mixture evenly across the fruit, covering corners and edges.
- Bake uncovered: Bake 40–45 minutes until the topping turns golden and the filling bubbles at the edges.
- Cool briefly: Rest for 10 minutes. This short set period thickens the juices so servings hold together.
Chef’s Notes & Tips for Success
Small choices change texture a lot. Focus on apples that keep their structure and a topping that starts cold.
For a science-based look at why fruit softens with heat, you can refer to fruit and how cell structure changes during baking. Apples soften as pectin and starches break down.
Also, avoid over-stirring the filling. Gentle mixing prevents flour clumps while keeping fruit slices intact. If the apples are cut too thin, they break down faster and increase liquid in the dish.
For the best crunch, do not use melted butter. Butter must start firm so it creates pockets that bake into dry crumbs. When butter melts immediately, it can soak into the fruit layer and reduce crispness.
Want extra depth? Try toasting the oats for 3–5 minutes before mixing the topping. Keep the oven at 350°F; you only toast briefly so the oats don’t turn bitter.
If you add nuts, fold them into the crumb mixture and keep the butter amount the same. Too many add-ins can make the topping heavy and less crisp.
Choosing the Right Apples
Use tart-sweet apples that hold up under heat. Honeycrisp and Braeburn work well because they keep shape longer. Granny Smith adds bright flavor and helps prevent the filling from tasting flat.
Mixing one tart apple with a sweeter variety often gives the best balance. You also get a more layered taste when sweetness and acidity meet cinnamon.
Avoiding Soggy Topping
Soggy topping usually comes from excess liquid, warm butter, or under-baking. Start by slicing apples evenly. If one batch is thicker, it releases juice later and can flood areas.
Make sure your baking dish has enough surface area. A smaller dish can trap steam and delay crisping. Bake on the center rack for even airflow.
Serving Suggestions
Serve the Best Apple Crisp Recipe warm for the strongest contrast between soft apples and crisp crumbs. Spoon servings into bowls while the topping still crackles a bit at the edges.
Classic pairings work because they contrast temperature and texture. Vanilla ice cream melts over warm filling and adds creamy sweetness that rounds out cinnamon.
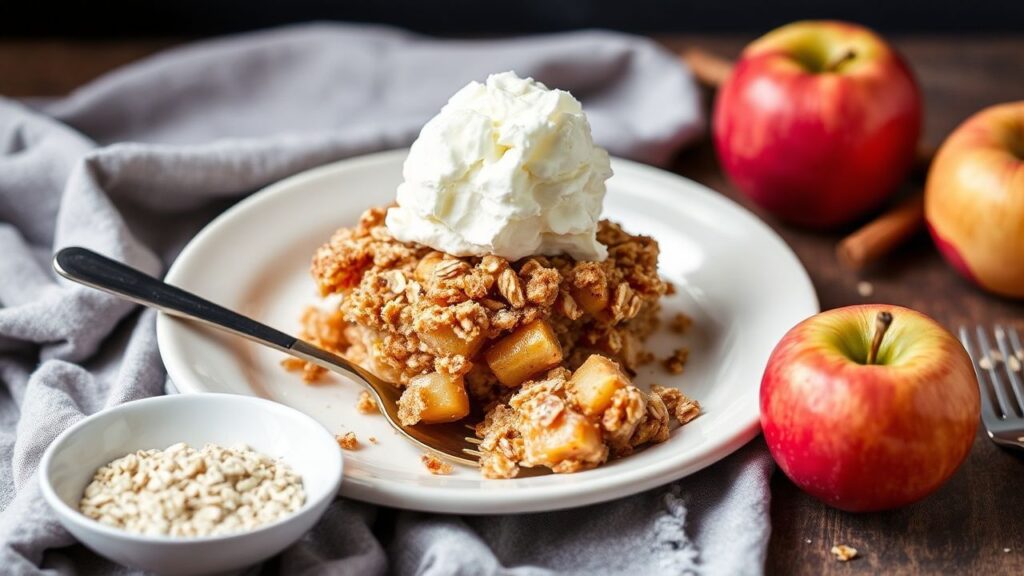
For a flavor upgrade, drizzle a small amount of maple syrup right before serving. Keep it light so the topping stays crisp. If you prefer tea time, pair with black tea or chai for spiced warmth.
If you enjoy herbs, add a tiny sprinkle of mint or thyme at the end. Fresh notes can lift the warm spice aroma without changing the dessert’s classic identity.
Nutrition Information (Per Serving)
Nutrition can vary based on apple size and butter brand. The values below assume the full recipe is divided into 8 servings.
These numbers reflect a dessert with moderate carbs and fat, largely from fruit and butter. If you reduce sugar, expect calories and carbs to drop slightly.
| Calories | Protein | Carbs | Fat |
|---|---|---|---|
| 320 kcal | 3 g | 52 g | 10 g |
For more fruit dessert inspiration with similar bake-and-crisp techniques, explore other crisp styles and texture-driven toppings. The crisp method stays the same: control moisture, toast the topping, and rest before serving.
Q&A
If you still feel unsure, use the answers below to troubleshoot quickly. These questions reflect the issues most home bakers run into.
Also, for an overview of dessert baking ingredients like flour’s thickening role, see flour. Flour helps thicken juices so the filling slices cleanly.
What makes this apple crisp taste “timeless”?
Apple crisp works because warm fruit plus cinnamon creates a comforting flavor profile. The oat topping adds crunch, while butter and brown sugar create a caramel-like aroma.
It stays popular because it uses easy ingredients and delivers reliable texture. You can swap apple varieties, but the method remains dependable.
How do I get an oat topping that stays crisp?
Use cold butter and keep the topping crumbly. Bake uncovered until the top looks golden and the filling bubbles at the edges.
After baking, rest for 10 minutes before serving. That short pause thickens the juices so the topping doesn’t soften instantly.
Can I use different apples in this recipe?
Yes. Choose apples that hold their shape and balance tartness with sweetness. Granny Smith, Honeycrisp, and Braeburn are reliable choices.
If you use very sweet apples, add a bit more lemon juice so the filling tastes bright instead of sugary.
Why does my filling sometimes turn runny?
Runny filling usually means the mixture didn’t bake long enough or the thickener amount is too low for the juice level. Flour helps thicken apple juices as they heat.
Also check your slice size. Thinner apples release more liquid and can produce extra juice in the pan.
How should I store and reheat apple crisp?
Cool the crisp fully, cover, and refrigerate leftovers within two hours. Store up to 3 days for best texture.
Reheat in an oven or toaster oven to revive crunch. Microwave works for convenience, but the topping may soften.
See also: Apple Crisp