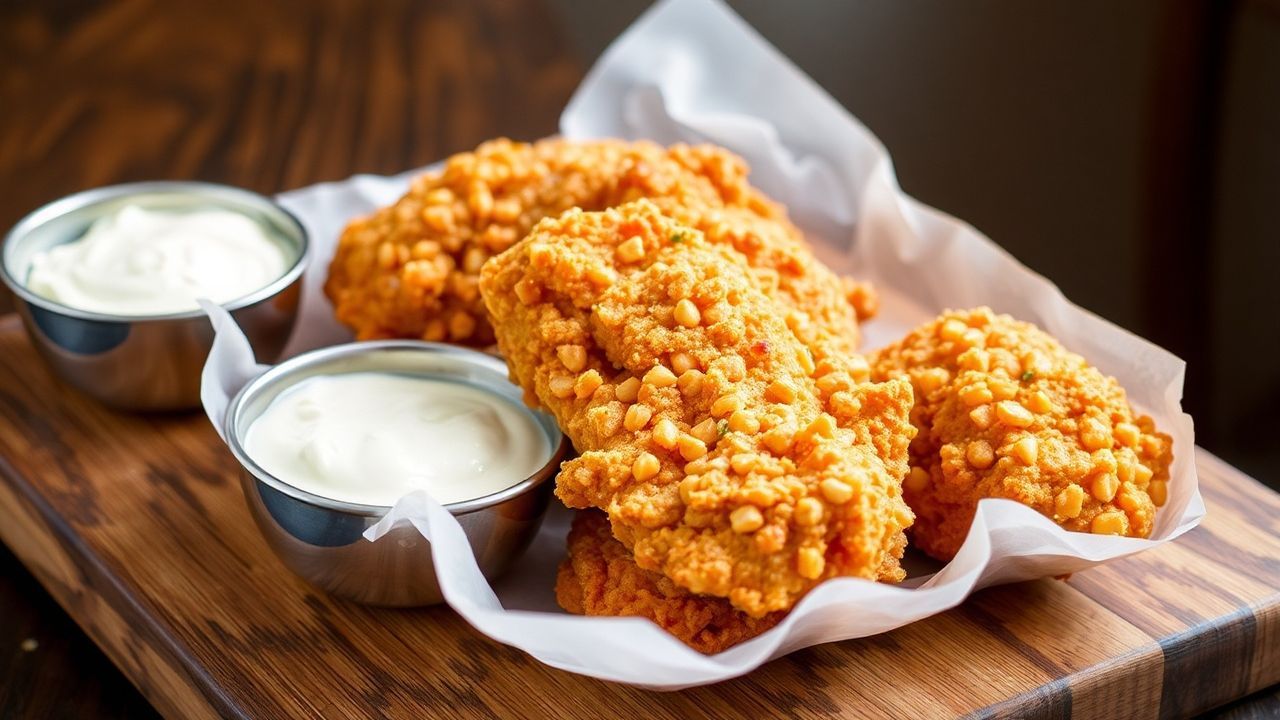
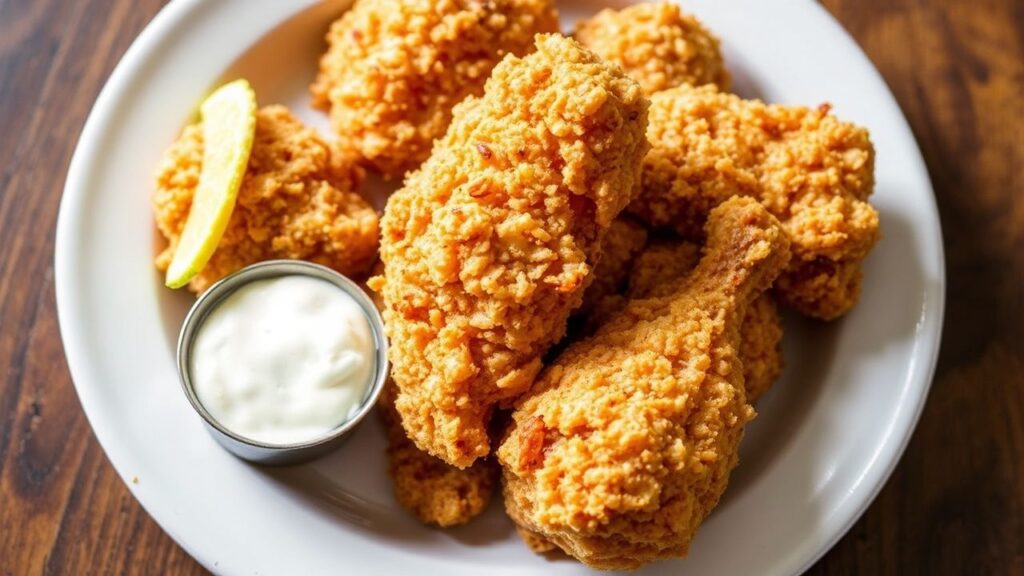
There’s something undeniably enchanting about the crackle of Crispy Southern buttermilk fried chicken—that first bite where the golden crust shatters, then tender, juicy meat takes over. This is more than comfort food. It’s a classic Southern technique built on brining, seasoning in layers, and controlled frying.
- Prep and Cook Time
- Yield and Difficulty
- Ingredients for Crispy Southern Buttermilk Fried Chicken
- Instructions: Crunch-First Process
- 1) Prepare the Buttermilk Brine
- 2) Mix the Spice Blend and Flour
- 3) Drain and Dredge the Chicken
- 4) Double Dredge for Extra Crunch
- 5) Heat the Oil Properly
- 6) Fry in Batches
- 7) Finish at a Higher Heat
- 8) Rest and Drain on a Wire Rack
- Tips for Success (So the Crunch Stays Crunchy)
- Control Brine Time
- Adjust Spice Without Breaking the Crust
- Choose the Right Oil
- Use a Thermometer for Doneness
- Serving Suggestions for Southern Buttermilk Fried Chicken
- Q&A: Crispy Southern Buttermilk Fried Chicken
- What makes Southern buttermilk fried chicken so crispy?
- How long should I marinate chicken in buttermilk?
- Can I customize the spice blend in the flour coating?
- What oil is best for frying this chicken?
- How do I know the chicken is fully cooked without cutting it?
- To Wrap It Up
At a Glance
- Buttermilk brine improves tenderness and helps the coating cling.
- Seasoned flour + double dredge builds crunch without heaviness.
- Two-stage frying crisps first, then finishes cooking through.
- Rest on a wire rack keeps the crust crisp.
To master Crispy Southern buttermilk fried chicken, you need a few dependable tools and a steady process. Focus on temperature, coating texture, and timing. When those parts line up, the crust turns crisp and stays that way.
In this guide, you’ll learn the practical “why” behind each step—so you can repeat the result. You’ll also get swap options for spice level and oil choice, plus a clear plan for frying in batches.
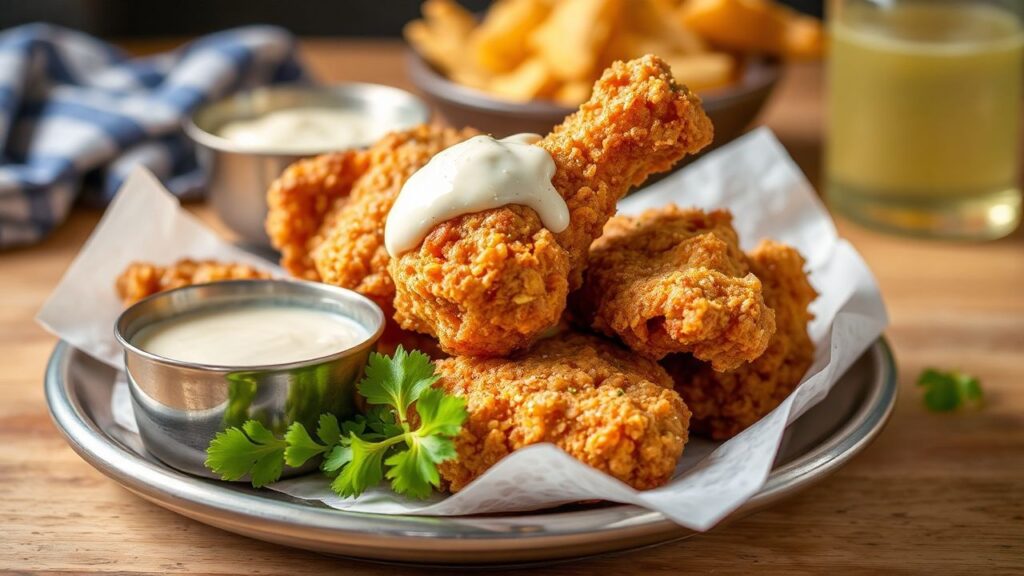
Crispy Southern Buttermilk Fried Chicken: The Crunch-First Method (Step-by-Step)
Crispy Southern buttermilk fried chicken delivers its signature crunch because the coating forms a crisp crust as moisture rapidly escapes during frying. Buttermilk helps by tenderizing the meat and supporting better browning and adherence of the flour layer. From there, your spice mix and fryer temperature control the final texture.
Southern-style fried chicken also relies on seasoning throughout, not just on the surface. Salt in the brine seasons the interior, while a well-spiced flour coating seasons the crust. That balance is why every bite tastes complete, not one-dimensional.
Prep and Cook Time
Plan ahead because brining takes the most time. If you want maximum tenderness and a steady crust, allow a full overnight soak. The chicken needs time for the buttermilk to do its work.
- Preparation Time: 20 minutes
- Brining Time: 6 to 12 hours (overnight preferred)
- Cooking Time: 15 to 20 minutes
- Resting Time: 10 minutes
Yield and Difficulty
This recipe makes enough for a hearty family meal. You’ll also get extra value if you fry in batches and keep finished pieces warm on a rack.
- Yield: Serves 4
- Difficulty Level: Medium—great for cooks who want consistent results
Ingredients for Crispy Southern Buttermilk Fried Chicken
Use bone-in chicken for the best bite and juiciness. Drumsticks and thighs handle frying well because they stay flavorful and resist drying. If you choose breasts, fry slightly longer and watch internal temperature closely.
For the brine, use plain buttermilk and simple aromatics. For the coating, use flour plus spices so the crust turns flavorful and crisp instead of bland.
Buttermilk Brine
- 4 cups buttermilk
- 2 tablespoons kosher salt
- 1 tablespoon granulated sugar
- 2 cloves garlic, crushed
- 1 teaspoon freshly ground black pepper
- 1 teaspoon smoked paprika
- 1 teaspoon cayenne pepper (adjust to taste)
- 2 sprigs fresh thyme
- 2 bay leaves
Buttermilk’s acidity helps break down proteins slightly, which improves tenderness. Learn more about acidity and fermentation-based dairy products via buttermilk on Wikipedia. You’ll also see why lactic acid supports browning reactions when paired with flour.
Spice Blend and Dredge
- 2 cups all-purpose flour, sifted
- 1 tablespoon garlic powder
- 1 tablespoon onion powder
- 1 tablespoon smoked paprika
- 1 teaspoon dried oregano
- 1 teaspoon dried sage
- 1 teaspoon cayenne pepper
- 1 tablespoon kosher salt
- 1 teaspoon black pepper
Smoked paprika and cayenne provide a classic Southern flavor profile without turning harsh. If you like a more earthy crust, add a pinch more sage. For seasoning theory, see seasoning and how salt and spices influence flavor perception.
For Frying
- Peanut oil or refined avocado oil (for 2–3 inches deep frying)
- 12 pieces bone-in chicken (drumsticks, thighs, or breasts)
Choose an oil with a high smoke point so the fryer stays stable. Stable oil temperature gives you even browning and a crisp crust. See smoke point on Wikipedia for the science behind frying oils.
Instructions: Crunch-First Process
Work in a clean sequence: brine, drain, dredge, rest briefly, then fry. This keeps the coating intact and supports crisp texture. Also, keep chicken pieces similar in size for consistent cooking.
Use a heavy-bottomed pot or deep fryer for steady heat. Temperature stability matters more than people expect. A candy/deep-fry thermometer helps you control the crust and the doneness.
1) Prepare the Buttermilk Brine
- Whisk the brine: In a large bowl, whisk buttermilk, kosher salt, sugar, garlic, black pepper, smoked paprika, cayenne, thyme, and bay leaves.
- Submerge the chicken: Add chicken pieces and ensure they’re fully covered.
- Refrigerate: Cover and chill for 6 to 12 hours (overnight preferred).
This soak gives the chicken time to absorb flavor and moisture. The best results come from refrigeration throughout the brining window. For food safety basics, review refrigeration on Wikipedia.
2) Mix the Spice Blend and Flour
- Combine dry ingredients: In a separate bowl, mix sifted flour with garlic powder, onion powder, smoked paprika, oregano, sage, cayenne, salt, and black pepper.
- Whisk thoroughly: Stir until the flour looks evenly speckled with spices.
Even spice distribution prevents “hot spots” where one bite tastes stronger than the next. When you whisk well, you create a consistent crust color too.
3) Drain and Dredge the Chicken
- Drain the brine: Remove chicken and let excess buttermilk drip off.
- Dredge firmly: Coat each piece in the spiced flour and press to help the crust adhere.
The coating sticks best when the surface stays slightly tacky. If you let the chicken sit too long before dredging, the moisture can reduce and the crust may loosen.
4) Double Dredge for Extra Crunch
- Brief dip (optional but effective): Dip coated chicken briefly back into a small amount of reserved buttermilk.
- Second dredge: Coat again in the flour mixture, pressing lightly.
This method builds thickness without turning the crust heavy. A thicker flour layer provides more surface for crisping. For background on frying and crust formation, see frying on Wikipedia.
5) Heat the Oil Properly
- Preheat oil: Heat peanut or avocado oil in a heavy pot to 325°F (163°C).
- Verify with a thermometer: Use a thermometer to confirm the oil holds steady at the target temperature.
At this stage, you want enough heat to start setting the crust while the chicken cooks through inside. If the oil runs too cool, the crust soaks in oil and loses crunch.
6) Fry in Batches
- Fry without crowding: Lower chicken into the oil in small batches.
- First fry: Fry about 8 to 10 minutes, turning occasionally, until the crust turns golden.
- Adjust as needed: If temperature drops, let it recover before adding the next batch.
Batch frying prevents large temperature swings. That matters because oil temperature controls how quickly moisture leaves the coating. When the moisture escapes fast, the crust crispens instead of steaming.
7) Finish at a Higher Heat
- Increase heat: Raise oil to 350°F (177°C).
- Second fry: Return pieces for a quick 2 to 3 minutes to lock in extra crispness.
This finishing step boosts crunch and color without overcooking as long as you work efficiently. Watch the crust closely; it should look deep golden, not dark brown.
8) Rest and Drain on a Wire Rack
- Rack-drying: Transfer fried chicken to a wire rack set over a baking sheet.
- Rest: Rest for 10 minutes before serving.
Resting prevents condensation from softening the crust. A wire rack lets steam escape upward and oil drip away from the underside.
Tips for Success (So the Crunch Stays Crunchy)
Even small process changes can affect crispness. Keep your flour dry, avoid crowding, and manage heat like it’s part of the recipe. When you treat frying as controlled cooking—not just “deep-fry time”—the results stay repeatable.
Also, remember that crispness improves as the crust sets and dries during the rest period. If you cut into chicken immediately, you’ll release steam and soften the crust faster.
Control Brine Time
Buttermilk brining works best between 6 and 12 hours. Short brines may not tenderize as fully, while very long soaks can weaken texture on the surface. Follow the timing for the best crust-meat balance.
For general dairy acidity background, review lactic acid on Wikipedia. It explains why acidic dairy helps tenderize proteins in practical cooking terms.
Adjust Spice Without Breaking the Crust
Increase heat by adding more cayenne to the flour mix, not the brine. The flour coating sets your crust flavor; keeping heat concentrated there preserves a cleaner spice profile. For herbs, stick with dried oregano, sage, or thyme for steady performance.
If you want a mild version, reduce cayenne by half and keep paprika. This still gives you the warm color and smoky aroma typical of Southern fried chicken.
Choose the Right Oil
Peanut and refined avocado oils hold up well under frying temperatures. Avoid strongly flavored oils that can mask the chicken seasoning. Stable oil also improves crust texture across batches.
For more on frying fats and smoke behavior, revisit smoke point. You’ll see why overheating can degrade oil quality and worsen flavor.
Use a Thermometer for Doneness
Color alone can fool you. Different chicken pieces brown at different rates depending on thickness and coating density. A thermometer removes guesswork and protects juiciness.
Follow safe internal temperature guidance using the standards you trust in your region. In general cooking practice, you cook poultry until it reaches safe doneness and juices run clear. For general temperature concepts, see food thermometer on Wikipedia.
Serving Suggestions for Southern Buttermilk Fried Chicken
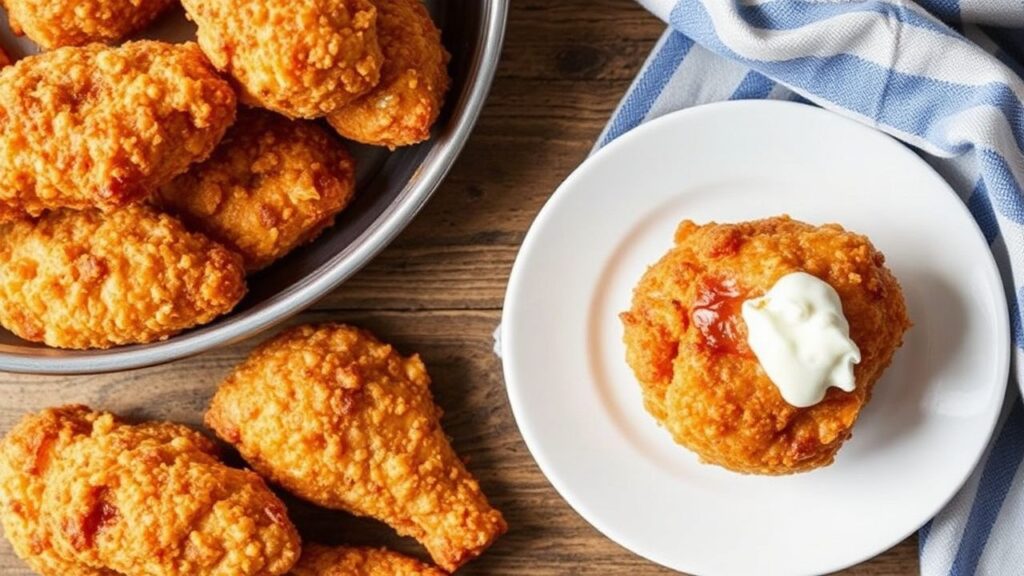
Serve Crispy Southern buttermilk fried chicken hot, right off the wire rack. Pair it with sides that handle rich, savory flavors. The goal: contrast crunch with creamy or tangy textures.
Classic options include creamy coleslaw, buttery cornbread, and tangy pickles. If you want a deeper comfort spread, add macaroni and cheese or collard greens. For balance, include something acidic like pickles or lemon.
| Nutrient | Per Serving |
|---|---|
| Calories | 480 kcal |
| Protein | 38g |
| Carbohydrates | 24g |
| Fat | 28g |
Q&A: Crispy Southern Buttermilk Fried Chicken
Q&A: Crispy Southern Buttermilk Fried Chicken tackles the questions that come up while you cook. Use these answers to fine-tune your method, especially when results differ by batch or chicken cut.
What makes Southern buttermilk fried chicken so crispy?
The crunch comes from a dry, seasoned flour coating that sets quickly in hot oil. Buttermilk tenderizes the chicken and helps the coating adhere, while double dredging builds a thicker crust that crisps during frying.
Temperature control matters just as much as seasoning. If oil drops too low or you crowd the pot, the coating absorbs more oil and turns less crisp.
How long should I marinate chicken in buttermilk?
For best tenderness and flavor, brine 6 to 12 hours, with overnight being ideal. Shorter times can reduce tenderness, especially with thicker cuts.
Keep the chicken refrigerated during the brine. That ensures safe handling and consistent results, since temperature strongly affects food safety.
Can I customize the spice blend in the flour coating?
Yes. Southern-style spice mixes commonly include paprika, garlic powder, onion powder, cayenne, black pepper, and salt. You can also add dried oregano or sage for more aroma.
Adjust heat by changing cayenne and pepper. Keep salt in the flour for crust flavor, and avoid adding wet ingredients to the dredge.
What oil is best for frying this chicken?
Use a neutral oil with a high smoke point, such as peanut oil or refined avocado oil. These oils support stable frying temperatures and keep the chicken flavor clean.
Smaller flavor differences can show up when you use aromatic oils. For consistent frying behavior, stick to oils designed for high heat.
How do I know the chicken is fully cooked without cutting it?
Use a meat thermometer to check the thickest part of the chicken. Bone-in pieces should reach safe doneness before you finish with the high-heat crisping stage.
Also watch the crust color and texture. A deeply golden crust with crisp edges usually means the coating has set properly.
To Wrap It Up
Mastering Crispy Southern buttermilk fried chicken comes down to three controllable levers: brining time, coating thickness, and frying temperature. When you keep those steady, the crust turns crisp and stays crisp on a wire rack rest.
Now you have a repeatable method—double dredge for crunch, two-stage frying for doneness and color, and a clean rest step to protect texture. Cook it once, then adjust spice to your preference and you’ll get a personal version of Southern tradition every time.
See also: Crispy Southern