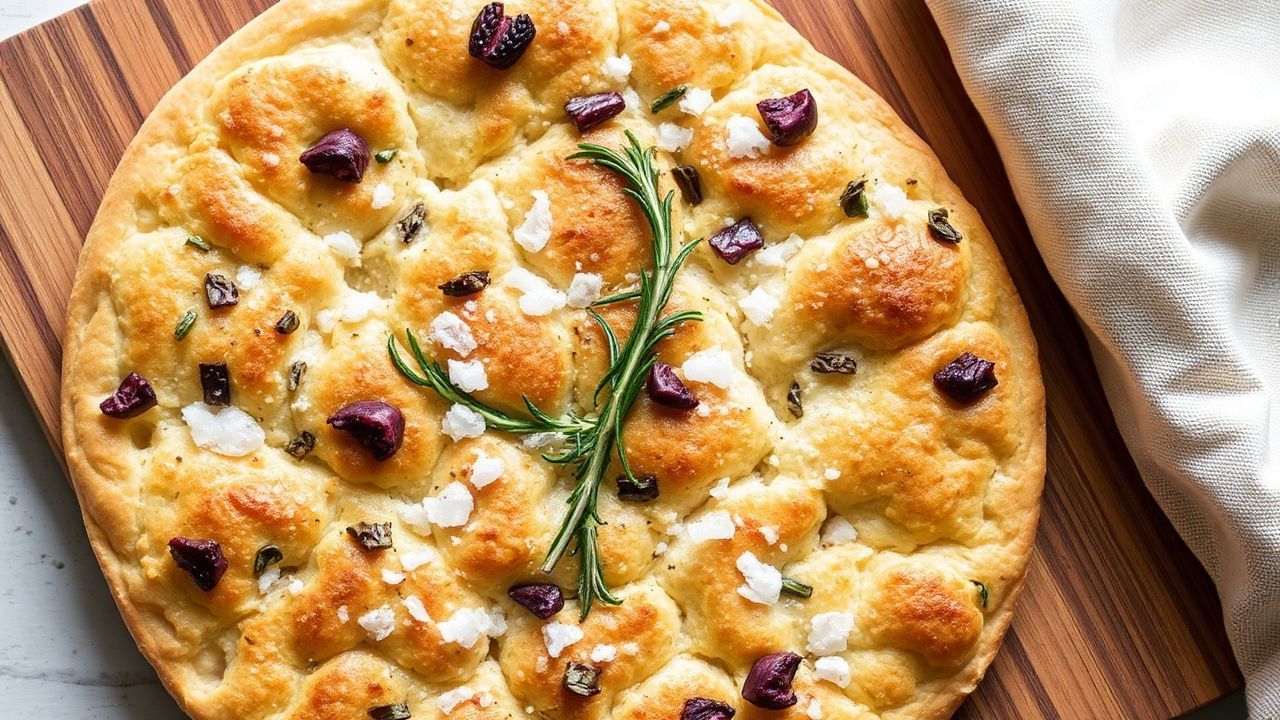
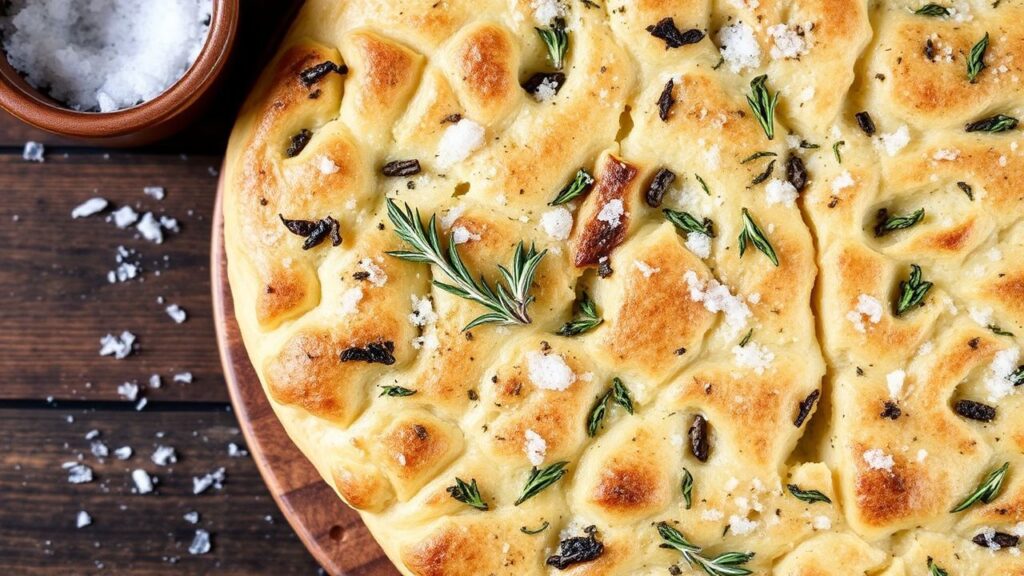
There’s a real comfort to no-knead rosemary focaccia—the glossy olive oil, the airy crumb, and the crunch of flaky sea salt on top. Traditional recipes can feel demanding because they ask for kneading and tight timing. This version keeps the flavor and improves the workflow.
- Why No-Knead Focaccia Works
- Prep and Cook Time, Yield, and Difficulty
- Ingredients for Flaky Rosemary Focaccia
- Step-by-Step Instructions
- Tips for Success (Texture, Flavor, and Timing)
- Pro-Caution on Salt, Oven Heat, and Dough Handling
- Serving Suggestions for Rosemary Focaccia
- Q&A
- What makes this rosemary focaccia “no-knead”?
- How do I get a crispy, blistered crust?
- Can I use dried rosemary instead of fresh?
- Why do I have a dense center?
- How should I store and reheat leftovers?
- Future Outlook: Make It Your Own
- Long fermentation builds flavor without kneading.
- High-hydration dough creates the signature airy pockets.
- Olive oil + rosemary delivers bold Mediterranean aroma.
- Flaky sea salt goes on right before baking for best crunch.
Instead of working the dough by hand, you mix, rest, and bake. The dough develops gluten strength over time, so the bread stays light and open. You still get a crisp, blistered crust that holds up under soup, salad, or a simple drizzle of olive oil.
Rosemary brings a piney, savory note that pairs naturally with olive oil. When you finish with flaky sea salt, you add contrast—salty crunch over soft, warm bread. If you enjoy Italian flatbread styles, this method fits right into classic focaccia technique while staying beginner-friendly.
Focaccia comes from Italian regional baking traditions, including Liguria, where olive oil and herbs often shape the flavor profile. For background on how yeast doughs transform texture, see yeast and gluten. These basics explain why time matters more than elbow grease.
Why No-Knead Focaccia Works
No-knead focaccia relies on time, not muscle. During fermentation, dough becomes stronger as yeast produces gas and acids that shape flavor. At the same time, gluten network formation improves, even without kneading.
You mix the dough until it forms a sticky mass. Then you let it rest for a long proof, which encourages structure and air expansion. This approach matches the way many naturally leavened doughs build strength, even when you start with commercial yeast.
For a deeper look at bread texture, fermentation, and dough behavior, refer to food fermentation. The same process that creates rise also develops acidity and aromatic compounds. That’s why long rest times matter for focaccia.
Prep and Cook Time, Yield, and Difficulty
This recipe runs mostly on passive time. Active work stays short, and the overnight rise does the heavy lifting. Plan your bake so you can shape and bake the next day.
Preparation: 10 minutes
Proofing: 18–24 hours (overnight)
Baking: 20–25 minutes
Total Time: Approximately 19 hours
Yield: Serves 6 to 8
Difficulty Level: Easy. Even if your dough looks wet at first, that’s normal. Focaccia dough stays higher hydration than many sandwich breads, and the bake turns that looseness into a light crumb.
Ingredients for Flaky Rosemary Focaccia
Use a simple ingredient list so the method drives the results. The balance of flour, yeast, salt, water, and olive oil controls dough viscosity and rise. Rosemary and flaky sea salt then provide the main flavor cues.
Ingredients
• 3 cups all-purpose flour, sifted
• 1 tsp active dry yeast
• 1 ½ tsp fine sea salt
• 1 ¼ cups lukewarm water (about 75°F / 24°C)
• 2 tbsp extra virgin olive oil, plus extra for drizzling
• 2 tbsp fresh rosemary leaves, finely chopped
• Flaky sea salt for finishing (Maldon or fleur de sel)
• Optional: freshly cracked black pepper to taste
Olive oil flavor matters because it sits on the bread’s surface as well as in the dough. If you want a quick refresher on the ingredient, see olive oil. It also helps you choose a style: extra virgin gives more herb-friendly aroma.
Step-by-Step Instructions
Follow each step in order. If you rush fermentation or over-flour the dough, the crumb may turn dense. Keep your hands oiled or lightly wet during shaping to avoid tearing.
1) Combine Dry Ingredients: In a large bowl, whisk flour, yeast, and fine sea salt. Mix until the salt and yeast spread evenly.
2) Add Water and Oil: Pour in lukewarm water and 2 tbsp olive oil. Stir vigorously until the dough turns into a wet, sticky mass. No kneading is needed. Scrape down the bowl so all flour hydrates.
3) First Rise (18–24 hours): Cover tightly with plastic wrap or a damp kitchen towel. Let it ferment at room temperature for 18 to 24 hours. The dough should bubble and nearly double in size.
4) Prepare the Baking Pan: Generously oil a 9×13-inch baking sheet. Use enough oil to prevent sticking and to encourage browning in spots.
5) Shape and Second Rise (30–45 minutes): Transfer the dough using well-oiled hands. Gently stretch it to the pan edges without forcing. If it resists, rest 5 minutes, then stretch again. Cover and let it rise until puffy, about 30–45 minutes.
6) Indents and Seasoning: Preheat the oven to 450°F (230°C). Press deep dimples evenly with your fingertips. Drizzle olive oil generously, scatter chopped rosemary, and sprinkle flaky sea salt. Add black pepper if you like.
7) Bake: Bake 20–25 minutes until golden brown with blistered, crisp edges. Your oven heat does most of the work here, turning oil and steam into the signature crust.
8) Cool and Slice: Move to a wire rack right away to keep the crust crisp. Cool slightly before slicing so the center sets and the crumb stays airy.
Tips for Success (Texture, Flavor, and Timing)
Small choices improve outcome. Keep hydration in mind, protect fermentation time, and finish with salt at the right moment. These steps help you get consistent blistering and a tender interior.
- Use high-quality olive oil: Extra virgin flavor shows up in both aroma and crust.
- Don’t rush fermentation: Long rest builds tang and a more complex crumb.
- Hydration matters: Expect a sticky dough. Avoid adding extra flour, which can tighten the crumb.
- Make-ahead option: Refrigerate covered overnight after the first mixing. Bring to room temperature before shaping.
For a science-oriented view of why dough hydrates and traps gas, read bread and dough. You’ll notice the recurring theme: water distribution and time govern structure.
Choose the rosemary strategy that fits your kitchen. Finely chopped leaves distribute flavor evenly. If your rosemary feels very woody, chop smaller so it releases aroma during baking.
Pro-Caution on Salt, Oven Heat, and Dough Handling
Also watch oven temperature. A 450°F (230°C) bake supports fast surface set and blistering. If your oven runs cool, the crust may stay pale and less crisp after the first 20 minutes.
If the dough tears when you stretch it, pause and rest before continuing. Dough recovers as fermentation gases redistribute slightly, and the gluten relaxes. That simple delay usually prevents a dense, uneven bake.
Serving Suggestions for Rosemary Focaccia
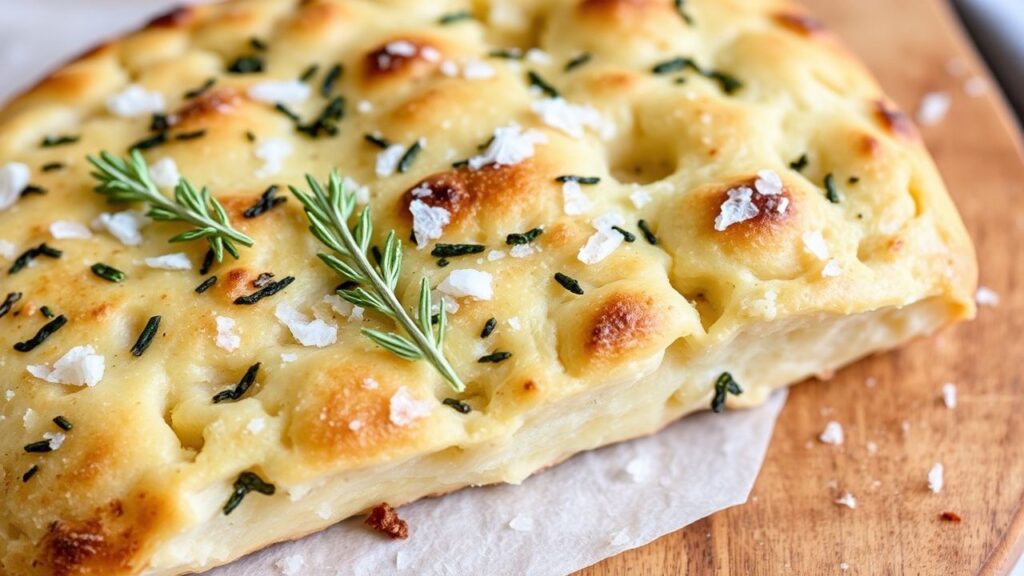
Serve this no-knead rosemary focaccia warm for the best aroma. The crust stays crispest when it’s freshly baked, and the rosemary scent feels strongest right out of the oven.
Tear and dip. It pairs well with tomato basil soup, roasted vegetables, and hearty salads. For a simple upgrade, drizzle olive oil mixed with a pinch of flaky sea salt and a little chopped rosemary.
If you enjoy Mediterranean-style meals, this bread fits naturally beside antipasto. You can also use it for casual sandwiches after it cools, since the airy crumb stays tender rather than chewy.
For context on Mediterranean ingredients, see Mediterranean diet. Focaccia’s olive oil and herb profile matches that flavor direction, especially when served with vegetables and simple sauces.
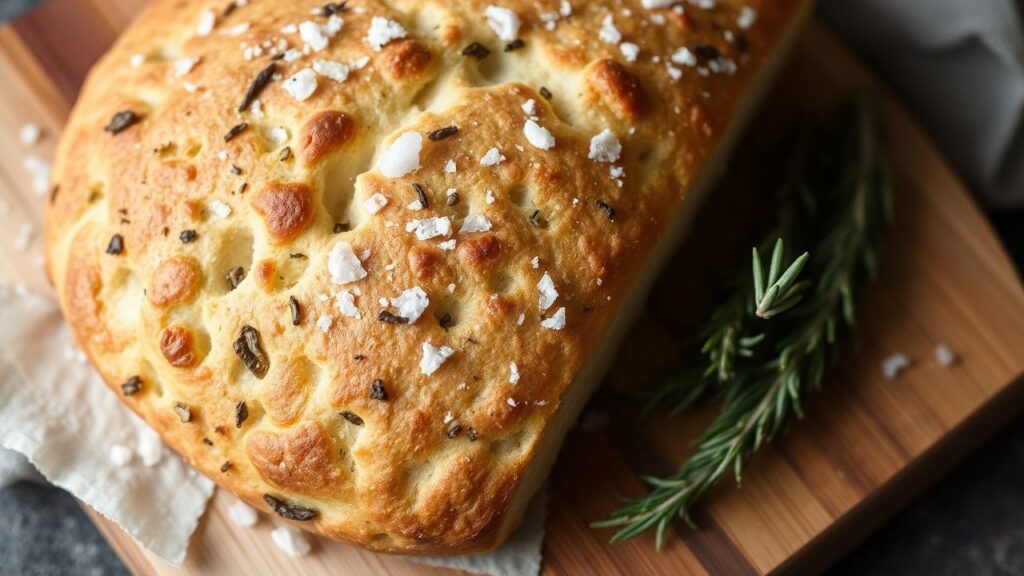
| Nutrient | Per Serving |
|---|---|
| Calories | 220 kcal |
| Protein | 6 g |
| Carbohydrates | 36 g |
| Fat | 6 g |
Want to explore other Italian-style breads? If you enjoy no-knead techniques, try similar flatbread or rustic loaves using long rest times. Pair them with the same olive oil and herb finishes so the meals stay cohesive.
For readers who want to study fermentation at a high level, bread making gives a broad overview of dough stages and why they matter. Use it as a guide when you tweak timing or hydration.
Q&A
What makes this rosemary focaccia “no-knead”?
It skips kneading and still builds gluten strength through time. After mixing, the dough rests for a long proof, so fermentation and gluten hydration do the work.
You get a tender crumb because the dough stays hydrated and airy. Shaping uses gentle stretching, not aggressive folding or kneading.
How do I get a crispy, blistered crust?
Use a hot oven at 450°F (230°C) and bake until the surface turns golden. Pressing deep dimples helps oil pool and create blistered spots.
Don’t over-oil the pan to the point of pooling in one layer. Aim for even coverage so the crust browns throughout.
Can I use dried rosemary instead of fresh?
Yes, but use less. Fresh rosemary holds more moisture and releases aroma evenly, while dried rosemary concentrates flavor.
Start with about 1 tablespoon dried rosemary and adjust next time based on taste. Keep the sea salt finish the same for texture.
Why do I have a dense center?
Most dense centers come from under-proofing or over-flouring. If the dough didn’t rise enough, it won’t build the gas pockets that lighten the crumb.
Also avoid adding extra flour during shaping. Dough should feel tacky, not dry and stiff.
How should I store and reheat leftovers?
Store in an airtight container for up to 2 days. Keep bread at room temperature so the crust doesn’t soften too quickly.
To reheat, warm slices in a preheated oven at about 350°F (175°C) for 5–7 minutes. That restores crispness without drying the crumb.
Future Outlook: Make It Your Own
This no-knead rosemary focaccia delivers a reliable balance of crust and crumb. You get a hands-off process plus a result that looks and tastes bakery-made, even on busy days.
Once you master the base dough, you can customize toppings. Try caramelized onions, olives, or sliced cherry tomatoes, but keep the rosemary and sea salt finish so the signature flavor stays clear.
When you adjust herbs or mix-ins, keep an eye on moisture. Wet toppings can slow crust crisping, so drain them well before adding. For general guidance on ingredient effects in baking, see herbs and how they behave as aromatics and flavor boosters.
Next time you want fresh bread without kneading, rely on fermentation time and confident oven heat. A sprinkle of flaky sea salt and a generous rosemary aroma finish the job.
See also: no-knead rosemary focaccia