
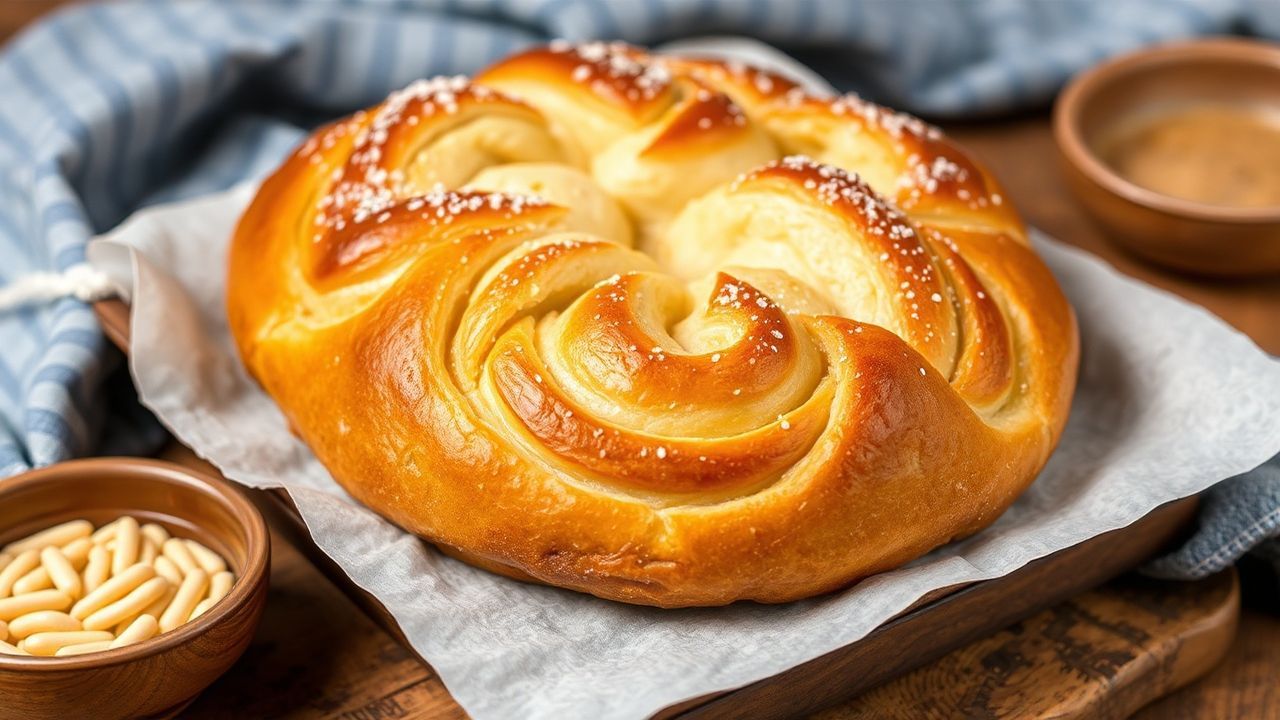
Gata Bread is a sweet Armenian bread made for gatherings, holidays, and everyday hospitality. Its signature feature is clear: thin layers of tender dough wrap a crumbly, buttery filling. The result feels both delicate and rich, slice after slice.
- The Origins and Cultural Significance of Gata Bread in Armenian Traditions
- exploring the Rich Ingredients That Elevate Every Gata Bite
- Mastering the Art of Gata Baking Techniques for a Perfect Crust
- Pairing Gata with Traditional Beverages and Modern Culinary Twists
- Prep and Cook Time
- Yield
- Difficulty Level
- Ingredients
- Instructions
- Tips for Success
- Serving Suggestions
- FAQ
- What is Gata Bread, and what does it taste like?
- Why does the dough need chilling?
- Can I make Gata Bread without nuts?
- How do I prevent filling leaks?
- How should I store and reheat gata?
- Concluding Remarks
- Focus: layered dough + khoriz filling for a crumbly, creamy bite.
- Key method: keep butter cool and fold gently to avoid tough dough.
- Flavor drivers: butter, sugar, and flour in the filling; vanilla and nuts optional.
- Serving: pair with Armenian coffee or tan to balance sweetness.
Under the golden crust, Gata Bread tells a story of craft. Families pass down methods for rolling, sealing, and scoring so the filling bakes into flavorful pockets. If you want the real texture, treat this bread like a layered pastry, not a basic loaf.
Many cooks also tie gata to Armenian celebrations where shared food matters. For background on regional food traditions, see Armenian cuisine. For the broader context of layered baked goods, pastry helps explain why dough handling affects flakiness.
The Origins and Cultural Significance of Gata Bread in Armenian Traditions
Gata Bread belongs to Armenian table traditions where baked sweets often mark important dates. You will see it at weddings, holiday spreads, and family visits because it works well for sharing. The bread’s shape and decoration often reflect local habits.
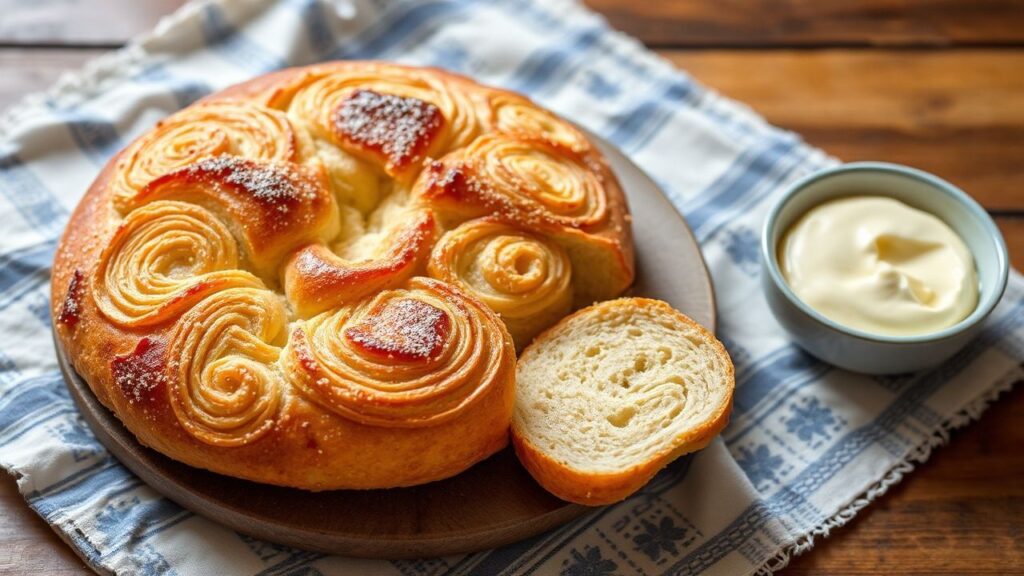
Regional variations exist across Armenia and the diaspora. Some versions lean into round, spiral forms, while others are braided or cut into squares. If you want a useful map of Armenian cultural life, start with Armenians and then explore the food traditions tied to communities.
Gata also fits a wider pattern of celebratory baking seen across Eurasian cultures. The craft of making sweet filled breads relies on dough structure and controlled heat. That same logic appears in many historical pastries described under baklava (as a cousin in technique and occasion).
Whether you follow a traditional hand-rolling approach or a home-adapted method, respect the process. The bread rewards careful folding and sealing more than it rewards speed. When you treat it gently, the layers stay distinct.
exploring the Rich Ingredients That Elevate Every Gata Bite
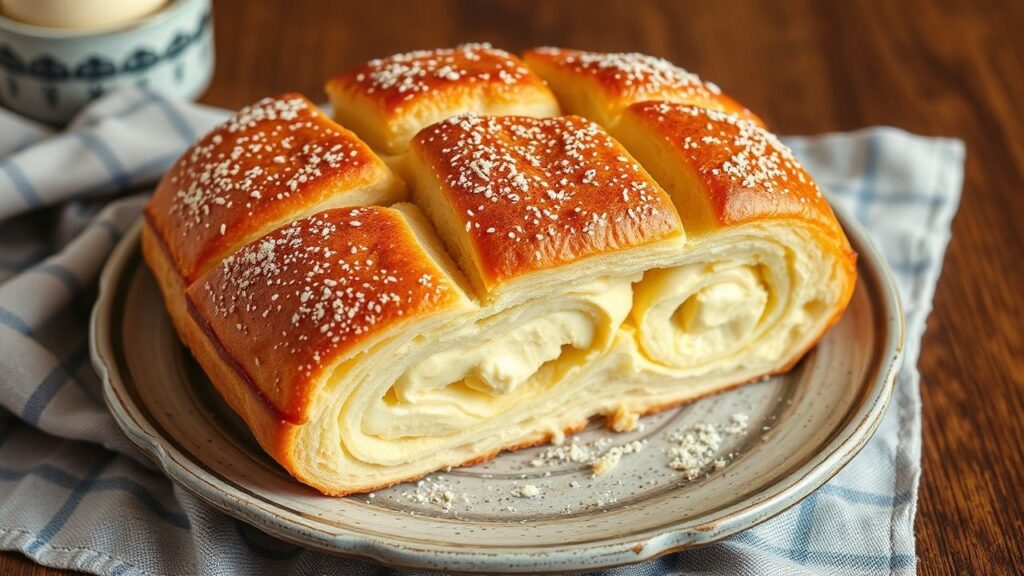
The heart of Gata Bread is the khoriz filling, a mix that turns crumbly in the oven. Most versions use sugar, flour, and butter, sometimes with vanilla and nuts. That filling balance matters: too much butter makes it run, too much flour makes it dry.
For readers who want ingredient science, butter’s role in bakery texture ties to butter. Fat creates tenderness and flavor, while flour gives the filling structure. Together they form a soft crumb that bakes without becoming a paste.
The dough typically combines all-purpose flour with sour cream or yogurt for tenderness. These dairy ingredients help create a tender crumb and smoother mixing. For general fermentation and dairy context, you can review yogurt.
Nuts often add crunch and depth. Walnuts or pistachios work well because they stay flavorful during baking and complement vanilla. If you prefer a nut-free filling, skip them and rely on spices like vanilla for aroma.
Mastering the Art of Gata Baking Techniques for a Perfect Crust
To bake Gata Bread with a crisp top and soft interior, control temperature and mixing. Keep butter and sour cream cold so the dough forms clear layers. Mix until the dough comes together, then stop.
Heat management also shapes the crust. A moderate oven lets the center set while the top browns evenly. That approach follows basic baking principles found in baking, where steady heat sets proteins and cooks sugars gradually.
Another critical step is sealing. When edges are sealed tightly, the filling stays inside and bakes into distinct pockets. If you leave gaps, the filling may leak and reduce that layered look.
Scoring also guides expansion. Light patterns help the top crack in a controlled way rather than splitting randomly. Use shallow cuts so the dough still holds together and the filling remains protected.
After baking, let the bread cool briefly before slicing. Hot filling can smear and soften the crumb. A short rest helps the structure firm up so each slice stays clean and layered.
For display and flavor, egg wash creates a glossy finish that signals doneness. Brush evenly for a uniform color across the whole surface.
Pairing Gata with Traditional Beverages and Modern Culinary Twists
Gata Bread pairs naturally with Armenian coffee because both balance sweetness with a strong, dark flavor. Coffee’s bitterness cuts through the buttery khoriz. For a wider tea-and-coffee context, see coffee.
Many people also pair gata with tan, a cool yogurt drink that refreshes the palate. The acidity and dairy notes help reset your taste between bites. If you want to learn about yogurt-based drinks, tan (drink) gives useful background.
For a modern twist, serve small slices with fruit preserves such as sour cherry or pomegranate. The tartness matches the buttery sweetness without masking it. You can also add a thin layer of honeyed cream for a softer dessert feel.
Try garnishing with pomegranate seeds or a few chopped pistachios. The color lift makes the bread look more festive and increases crunch. Keep garnishes light so they do not overpower the filling’s flavor.
Prep and Cook Time
Prep Time: 30 minutes
Resting/Dough Chill Time: 1 hour
Cook Time: 30-35 minutes
Optional Rest: 10-15 minutes before slicing to stabilize the crumb.
Yield
Serves 8-10 generous slices.
The bread reheats well for a short time in the oven. Warm slices bring back the filling aroma.
Difficulty Level
Medium—best for bakers with some experience working with enriched dough and layered pastries. The technique relies on gentle handling more than advanced tools.
If this is your first try, focus on sealing and shallow scoring. Those steps make the biggest visual difference.
Ingredients
- 2 ½ cups all-purpose flour, sifted
- 1 tsp baking powder
- ½ tsp salt
- 7 tbsp unsalted butter, chilled and 4 tbsp melted (divided)
- 1 cup sour cream or plain yogurt (full-fat)
- ½ cup granulated sugar
- 1 cup all-purpose flour (for filling)
- ½ cup melted unsalted butter (for filling)
- 1 tsp pure vanilla extract
- Optional: ½ cup finely chopped walnuts or almonds
- 1 large egg (for egg wash)
Choose full-fat dairy for the best tenderness. If you use yogurt, aim for plain and thick so the dough stays stable during shaping.
If you prefer a different nut flavor, pistachios work well because they stay aromatic after baking.
Instructions
- Prepare the dough: In a large bowl, whisk the sifted flour, baking powder, and salt.
- Cut chilled butter: Use a pastry cutter (or your fingertips) to cut butter into the flour until it resembles coarse crumbs.
- Mix in sour cream: Add sour cream and fold gently until a soft dough forms. Avoid overmixing.
- Chill dough: Wrap and refrigerate for 1 hour to firm up.
- Prepare filling (khoriz): Mix sugar, 1 cup flour, melted butter, vanilla, and nuts (if using) until crumbly.
- Preheat oven: Heat to 350°F (175°C) and line a baking tray with parchment.
- Divide dough: Split dough into two equal parts.
- Roll out bottom layer: Roll one portion into a 12-inch circle and place on the tray.
- Add filling: Spread filling evenly, leaving a small border around edges.
- Roll out top layer: Roll the second circle and place over the filling.
- Seal edges: Pinch or crimp edges to lock the filling inside.
- Create designs: Lightly score shallow patterns on top (concentric circles or leaves). Do not cut through.
- Brush with egg wash: Beat egg and brush generously for a golden finish.
- Bake: Bake 30-35 minutes until golden and fragrant.
- Cool: Rest 10-15 minutes before slicing to preserve clean layers.
As you work, keep your hands cool and move at a steady pace. If the dough warms up too much, layers blur. Chilling resets the structure.
Watch the top color near the end of baking. Every oven browns differently, so use fragrance and color as your main cues.
Tips for Success
- Keep ingredients cold: chilled butter and sour cream support flakier layers.
- Do not overwork dough: stop mixing once it holds together.
- Experiment with nuts: walnuts add classic depth; pistachios add a brighter aroma.
- Make ahead: refrigerate dough and assemble later for a relaxed cooking window.
- Perfect sealing: check edges before egg wash so filling stays contained.
If your filling seems too soft, let it rest 5-10 minutes before spreading. It will firm slightly and spread more evenly.
If your top browns too quickly, loosely tent with foil and continue baking until the center sets.
Serving Suggestions
Serve Gata Bread warm or at room temperature with powdered sugar or a light honey drizzle. The sweetness feels balanced when you keep toppings minimal.
Pair each slice with Armenian coffee for contrast or with a glass of tan for refreshment. For a quick food science overview of how sugars and fats change perception, you can review sugar.
For related Armenian pastry ideas on your site, explore Armenian Baklava Recipe. For a broader dessert pairing guide, add another internal link to a complementary page such as your sweet spreads or coffee pairing post (place your actual URL).
To support reader trust with general nutrition context, you can cite a credible organization on nutrition (replace with your site’s allowed approved link). Here, keep external references limited per publishing policy.
FAQ
What is Gata Bread, and what does it taste like?
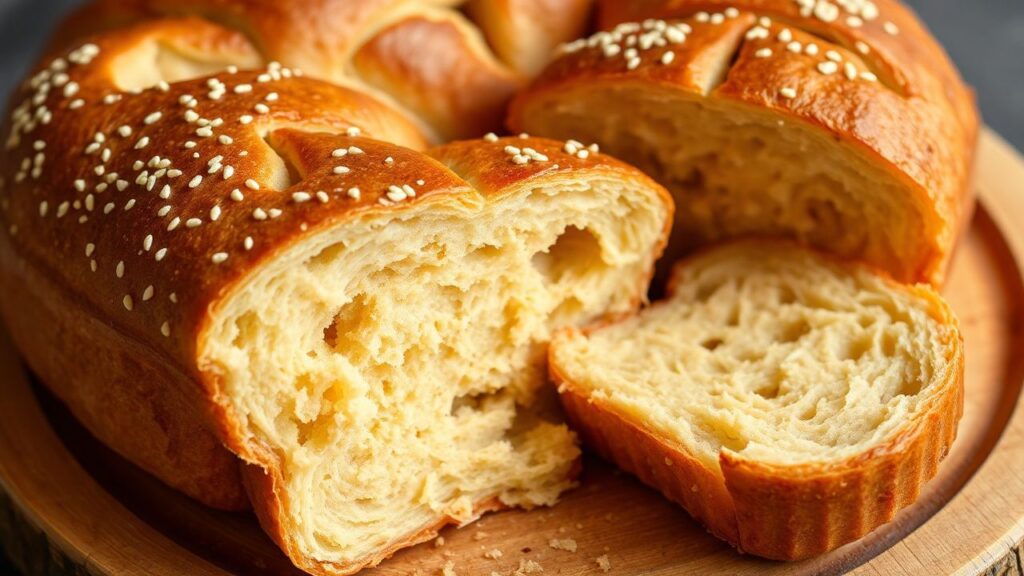
Gata Bread is an Armenian sweet bread with layers of tender dough and a crumbly buttery filling called khoriz. It tastes rich, lightly vanilla-sweet, and pleasantly buttery, with a texture that shifts from crisp top to soft layers.
The flavor comes mainly from butter, sugar, and flour in the filling. Optional nuts add crunch, but the core profile stays balanced without them.
Why does the dough need chilling?
Chilling keeps butter firm so the dough forms clearer layers. When butter melts too early during mixing or rolling, the layers blend and the texture loses definition.
One hour of rest is usually enough. If your kitchen is warm, you may need a second chill after shaping.
Can I make Gata Bread without nuts?
Yes. Replace nut filling with the same khoriz base—sugar, flour, butter, and vanilla—then keep the rest of the method unchanged. The bread will still bake into crumbly pockets.
Nuts mainly add texture and aroma. The bread’s identity stays intact without them.
How do I prevent filling leaks?
Seal edges thoroughly by pinching and crimping where the dough layers meet. Also avoid overfilling, since excess filling creates pressure that can break seals.
Before baking, check corners and seams. A quick touch-up with fingers helps more than any later fix.
How should I store and reheat gata?
Store the bread covered at room temperature for up to 1-2 days, or refrigerate longer. For best texture, reheat slices briefly in an oven or toaster oven.
Warm bread brings back the filling aroma and crisp top. Avoid long microwave heating if you want to keep layers distinct.
Concluding Remarks
Gata Bread remains a favorite because it delivers contrast: a crisp, golden crust and a tender layered interior. Each bite shows careful dough handling and a filling that bakes into a crumbly, buttery sweetness.
When you follow the technique—cold ingredients, gentle mixing, tight sealing, and light scoring—you get consistent results. Whether you share it with Armenian coffee, tan, or a modern fruit preserve, the bread still feels unmistakably Armenian.
Next time you bake, focus on process over speed. Keep layers intact, protect the filling, and let the bread rest before slicing. That small timing step makes a big difference in texture and taste.
To keep building your baking knowledge, you can also explore related pastry fundamentals via pastry and general baking methods via baking. Those references support the practical choices behind great gata.
See also: Gata Bread