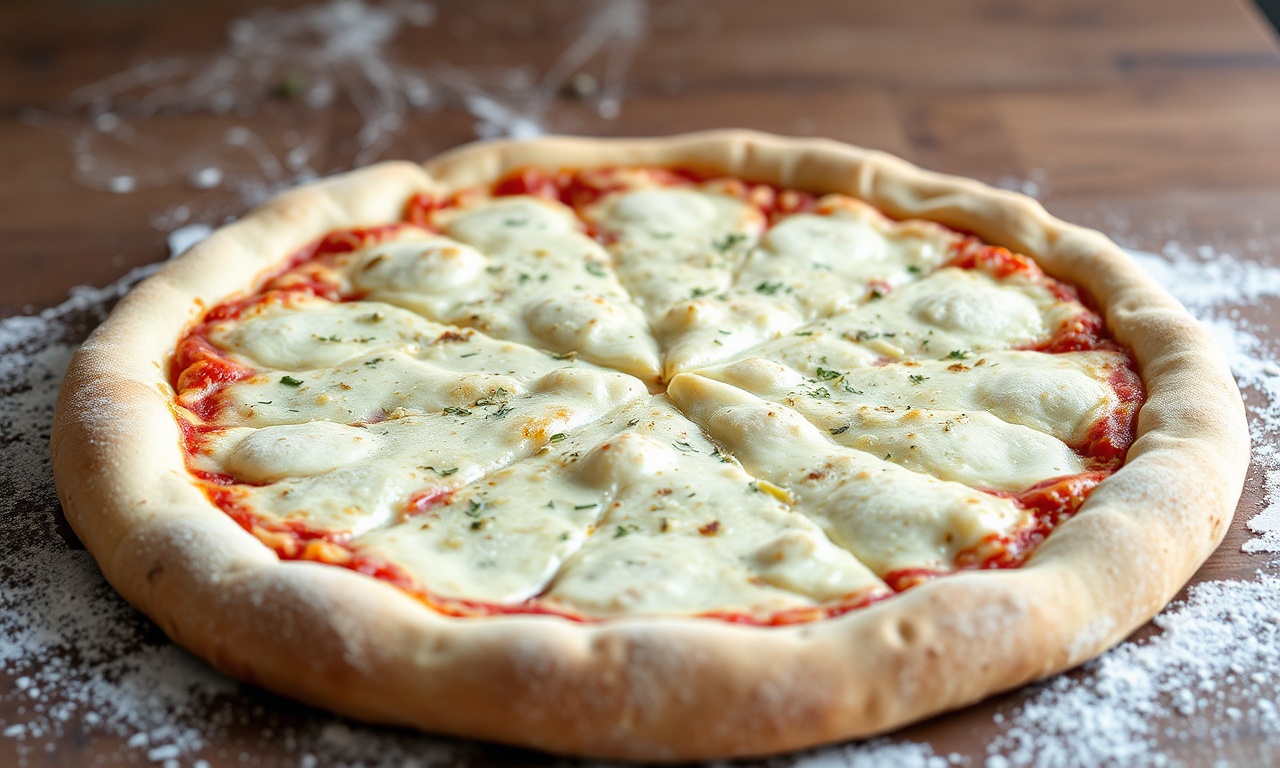
When it comes to Master Art, There’s something undeniably magical about pulling a steaming, golden-crusted pizza fresh from your own oven-the perfect marriage of crisp edges, chewy interior, and just the right hint of yeast and garlic that only homemade dough can deliver. Yet, for many, making pizza dough from scratch feels like a daunting culinary feat reserved for seasoned bakers or culinary pros.Fear not! Mastering the art of homemade pizza dough is not only achievable but also surprisingly easy and rewarding. In this guide, we’ll unveil a foolproof recipe and share insider tips that transform humble ingredients into the foundation of countless tasty pizza creations.
- Master Art: Prep and Cook Time
- Yield
- Difficulty Level
- Why Master Art Matters: Choosing the Perfect Flour for Light and Chewy Pizza Crust
- Master Art in make the most of Ideal Dough Hydration and Kneading Techniques
- The Importance of Fermentation and How to Achieve Maximum Flavor
- Tips for Shaping and Baking Your Pizza Like a True Pizzaiolo
- Ingredients
- Instructions
- Tips for Success
- Serving Suggestions
- Q&A
- Key Takeaways
Get ready to roll up your sleeves and embark on a flavorful journey that starts with the perfect dough.
In the context of Master Art, Master the Art of Homemade Pizza Dough: Easy, Foolproof Recipe starts with selecting the right flour-an frequently enough underestimated key to achieving a light and chewy texture that delights every bite. Whether you dream of that ethereal neapolitan crust or the perfect balance of crisp and tender, understanding flour varieties, dough hydration, and fermentation is the gateway to artisanal pizza at home. To truly master the art of pizza making, understanding the role of gluten development is crucial.
Master Art: Prep and Cook Time
- Prep Time: 20 minutes
- Fermentation time: 12 to 24 hours (for best flavor)
- Cook Time: 10-15 minutes
Yield
- 2 medium pizzas (10-12 inches each)
Difficulty Level
- Medium – beginner-kind with simple kneading and basic fermentation tips
Why Master Art Matters: Choosing the Perfect Flour for Light and Chewy Pizza Crust
Around Master Art, When aiming to master the art of homemade pizza dough, flour is your foundation. High-protein flours like bread flour (12-14% protein) develop the gluten structure essential for that delightful chewiness. you can also explore Italian-style “00” flour, finely milled and low in ash content, which yields a softer crumb with subtle elasticity. For an all-purpose option,you want one with moderate protein (around 10-12%),but be prepared for a slightly denser crust.
Regarding Master Art, TIP: Combining flours-such as 75% bread flour and 25% all-purpose-offers a balanced chew and flavor depth, especially when paired with proper hydration and fermentation.
Master Art in make the most of Ideal Dough Hydration and Kneading Techniques
When it comes to Master Art, The key to a perfectly light and chewy crust lies in dough hydration-the ratio of water to flour. A hydration level between 65-70% (for example, 650g water per 1kg flour) allows the dough to develop an airy crumb without becoming sticky or unmanageable.
In the context of Master Art, Kneading builds gluten strands,providing elasticity and structure. Use the ”stretch and fold” method if working with wetter doughs: gently stretch the dough and fold it over itself every 30 minutes during bulk fermentation for up to 2 hours.this encourages gluten strength without exhausting your arms. Proper kneading produces a smooth, satin-like dough that bounces back when poked.
The Importance of Fermentation and How to Achieve Maximum Flavor
Around Master Art, fermentation is your pizza dough’s flavor powerhouse. cold fermentation slows yeast activity, allowing enzymes to break down starches into sugars and develop complex aromas. Refrigerate your dough for 12 to 24 hours in a lightly oiled bowl, covered with plastic wrap.
Regarding Master Art, Before shaping,bring the dough to room temperature for about 1 hour to relax the gluten,making it easier to stretch.This resting period enhances elasticity and creates beautiful air pockets in the final crust.
Tips for Shaping and Baking Your Pizza Like a True Pizzaiolo
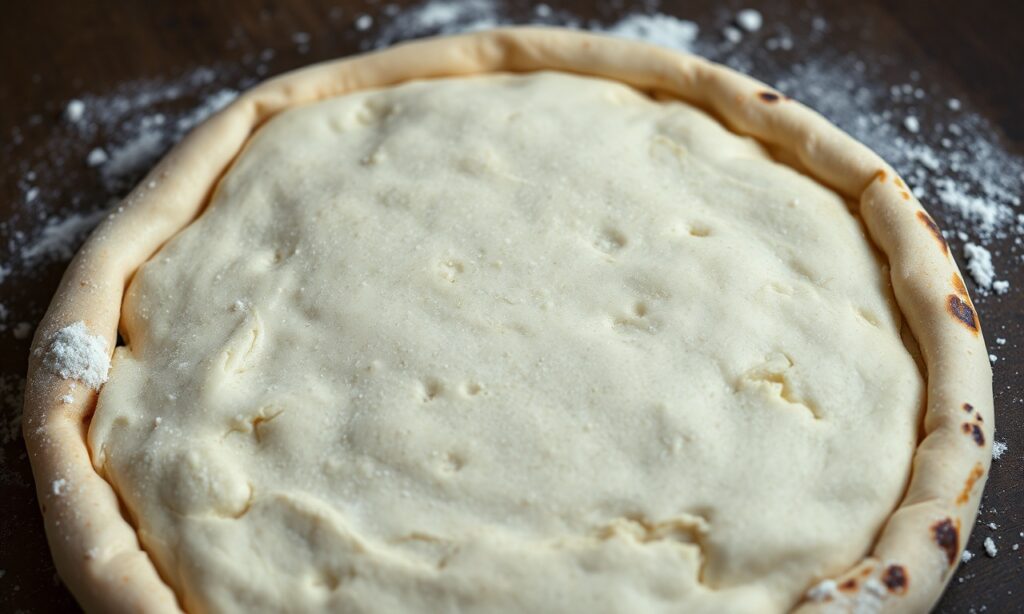
When it comes to Master Art, Gently press your dough from the center outward using your fingertips to preserve air bubbles, which contribute to that iconic airy crust. Avoid using a rolling pin, which can deflate your dough. when stretching by hand,rotate continuously and stretch gradually to the desired size.
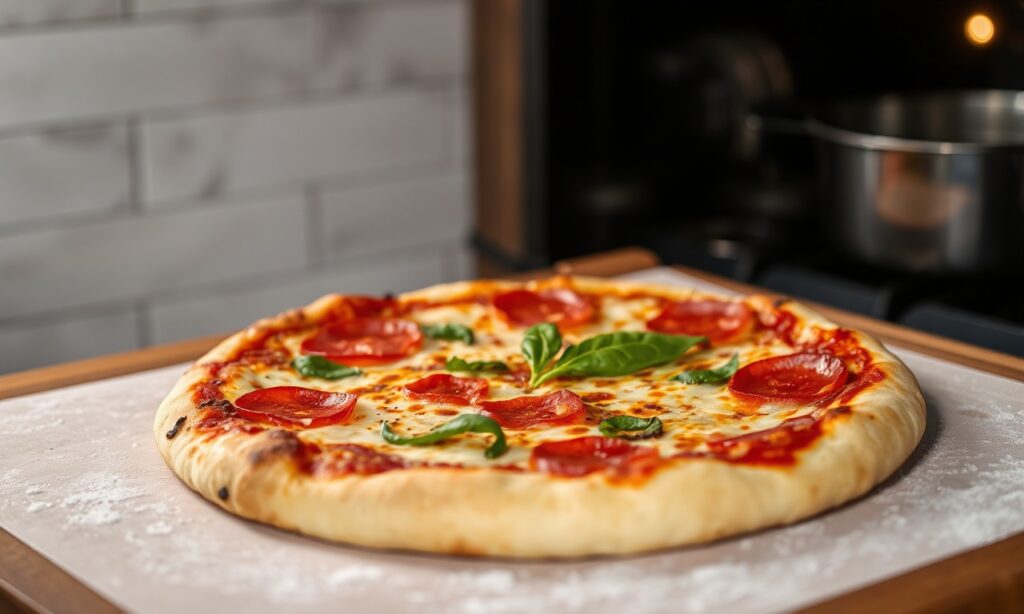
In the context of Master Art, Preheat your oven to the highest possible temperature (ideally 500°F/260°C or above) with a pizza stone or steel placed on the middle rack for at least 45 minutes.This ensures radiant heat mimics a customary pizza oven. Slide the stretched dough onto a floured peel, add your favourite toppings sparingly to prevent sogginess, then bake for 10-15 minutes until edges char gently and crust crisps.
Ingredients
- 3 ½ cups (450g) bread flour, sifted
- 1 ¼ cups (300ml) lukewarm water (65-70% hydration)
- 1 tsp active dry yeast
- 2 tsp fine sea salt
- 1 tbsp olive oil
- Semolina flour or extra bread flour for dusting
Instructions
- Activate Yeast: In a small bowl, gently dissolve yeast in lukewarm water (95°F/35°C). Let sit for 5 minutes until foamy. This step ensures yeast is alive and ready.
- Mix Dry Ingredients: In a large bowl, whisk together bread flour and salt, ensuring salt is evenly distributed (salt placed directly on yeast can inhibit fermentation).
- Combine & Knead: Gradually pour yeast mixture and olive oil into flour. Stir with a wooden spoon or dough hook attachment until a rough dough forms. Transfer to a lightly floured surface and knead for 8-10 minutes until smooth and elastic. The dough should spring back when poked.
- Bulk fermentation: Lightly oil a clean bowl and place dough inside. Cover tightly with plastic wrap or a damp cloth. Allow to rise at room temperature for 1-2 hours until doubled in size, then refrigerate for 12 to 24 hours for cold fermentation and deeper flavor.
- Divide & Rest: Remove dough from fridge; divide into two equal portions. Shape into tight balls, cover, and rest at room temperature for 45-60 minutes to relax gluten.
- Shape Pizzas: Dust your work surface with semolina or flour. Gently press and stretch each dough ball into a 10-12 inch round, preserving air bubbles. Avoid rolling pins to keep the texture light.
- Preheat & Bake: Preheat oven and pizza stone at 500°F (260°C) for 45 minutes. Transfer dough to a floured peel, add toppings sparingly, then slide onto the stone. Bake 10-15 minutes until crust is golden with light charred spots.
- Rest & Serve: Remove pizza from oven and let cool for 2-3 minutes before slicing. This resting preserves crust texture and avoids toppings slipping off.
Tips for Success
- Use a kitchen scale for accurate flour and water measurements to maintain hydration consistency.
- For a tender crust, do not rush fermentation; patience yields more complex flavor and texture.
- If dough is sticky,lightly wet your hands rather of adding extra flour to prevent toughening the crust.
- Experiment with hydration levels slightly above 70% to create ultra-open crumb, but be prepared for a wetter dough that’s trickier to handle.
- Try adding a teaspoon of sugar or honey to jumpstart yeast activity if you’re in a cooler surroundings.
- Make dough ahead and freeze portions tightly wrapped for up to 2 weeks-thaw overnight in the fridge before use.
Serving Suggestions
Around Master Art, Once baked, add a drizzle of extra virgin olive oil, fresh basil leaves, or a sprinkle of flaked sea salt to elevate the flavors. Serve alongside a crisp green salad or roasted vegetables for a balanced meal. For a touch of indulgence, freshly grated parmesan or a few shards of aged pecorino add brilliant finishing notes. Enjoy your homemade pizza with a chilled sparkling water or a refreshing herbal iced tea to cleanse the palate between bites.
| Nutritional Info (per serving) | Amount |
|---|---|
| Calories | 430 kcal |
| Protein | 12 g |
| Carbohydrates | 78 g |
| Fat | 6 g |
Regarding Master Art, For complementary techniques on pizza sauces, try our homemade pizza sauce recipe guide to complete your pizza-making mastery. For deeper scientific insights on wheat proteins, visit the Penn State Extension on Wheat Flour Quality.
Q&A
Q&A: Master the Art of Homemade Pizza Dough - Easy, Foolproof Recipe
When it comes to Master Art, Q1: Why is homemade pizza dough worth the effort?
Making pizza dough at home transforms your kitchen into a mini pizzeria, giving you control over flavor, texture, and freshness. Unlike store-bought dough, homemade dough is customizable, fun to craft, and often yields a crispier crust with that perfect chew - an art worth mastering!
In the context of Master Art, Q2: What are the essential ingredients for pizza dough?
At its core, pizza dough needs just four simple ingredients: flour, water, yeast, and salt. Some recipes add a splash of olive oil for tenderness or a pinch of sugar to feed the yeast,but the basics always reign supreme.
Around Master Art, Q3: How can I tell if my dough is properly kneaded?
Kneading develops gluten, which gives your dough elasticity and strength. When your dough feels smooth, slightly tacky but not sticky, and springs back when pressed lightly with a fingertip, you’ve hit the kneading sweet spot.
Regarding Master Art, Q4: Does dough need to rise twice?
While some recipes call for a single rise,allowing your dough a second rise (after shaping) can enhance texture and flavor. The first rise lets the yeast work its magic, creating air bubbles; the second rise perfects the crumb structure and makes stretching the dough easier.
Q5: Can I make pizza dough ahead of time?
Absolutely! Pizza dough loves a slow fermentation in the refrigerator for 24 to 72 hours. This slow rise not only deepens the flavor but also makes the dough easier to handle. Just be sure to bring it back to room temperature before shaping.
Q6: What type of flour is best for pizza dough?
High-protein flours like bread flour or “00” Italian flour give the best chew and structure.All-purpose flour works just fine if you’re starting out, but switching to bread or “00” flour can elevate your pizza to the next level.
Q7: How thin or thick should my pizza dough be rolled or stretched?
Thickness is a personal preference! thin crust lovers aim for a nearly paper-thin base that crisps quickly, while thick crust fanatics enjoy a pillowy, doughy bite. Just remember-thinner dough bakes faster, so keep an eye on your oven.
Q8: Can I bake pizza dough without a pizza stone?
Yes! A pizza stone mimics the intense heat of a brick oven by absorbing and radiating heat evenly, but a heavy-duty baking sheet or even an inverted cast-iron skillet can do the trick. Preheat them in the oven to help achieve a golden, crispy crust.
Q9: How do I prevent soggy pizza dough when adding toppings?
To keep your crust crisp, avoid overly watery toppings and don’t overload your pizza. Blot juicy vegetables, drain excess moisture from sauces, and spread toppings evenly but sparingly. Pre-baking the crust for a few minutes before topping can also help.
Q10: What’s the secret to getting that bubbly, charred crust like in pizzerias?
High heat is your best friend! Bake your pizza at 475°F (245°C) or higher, if your oven allows. The intense heat causes rapid steam production inside the dough, creating bubbles and beautifully charred spots – a hallmark of artisanal pizza crusts.
With these tips and tricks, turning simple ingredients into mouthwatering homemade pizza dough is no longer a mystery but an enjoyable kitchen adventure. Ready to toss that dough like a pro? Let’s get baking!
Key Takeaways
With your newfound skill in crafting the perfect homemade pizza dough, the kitchen transforms into your personal pizzeria-a place where creativity rises just like your dough. Armed with this easy, foolproof recipe, you’re no longer just a pizza lover; you’re a pizza maker, shaping delicious moments from simple ingredients. So go ahead, roll up your sleeves and let each batch be a delicious testament to your mastery. Because when it comes to homemade pizza,the secret ingredient is always the joy you put into making it. Happy baking!
See also: Master Art