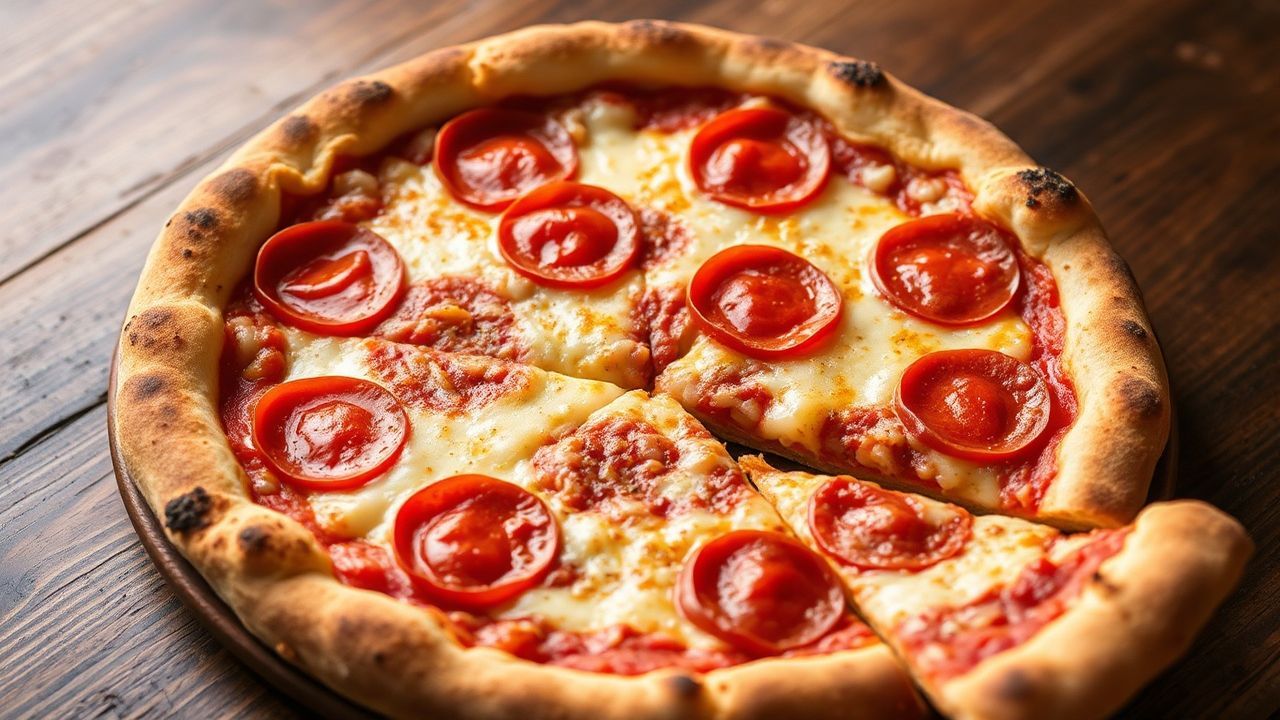
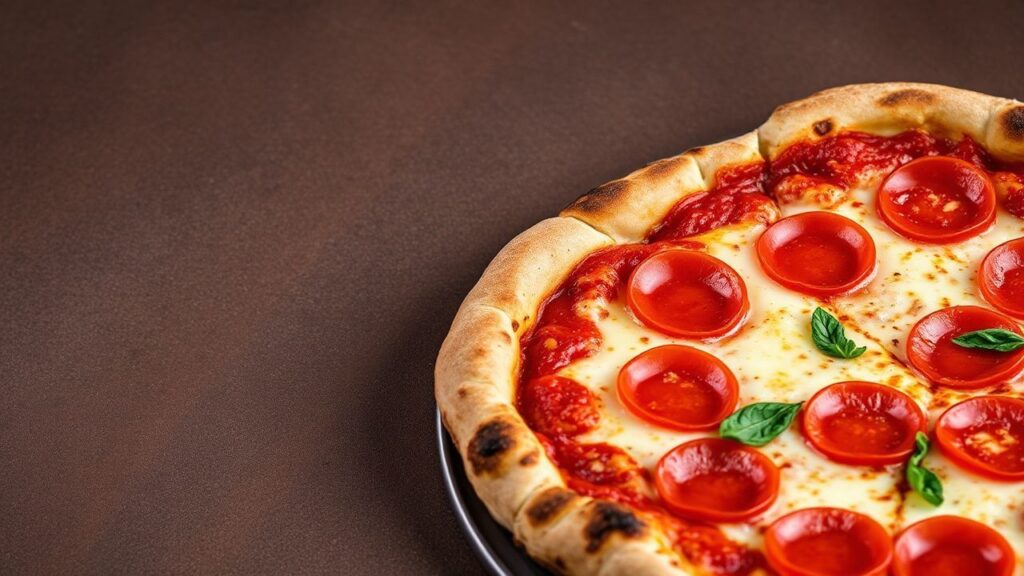
Classic pepperoni pizza earns its place on every menu because it balances chew, melt, and savory heat. The crispy edges come from heat, hydration, and timing working together—so you get crunch where it matters most.
- Master the Perfect Dough for Classic Pepperoni Pizza with Crispy Edges
- Choose Pepperoni and Cheese for the Best Classic Crisp
- Heat and Baking Method for Golden, Crunchy Edges
- Preheat Strategy: Stone vs. Steel
- Slide-In and Dusting That Prevent Sticking
- Moisture Control: Sauce and Topping Limits
- Prep and Bake Timing (Classic Pepperoni Pizza)
- Yield and Difficulty
- Ingredients for Classic Pepperoni Pizza with Crispy Edges
- Instructions: Step-by-Step for Crispy-Edge Results
- Tips for Success (Crisp Rim Checklist)
- Serving Suggestions That Keep the Crust Crisp
- FAQ
- What makes a classic pepperoni pizza truly classic?
- Why aren’t my edges crisp even though my center bakes?
- How do I stop the crust from turning soggy under the cheese?
- What temperature works best for crispy pepperoni pizza edges at home?
- Can I make this classic pepperoni pizza with crispy edges ahead of time?
- Final Thoughts
At a Glance
- Use a high-hydration, high-gluten dough for sturdy, crisping edges.
- Preheat a stone or steel to full temperature before baking.
- Keep sauce thin and let pepperoni oil crisp the surface.
- Rest the baked pizza briefly so the crust stays crisp when you slice.
Below, you’ll find a practical, home-tested workflow for making classic pepperoni pizza with crispy edges. You’ll also learn how to pick pepperoni and cheese, control moisture, and bake for even browning.
We’ll stay focused on one goal: a golden crust with crackling rims and a tender interior. Follow each step in order, and you’ll improve fast.
Master the Perfect Dough for Classic Pepperoni Pizza with Crispy Edges
Your dough controls the edge texture. A dough that holds shape will still expand under heat, then dry out just enough to turn crisp.
Start with a blend of bread flour (for gluten strength) and a smaller portion of all-purpose flour (for balance). Hydrate well, then ferment so the dough tastes rich and stretches cleanly.
If you want the crisp rim, treat hydration like a tool—not a risk. Slight tackiness usually bakes into a shatter-prone edge because the surface can steam, then dry quickly.
For flour science background, see gluten. For fermentation basics, review fermentation.
Hydration and Resting Time That Build a Crunch Rim
Let the dough rest after mixing, and then rest again after shaping. Gluten develops during rest, and the dough becomes elastic instead of elastic-with-tears.
When you shape, keep the center slightly thicker than the rim. The rim needs a thinner profile so it can crisp fast at the hottest point.
Expert Tip: If you bake on a pizza steel, the edge browns quicker. Reduce bake time by 30–60 seconds and watch the rim color closely.
Pro-Caution: Do not add extra flour just to make shaping easier. Too much flour lowers dough hydration and reduces crisp potential at the rim.[/WARNING]
Stretch Technique: Thin Rim, Controlled Thickness
Press the dough outward, then lift and stretch gently. Avoid using a rolling pin on the rim if you can; rolling can compact dough and slow expansion.
Aim for a consistent 12-inch circle with slightly thinner edges. That thin rim helps the Maillard browning reach the dough surface before the center turns dry.
Maillard chemistry matters for color and aroma. For a deeper explanation, read Maillard reaction.
Choose Pepperoni and Cheese for the Best Classic Crisp
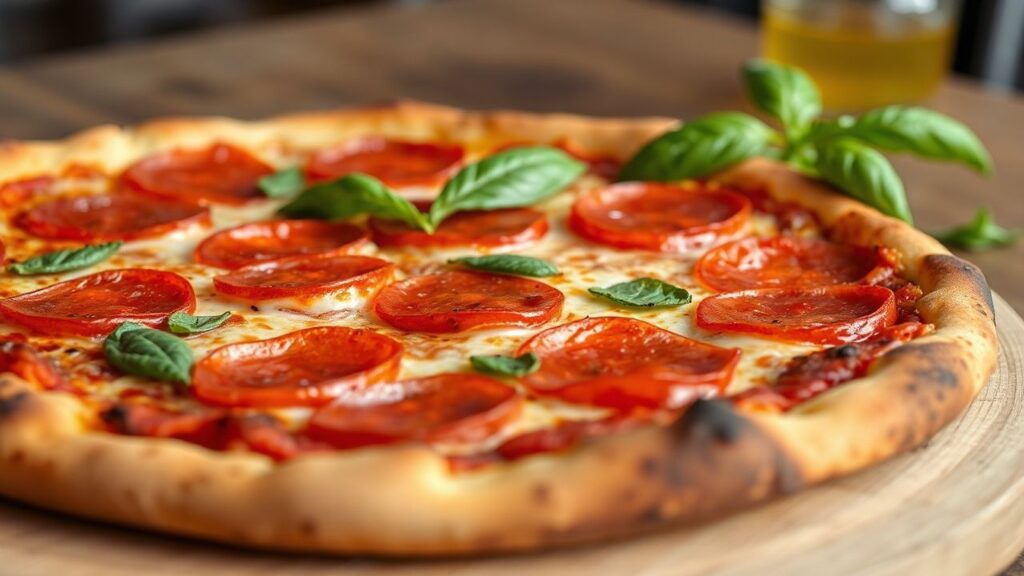
Classic pepperoni pizza needs pepperoni that curls and releases oil. That oil lightly fries the cheese surface and helps the rim crisp through.
Pick thinly sliced pepperoni (beef or turkey) so it heats fast. Thicker slices can stay leathery and reduce crisp rim quality.
Cheese also drives moisture control. Low-moisture mozzarella melts smoothly, while a second cheese like provolone can add flavor depth without flooding the crust.
For background on milk protein and melting behavior, see mozzarella and cheese.
Build a Cheese Layer That Seals the Rim
Layer cheese first so it melts into the dough. This acts like a thin “seal” that helps the toppings stay on top while the rim browns.
Use even coverage, then add pepperoni on top. If pepperoni sits directly on the dough, it can burn oil pockets and create uneven browning.
Pepperoni Curling: Why Thin Slices Crisp Faster
As pepperoni heats, fat renders and the protein tightens. That’s what creates curled edges and little cups that catch oil.
To keep those cups crisp instead of soggy, avoid heavy sauce and avoid stacking pepperoni too thick. One layer with light spacing works best.
Heat and Baking Method for Golden, Crunchy Edges
Oven temperature sets the pace. For classic pepperoni pizza with crispy edges, preheat your stone or steel for at least 45 minutes so the baking surface stays hot during slide-in.
When the dough hits a fully preheated surface, the underside sears quickly. That fast sear drives crisp texture while the top keeps a soft, melty center.
Rotate the pizza halfway through for even browning. Also keep an eye on rim color; crisp edges go from golden to burnt quickly at high heat.
For a general overview of pizza cooking physics and heat transfer, see heat transfer.
Preheat Strategy: Stone vs. Steel
Stone gives strong bottom baking but may heat more slowly. Steel holds and transfers heat well, which often improves edge crispness.
If you use steel, you may bake slightly faster. If you use stone, give it full preheat time and consider extending bake by a minute if the rim stays pale.
Slide-In and Dusting That Prevent Sticking
Dust the peel or tray with semolina or fine cornmeal. This reduces sticking and helps the crust form a clean bottom layer.
Also avoid excess flour on the dough surface. Extra flour can burn and create bitter specks near the rim.
Pro Tip: Use parchment only if you need it for slide control. Remove it after 1–2 minutes so the rim still dries and crisps.
Moisture Control: Sauce and Topping Limits
Soggy edges almost always come from too much sauce or wet toppings. Keep sauce thin, and keep toppings fewer than you think you need.
Spread sauce close to the rim but leave a small border. That border gives the dough a direct path to heat so it crisps instead of steams.
For tomato ingredient basics, see tomato and crushed tomatoes.
Prep and Bake Timing (Classic Pepperoni Pizza)
Plan ahead so your dough can ferment. Fermentation drives both flavor and structure, which affects rim crispness more than most shortcuts.
Keep your kitchen setup ready—preheated steel/stone, peel dusted, sauce cooled, and cheeses shredded.
- Prep Time: 20 minutes (plus 1.5 hours dough rising; longer ferment optional)
- Cook time: 10–12 minutes at high heat
- Total Time: About 1 hour 30 minutes (or 1 day with cold ferment)
Yield and Difficulty
This recipe makes one 12-inch classic pizza. It’s sized for two to three servings depending on appetite and sides.
Difficulty stays at a medium level because the rim depends on dough handling and oven control. Once you nail those two variables, repeat success gets much easier.
Yield: Serves 2–3 (1 × 12-inch pizza)
Difficulty Level: Medium
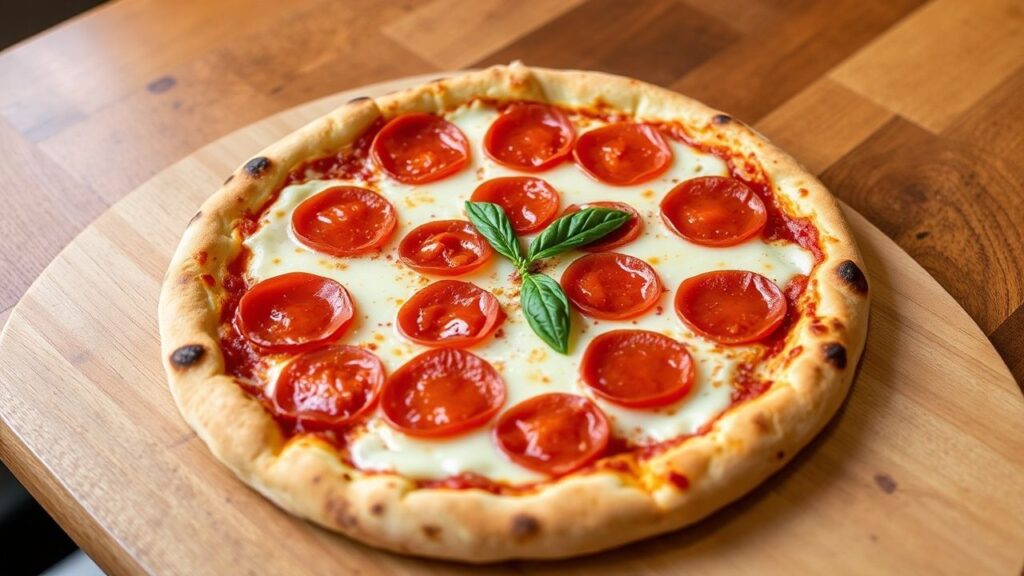
Ingredients for Classic Pepperoni Pizza with Crispy Edges
Use fresh, reliable ingredients so the crust can do its job. The rim crispness depends on dough moisture balance and topping moisture.
Shred cheese right before assembly if you can. That keeps texture from drying out too much or clumping.
Dough
- 2 cups bread flour, sifted
- 1 cup all-purpose flour, sifted
- 1 tsp fine sea salt
- 2 tsp active dry yeast
- 1 ¼ cups warm water (105°F / 40°C)
- 1 tbsp olive oil, plus extra for greasing
- 1 tsp sugar
Sauce
- 1 cup canned crushed plum tomatoes
- 1 garlic clove, finely minced
- ½ tsp dried oregano
- ½ tsp sugar
- Salt and black pepper, to taste
- 1 tbsp extra virgin olive oil
Toppings
- 6 oz thinly sliced turkey or beef pepperoni
- 6 oz whole milk mozzarella, shredded (low-moisture if possible)
- 2 oz provolone cheese, shredded
- Semolina or fine cornmeal, for dusting
- Fresh basil leaves (optional), for garnish
Instructions: Step-by-Step for Crispy-Edge Results
Work in order and keep each component ready before you assemble. Once the oven and baking surface are hot, you want a smooth, fast slide-in.
These steps focus on one outcome: a classic pepperoni pizza with a crisp, golden rim and a melty center.
- Activate the yeast: In a small bowl, dissolve sugar in warm water. Sprinkle yeast over and rest 5–7 minutes until foamy.
- Prepare the dough: In a large mixing bowl, combine bread flour, all-purpose flour, and salt. Add yeast mixture and olive oil. Stir until the dough starts to form.
- Knead to perfection: Knead 8–10 minutes until smooth and elastic, slightly tacky. Add flour only if dough feels wet beyond manageable.
- First rise: Lightly oil a bowl, place dough inside, cover, and let rise 1 hour or until doubled.
- Make the sauce: Sauté garlic in olive oil for 1 minute. Add crushed tomatoes, oregano, sugar, salt, and pepper. Simmer 10 minutes. Cool.
- Shape the dough: Punch down and form a 12-inch circle. Keep rim thinner than the center.
- Preheat and prepare: Preheat oven to 500°F (260°C). Preheat pizza stone or steel for at least 45 minutes. Dust peel with semolina or cornmeal.
- Assemble: Spread a thin sauce layer, leaving a small border. Add mozzarella and provolone evenly. Arrange pepperoni with light spacing so it can crisp.
- Bake to golden perfection: Slide pizza onto the hot surface and bake 10–12 minutes. Rotate halfway for even browning. Bake until the rim is golden and cheese shows spotty caramelization.
- Finish and rest: Remove pizza and rest 2 minutes before slicing. Add basil if using, then serve.
Tips for Success (Crisp Rim Checklist)
Use this checklist while you cook. Small fixes during assembly often make the rim crisp instead of chewy.
Also remember that oven performance varies. Your goal stays the same: golden rim, melted cheese, and pepperoni that curls.
- Hydration balance: Slight tackiness usually helps the rim crisp.
- Flour quality: High-protein bread flour improves dough structure.
- Oven heat: Preheat stone or steel fully for strong bottom sear.
- Prevent soggy bottoms: Use thin sauce; avoid overcrowding toppings.
- Make-ahead option: Cold refrigerate dough overnight, then shape at room temp.
- Substitution: If using dairy-free cheese, choose one labeled for pizza melt behavior.
Serving Suggestions That Keep the Crust Crisp
Serve immediately for the best texture. The crust stays crispest right after resting, before steam rehydrates the rim.
Pair the pizza with a simple side salad. Acid and crunch from greens help cut through the pepperoni richness.
You can also add a light drizzle of olive oil after baking. Keep it modest to avoid greasiness at the rim.
For salad dressing basics, see vinaigrette.
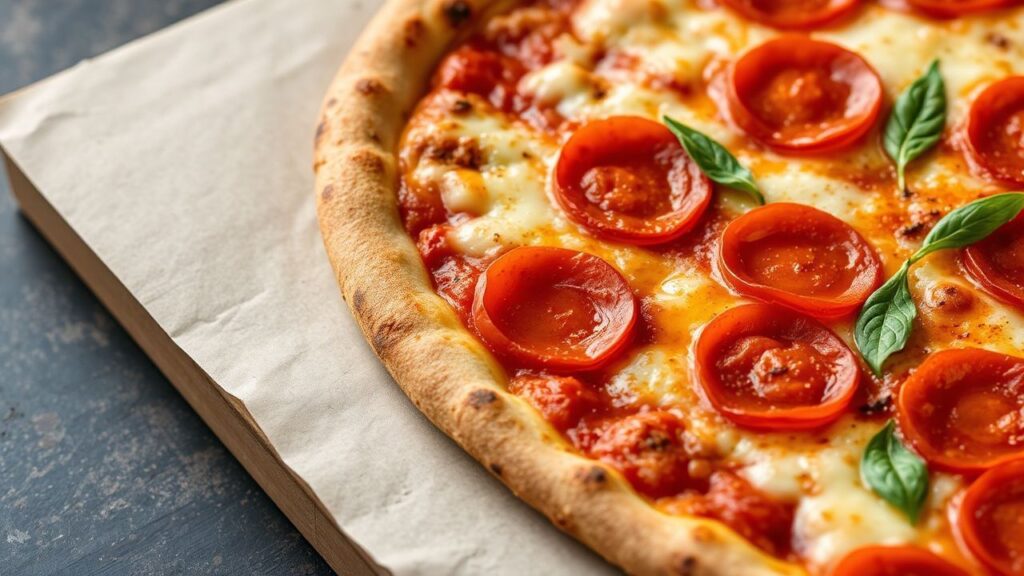
| Nutrient | Per Serving (1/3 pizza) |
|---|---|
| Calories | 480 kcal |
| Protein | 22 g |
| Carbohydrates | 48 g |
| Fat | 20 g |
Want to fine-tune your dough texture? Start with this internal resource: Perfect Pizza Dough Techniques. If you plan to scale batches, use the method in Pizza Dough Batching Guide to keep fermentation consistent.
For a science-forward approach to crust development, use the baking concepts explained in baking. That background helps you troubleshoot when your rim turns pale or soft.
FAQ
These answers focus on the most common problems with classic pepperoni pizza and crisp-edge crusts. Use them to fix texture fast.
If you still miss the goal, revisit hydration, preheating, and sauce thickness first. Those three drive the rim more than any topping swap.
What makes a classic pepperoni pizza truly classic?
A classic pizza keeps the ingredient list simple: a well-fermented dough, a lightly sweet tomato sauce, melted mozzarella, and thin pepperoni. The texture contrast comes from a crisp rim and a tender, bubbly interior.
For background on pizza traditions, check Pizza.
Why aren’t my edges crisp even though my center bakes?
Most often, the baking surface isn’t hot enough or the sauce layer is too thick. Also check your dough rim thickness; thicker rims trap moisture and delay crisping.
Preheat longer and use a thinner sauce coat. Then rotate the pizza for even browning.
How do I stop the crust from turning soggy under the cheese?
Use low-moisture mozzarella and spread sauce thin. Avoid adding extra watery toppings, and keep pepperoni to one even layer with spacing.
Rest the pizza for 2 minutes before slicing so steam can settle and the rim firms up.
What temperature works best for crispy pepperoni pizza edges at home?
High heat works best. Use 500°F (260°C) and preheat your stone or steel for at least 45 minutes so the bottom can sear immediately.
If your oven tops out lower, you can still improve crispness by thinning the rim and keeping sauce minimal.
Can I make this classic pepperoni pizza with crispy edges ahead of time?
Yes. Refrigerate the dough after the first rise or after mixing, then shape when it warms slightly. Cold ferment improves flavor and can boost crust structure.
For fermentation timing concepts, see Fermentation.
Final Thoughts
Classic pepperoni pizza with crispy edges comes down to control: dough hydration, proper fermentation, and a fully preheated baking surface. When those pieces align, you get a golden rim that snaps instead of bends.
Now you have a clear method—choose the right dough, thin the rim, keep sauce light, and bake hot. Use the FAQ and checklist when you troubleshoot, and you’ll improve each bake.
When your pizza comes out with crackling crust edges, you’ll taste the difference in every slice. That crispy rim isn’t luck—it’s technique.
See also: classic pepperoni pizza