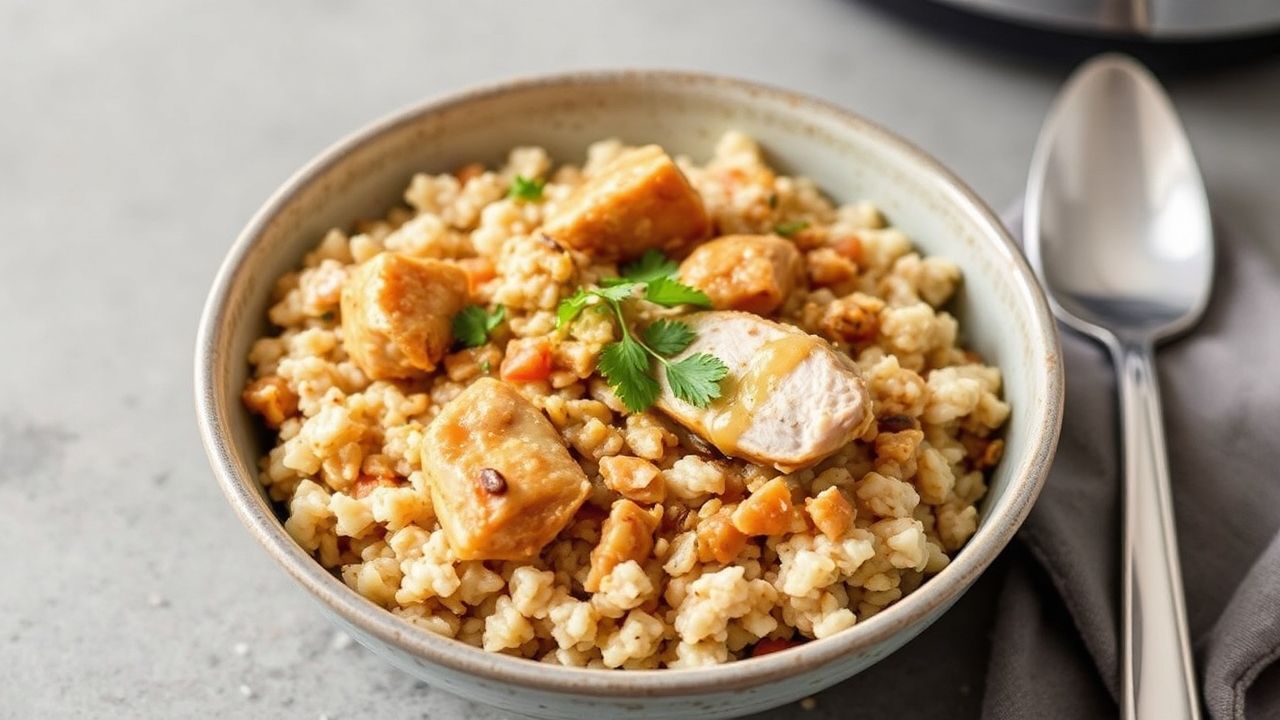
Weeknights move fast. A one-pot meal that tastes rich without extra dishes makes dinner feel simple again. This Instant Pot Chicken with Nutty Brown Rice combines tender chicken and deeply nutty brown rice in about an hour, start to finish.
- Choosing the Perfect Cuts for Tender Instant Pot Chicken
- Unlocking Nutty Flavors of Brown Rice in One Pot
- Step-by-Step Guide to Seamless Instant Pot Cooking
- Tips for Enhancing Aroma and Texture Every Time
- Prep and Cook Time
- Yield
- Difficulty Level
- Ingredients
- Instructions
- Chef’s Notes
- Serving Suggestions
- Q&A
- Q1: What makes Instant Pot Chicken with Nutty Brown Rice a true one-pot wonder?
- Q2: Why use brown rice instead of white rice here?
- Q3: How do I keep the chicken juicy during pressure cooking?
- Q4: Can I customize the nutty flavors?
- Q5: What’s the best way to prevent the Instant Pot “burn” warning?
- Wrapping Up
At a Glance
- One pot, fewer steps: toast rice, brown chicken, then pressure cook together.
- Nutty flavor: rice toasting plus chicken broth builds aroma and depth.
- Juicy chicken: bone-in, skin-on thighs stay moist under pressure.
- Smart release: natural release helps the rice finish tender, not mushy.
Think of this dish as your template for Instant Pot chicken rice bowls. You get a complete protein + whole grain plate, with consistent results every time.
Choosing the Perfect Cuts for Tender Instant Pot Chicken
Instant Pot Chicken with Nutty Brown Rice works best when you match the chicken cut to pressure cooking. I recommend bone-in, skin-on thighs because they stay juicy and develop flavor during the sear.
Thigh meat has more fat than breast meat. That extra fat helps maintain moisture during pressure cooking, which improves both texture and taste. If you want a leaner option, use breasts—but reduce cooking time and add extra attention to liquid coverage.
To keep cooking even, cut chicken into uniform pieces (about 2-inch chunks). Uniform size prevents dry edges and undercooked centers, especially when the rice sits below.
Unlocking Nutty Flavors of Brown Rice in One Pot
Brown rice naturally tastes nutty because it keeps the bran layer. That bran also absorbs liquid, so your cooking liquid and timing matter. If you want the best bite, rinse the rice well, then toast it before pressure cooking.
Toasting builds a deeper aroma through mild browning and heat-driven flavor changes. This step also helps grains hold shape. For background on whole grains and why bran matters, see whole grain.
Use chicken broth (or a mix of broth and water) to season from the inside. Broth adds savory depth that plain water cannot replace.
After cooking, fluff rice gently with a fork. Fluffing separates grains and keeps the “nutty” texture more noticeable from bite to bite.
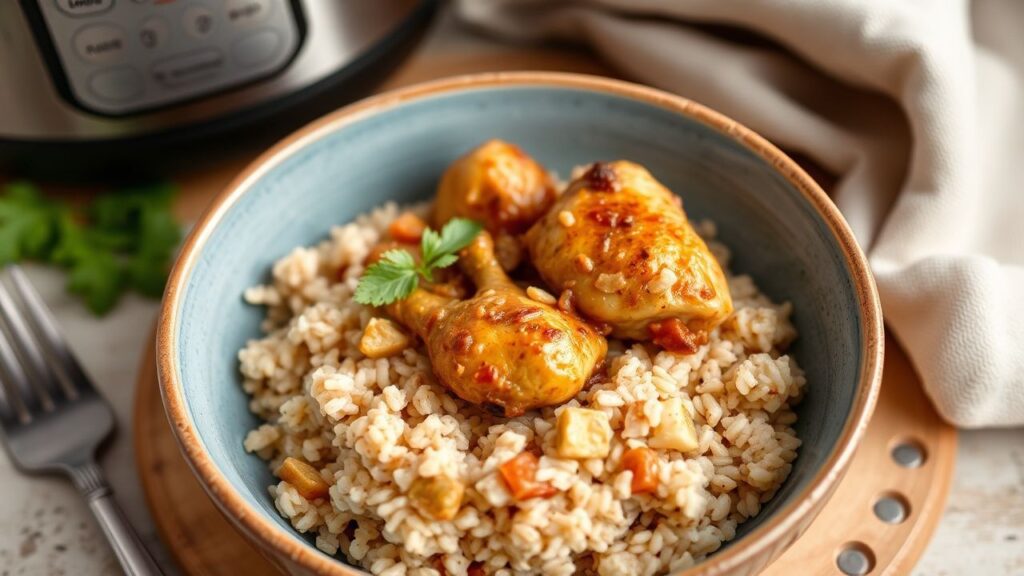
Step-by-Step Guide to Seamless Instant Pot Cooking
Start with clean prep so the cook cycle goes smoothly. Use the Instant Pot’s Sauté mode to build flavor first, then switch to high pressure for consistent results.
Brown the chicken in batches. Crowding the pot steams the meat, which reduces browning. Browning matters because it adds flavor compounds that your rice can pick up during pressure cooking.
Next, sauté aromatics like onion and garlic. Scrape up browned bits from the pot bottom. Those browned bits add depth to the sauce, which improves the overall taste of Instant Pot Chicken with Nutty Brown Rice.
Toast the rinsed brown rice in the same pot until it smells nutty. Then add broth and water, and stir to loosen any stuck residue. This prevents the dreaded “burn” warning that can stop the cycle.
Layering helps too. Place chicken on top of the rice mixture, but avoid stirring after layering. Stopping movement keeps heat and liquid behavior stable.
Cook on high pressure for about 20 minutes, then do a 10-minute natural release. Natural release lets pressure drop slowly, which supports tender rice texture and keeps chicken moist.
Why Brown Rice Needs the Right Liquid and Time
Brown rice absorbs more liquid than white rice because the bran layer remains intact. That’s why accurate liquid amounts and pressure time determine whether the rice turns out tender.
For helpful background on rice varieties, see rice. When you choose a brown rice setting based on texture goals, the grains finish more evenly.
Common Texture Problems (and How to Fix Them)
If rice tastes undercooked, add a splash of broth and simmer on Sauté for a few minutes with the lid off. If rice turns mushy, reduce cook time slightly next run and shorten natural release.
If chicken feels dry, it usually comes from lean cuts or insufficient fat content. Next time, choose bone-in thighs or reduce pressure time for breasts, then let pressure release naturally.
Tips for Enhancing Aroma and Texture Every Time
Aroma starts in the first minutes. Use fresh aromatics (garlic, onion, herbs) and season chicken before searing. That seasoning builds a savory base for the whole pot.
To boost nutty notes, keep toasting short and focused. Also, avoid thick sauces at the bottom of the pot during pressure cooking. Thick layers can cling and trigger burn alerts.
Finishing matters too. Add lemon juice right before serving to brighten flavors. Then garnish with chopped parsley and optional toasted nuts for extra crunch.
Seasoning That Stays Balanced
Smoked paprika and thyme pair well with chicken and warm rice flavors. Use salt and pepper generously, but taste carefully because broth also adds sodium.
If you want extra heat, add a small amount of chili flakes. Add heat gradually so the nutty flavor stays in the lead.
Prep and Cook Time
This recipe stays efficient for busy schedules. Prep takes about 15 minutes for chopping, rinsing, and seasoning.
Pressure cooking takes about 20 minutes, plus 10 minutes natural release. Total time comes to roughly 45 minutes depending on your pot and starting temperature.
Yield
This recipe makes about 4 hearty servings. Each serving includes chicken plus a full portion of brown rice.
It also reheats well, which helps meal prep. For storage guidance, keep leftovers in a sealed container and refrigerate promptly.
Difficulty Level
Easy to Medium is a fair fit. You only need one piece of technique: browning the chicken and toasting rice on Sauté.
If you follow the liquid and layering steps, the rest becomes hands-off. Even first-time Instant Pot users can succeed with these checks.
Ingredients
Gather your ingredients before you start. This reduces pauses and helps Sauté stay focused and hot.
- 1 ½ lbs bone-in, skin-on chicken thighs, trimmed and patted dry
- 1 ½ cups brown rice, rinsed thoroughly
- 1 medium yellow onion, finely chopped
- 3 cloves garlic, minced
- 1 ½ cups low-sodium chicken broth
- 1 cup water
- 2 tablespoons olive oil
- 1 teaspoon smoked paprika
- 1 teaspoon dried thyme
- Salt and freshly ground black pepper, to taste
- Juice of ½ lemon
- Fresh parsley, chopped, for garnish
- Optional: toasted slivered almonds or pine nuts
Instructions
Follow these steps in order. Each step builds flavor for the next one.
- Prepare the chicken: Season chicken thighs with salt, pepper, smoked paprika, and dried thyme.
- Sauté chicken: Set Instant Pot to Sauté. Heat olive oil. Place chicken skin-side down and cook until golden brown, about 5 minutes per side. Remove chicken.
- Sauté aromatics: Add onion and garlic. Cook until translucent and fragrant, about 3 minutes. Scrape browned bits from the pot.
- Toast the rice: Stir in rinsed brown rice. Sauté 3–4 minutes until grains smell nutty and look slightly toasted.
- Add liquids: Pour in chicken broth and water. Stir and scrape the bottom to loosen any stuck bits.
- Layer chicken: Nestle chicken thighs on top of the rice mixture. Do not stir after adding chicken.
- Pressure cook: Seal the lid. Cook on high pressure for 20 minutes.
- Release and finish: Natural release for 10 minutes, then carefully release remaining pressure. Remove chicken, fluff rice, and stir in lemon juice. Garnish with parsley and optional toasted nuts.
Chef’s Notes
Small adjustments can protect texture and flavor. Use these notes when you tweak the chicken cut or prep ahead.
- Substitutions: Boneless, skinless thighs or breasts work. Reduce pressure cooking time to 10–12 minutes to reduce dryness.
- Make-ahead: Store leftovers in airtight containers. Reheat gently with a splash of broth if rice feels tight.
- Troubleshooting “burn”: Deglaze thoroughly after sautéing rice and aromatics. Keep rice evenly covered with liquid.
- Variations: Add diced bell peppers or carrots with the onions for color and nutrition.
For general safety and food handling principles, use food safety as a reference when storing or reheating meals.
Serving Suggestions
Serve this dish hot and fresh from the pot. The rice holds flavor, so simple sides work best. A crisp salad adds crunch and coolness against the warm, nutty grains.
Try steamed vegetables like green beans, broccoli, or spinach. You can also add a yogurt-based sauce for a creamy contrast that pairs with lemony brightness.
For readers who want the science behind why bran gives brown rice its signature character, review dietary fiber and how it affects fullness and texture in whole grains.
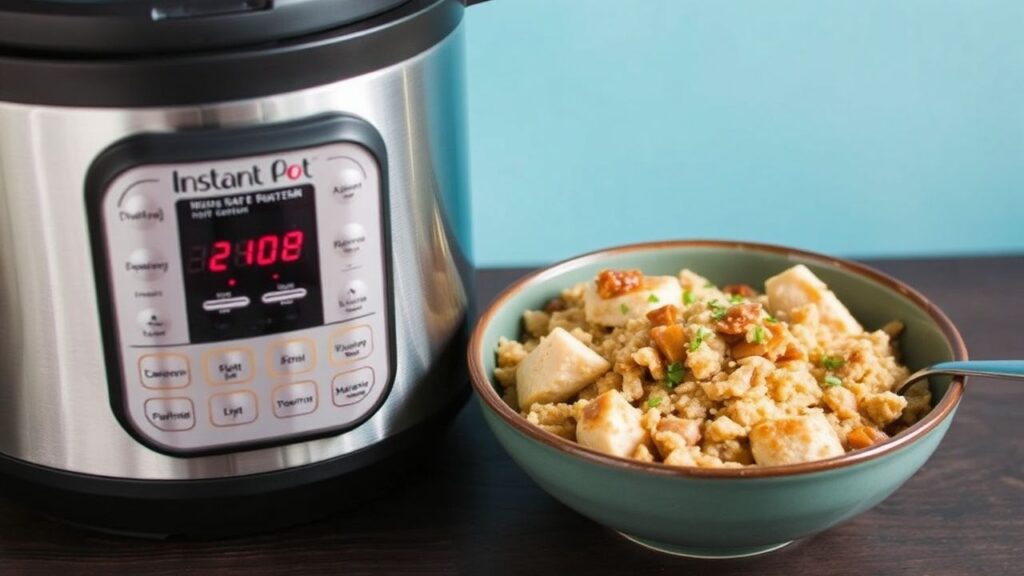
| Nutrient | Per Serving |
|---|---|
| Calories | 420 kcal |
| Protein | 35 g |
| Carbohydrates | 38 g |
| Fat | 12 g |
If you want more Instant Pot inspiration, choose recipes that share the same cooking logic: brown first on Sauté, toast grains, then pressure cook with enough liquid. That method keeps texture reliable across many chicken and rice dishes.
For broader context on pressure cooking and cooking science, see pressure cooking. It helps explain why timing and release steps change the final texture.
Q&A
Q1: What makes Instant Pot Chicken with Nutty Brown Rice a true one-pot wonder?
A1: You cook chicken and brown rice using the same heat cycle. Sautéing builds a flavorful base, while pressure cooking melds seasoning into both chicken and grains with minimal cleanup.
Q2: Why use brown rice instead of white rice here?
A2: Brown rice keeps the bran layer, which gives a naturally nutty flavor. It also provides a hearty texture that holds up well under pressure alongside chicken.
Q3: How do I keep the chicken juicy during pressure cooking?
A3: Use bone-in, skin-on thighs and avoid overcooking. Natural release for 10 minutes also helps the meat stay moist and prevents harsh temperature changes.
Q4: Can I customize the nutty flavors?
A4: Yes. Toasted nuts like almonds or pine nuts added at the end boost aroma and crunch. You can also add a pinch of warm spices, but keep the amounts small so lemon brightness stays balanced.
Q5: What’s the best way to prevent the Instant Pot “burn” warning?
A5: Deglaze the pot after sautéing rice and aromatics. Stir liquids in thoroughly, and ensure the rice sits evenly under enough broth so moisture can form the pressure needed for steady cooking.
Wrapping Up
When you combine browned chicken, toasted brown rice, and a steady pressure cycle, dinner turns into comfort food you can repeat. This Instant Pot Chicken with Nutty Brown Rice keeps flavor high and effort low.
Use the cuts, liquid, and release steps as your guide. With those basics locked in, you’ll get nutty, tender rice and juicy chicken in one pot—week after week.
See also: Instant Pot Chicken