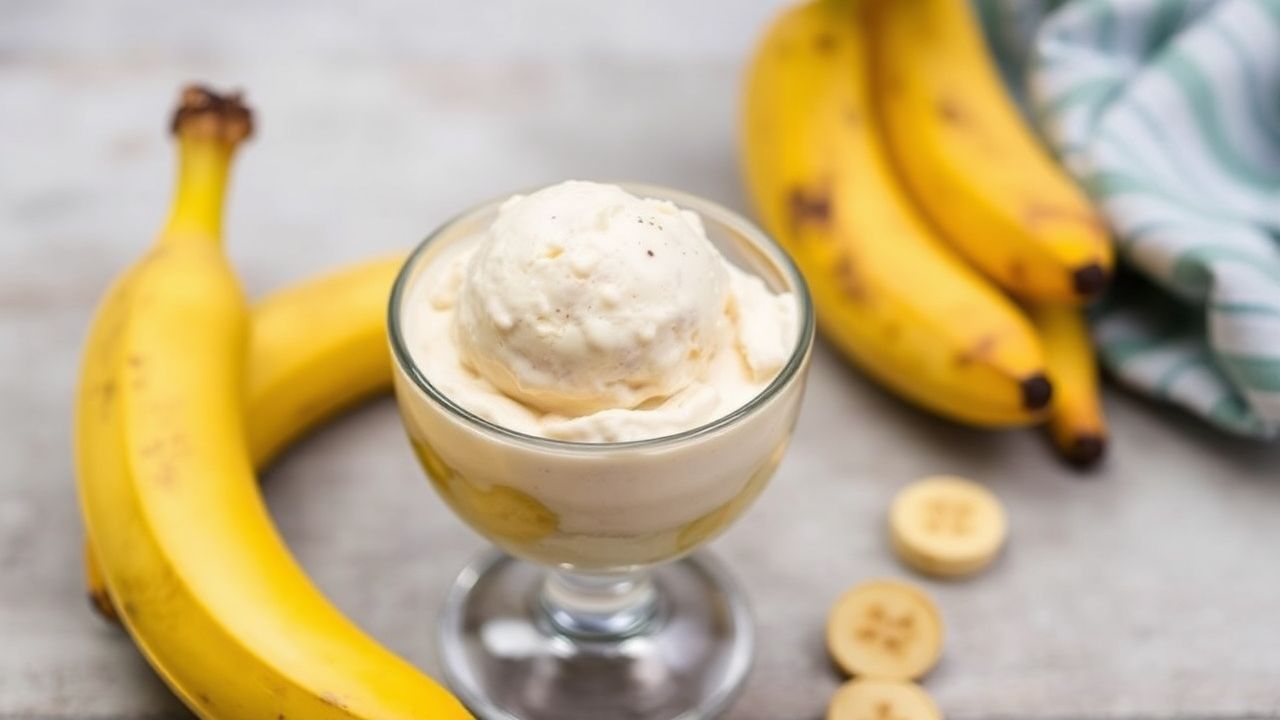
Healthy banana nice cream is one of the simplest ways to turn ripe fruit into a spoonable frozen dessert. You blend frozen banana with a splash of plant milk, then freeze or eat as soft-serve. The result tastes like classic ice cream, but it relies on whole ingredients instead of heavy cream.
- Focus fruit: use very ripe bananas for natural sweetness and smooth texture.
- Texture control: a brief soften + high power blend prevents icy crumbs.
- Flavor upgrades: cocoa, vanilla, cinnamon, and nut butter mix in easily.
- Make-ahead: firm in the freezer, then thaw 5–10 minutes before scooping.
Why Healthy Banana Nice Cream Works
Banana nice cream works because frozen banana starch and sugars melt inside the blender to create body. That’s why the base needs no dairy for creaminess. Potassium and fiber in bananas also support everyday nutrition, especially when you use them as your main ingredient.
You can keep the recipe light by limiting extra sweeteners. Overripe bananas bring more sweetness, so you often need none or only a small amount of maple syrup. If you add mix-ins, choose flavors that complement banana rather than overpower it.
Bananas and the basics of creamy texture
Ripe bananas are softer, so they blend faster and smoother. That reduces graininess and helps your nice cream hold a soft-serve texture. For the food science behind fruit ripeness and sweetness, see Banana.
When you freeze banana slices, you build a strong base structure. A short sit at room temperature helps the surface soften, while the interior stays frozen. This balance improves blending and keeps the mouthfeel creamy instead of icy.
Choose Bananas for the Best Flavor and Body
Pick bananas with brown speckles and a strong banana aroma. Those bananas tend to be sweeter and more blend-friendly. If bananas are too green, you’ll taste starch and you’ll get a thicker, less smooth blend.
Slice bananas before freezing. This step matters because small pieces freeze evenly and blend more uniformly. For guidance on ripening and fruit chemistry, review fruit and how ripeness changes eating quality.
Freezing method that prevents clumps
Freeze banana slices in a single layer on a tray or parchment-lined plate. Once frozen, transfer them to a container. This prevents clumping and keeps your blender task simple.
Use airtight storage to reduce freezer drying. Ice crystals form more easily when air touches the fruit. For a general look at freezing and how textures change, visit Freezing.
Natural Add-Ins That Keep It Healthy
You can add nutrition and flavor, but keep the blend balanced. Start with the base recipe first, then add one or two extras. This approach keeps the flavor clean and helps your texture stay creamy.
For color and antioxidant-rich flavor, use cocoa powder or a small amount of spirulina. For crunch, try cacao nibs or toasted nuts. To learn about the general nutrition profile of nuts and seeds, see nuts and seeds.
Sweeteners: when you need them (and when you don’t)
Most people need little or no extra sweetener when bananas are very ripe. If you prefer a sweeter dessert, add maple syrup one teaspoon at a time. Taste after blending, not before, because flavors concentrate slightly as the mixture thickens.
Honey can work too, but it adds strong flavor. Use it lightly and blend well. For a broader reference on common sweeteners, check honey.
Step-by-Step: How to Make Healthy Banana Nice Cream
Making healthy banana nice cream takes almost no cooking. Your main work happens in prep and blending. After that, the freezer does the rest.
Follow the steps below for a smooth, spoonable result. Adjust only one variable at a time, like liquid amount or thaw time, to keep texture consistent.
Prep and timing
Preparation: 10 minutes. Freezing: 4–6 hours or overnight. Total time: about 4 hours 15 minutes plus blend time.
Yield: serves 2–3 scoops. If you use larger bananas, you may get an extra portion.
Ingredients (core recipe)
Use 3 large ripe bananas, peeled and sliced, then frozen. Add 2 tbsp unsweetened plant milk (almond, oat, or similar) and 1 tsp vanilla extract.
Optional add-ins include 1 tbsp chia seeds and 1 tbsp cocoa nibs or dark chocolate. Add matcha or spirulina only if you want a specific flavor and color.
Instructions
1) Freeze the bananas: arrange slices in a single layer and freeze until solid, about 4 hours or overnight.
2) Soften briefly: let frozen banana sit at room temperature for 5 minutes. This helps blending without melting the base.
3) Blend first: add bananas, plant milk, and vanilla. Start on low, then increase until smooth. Scrape the sides often.
4) Adjust thickness: if it feels too thick, add plant milk a teaspoon at a time. Stop when it reaches soft-serve consistency.
5) Fold in extras: add chia, cocoa nibs, or superfood powder last. Blend briefly for even mixing or stir for texture.
6) Serve or firm: eat right away for soft-serve. For firmer texture, transfer to a container and freeze 1–2 more hours.
Chef’s notes for consistent results
Banana varieties: Cavendish bananas usually work best. Very sweet baby bananas also produce a smooth blend.
Blender tips: a high-powered blender gives the smoothest texture. If yours struggles, pulse in short bursts and scrape the sides.
Storage: keep it airtight to limit ice crystals. For texture, thaw 5–10 minutes before serving.
Make-ahead: refrigerated storage isn’t ideal for frozen texture. Freeze for best results, then scoop when ready.
Serving Ideas That Stay On-Topic (and Taste Great)
Serve healthy banana nice cream in chilled bowls. Cold ceramic helps it hold shape for longer, especially if you’re topping it. Keep toppings fresh so the flavor stays bright.
Add simple pairings: berries for tartness, toasted coconut for crunch, or a drizzle of nut butter for richness. For general guidance on berries, see berries.
Quick topping combos
Berry swirl: mix in raspberries or blueberries after blending, then top with a few whole berries.
Chocolate crunch: add cacao nibs or dark chocolate pieces for a firmer bite.
Nutty finish: top with chopped pistachios or walnuts for a higher-protein snack.
Spice-forward: sprinkle cinnamon and add a tiny pinch of salt to sharpen sweetness.
FAQ
Is healthy banana nice cream truly dairy-free?
Yes. The base uses frozen bananas plus a plant milk splash. You can keep it dairy-free by choosing a plant milk you trust.
Why does my nice cream turn icy?
Ice crystals usually come from poor airtight storage or blending bananas that were not blended to a smooth consistency. Freeze in single layers and store in sealed containers.
Can I use frozen bananas straight from the freezer?
You can, but soften them for 5 minutes first. That short thaw makes blending smoother and improves texture without turning the mixture watery.
How do I sweeten banana nice cream without added sugar?
Use very ripe bananas first. If you still want sweetness, add small amounts of maple syrup or honey and taste after blending.
How long can I keep it in the freezer?
Store it airtight for up to about a week for best texture. For the smoothest scoop, thaw 5–10 minutes before serving.
Final check: make one batch, note how your blender behaves, and then fine-tune liquid and thaw time. Once you nail the texture, healthy banana nice cream becomes a repeatable, fast dessert you’ll actually want to make.
See also: banana nice cream