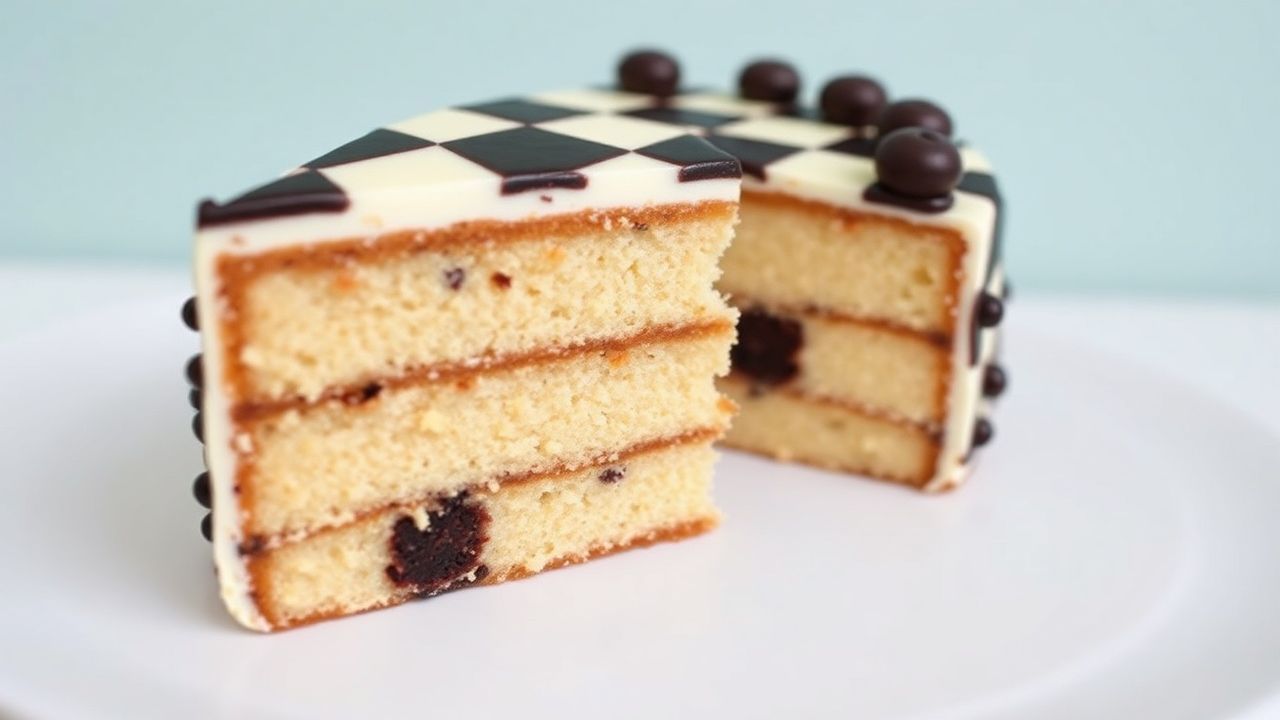
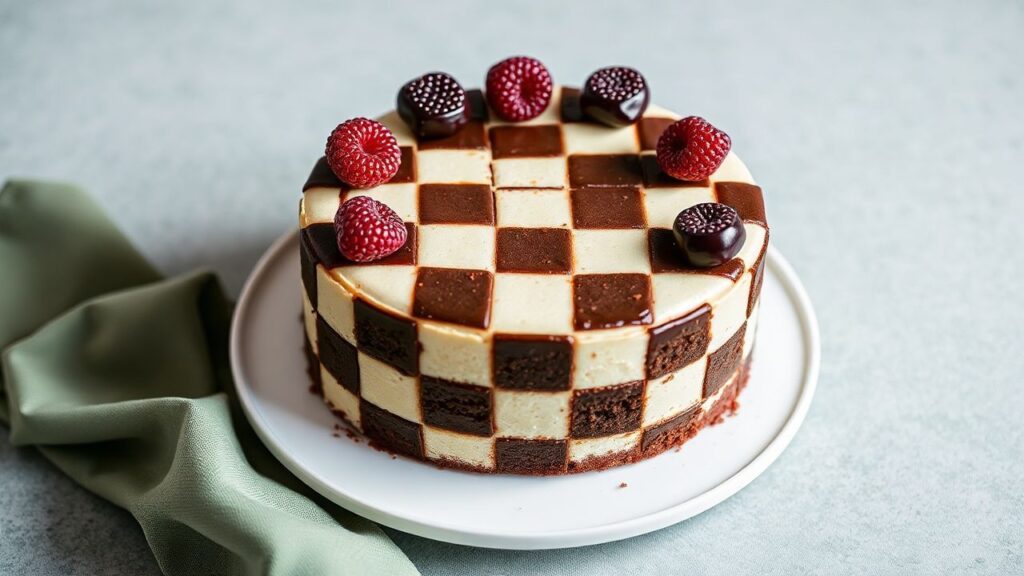
Checkerboard cake wins instant attention for one reason: the slice reveals a clear, high-contrast grid. The checkerboard cake look comes from stacking alternating vanilla and cocoa layers so each cut shows a crisp pattern.
- Origins and Evolution of Checkerboard Cake
- The Art of Crafting Perfect Checkerboard Layers
- Flavor Pairings and Frosting Choices for the Classic Pattern
- Tips and Tricks for Baking a Show-Stopping Checkerboard Cake at Home
- Prep, Cook, Yield, and Difficulty
- Ingredients for Checkerboard Cake
- Instructions (From Batter to Clean Checkerboard Edges)
- Serving Suggestions That Highlight the Pattern
- At a Glance: Key Takeaways
- FAQ: Checkerboard Cake Questions
- Pattern control: Use even batter and steady cutting so squares stay sharp.
- Texture matters: Chill layers before trimming to reduce crumbling.
- Flavor balance: Keep vanilla and chocolate bold enough to read in every bite.
- Frosting strategy: A crumb coat locks crumbs and protects clean edges.
If you want a dessert that feels both classic and “wow,” this is the one. The technique also scales well for birthdays, holidays, and bake sales because you can plan portions ahead. As you work through the steps, you’ll see how simple ingredients create a complex visual payoff.
Origins and Evolution of Checkerboard Cake
Checkerboard cake follows a long baking tradition of marbling and striped layer cakes. Home bakers and pastry cooks have used contrasting batters to create a dramatic interior, long before modern molds became common.
You’ll find similar ideas in butter cakes, jam-filled layer cakes, and patterned European-style confetti or marbled bakes. In many kitchens, the checkerboard look became popular because it makes every slice look intentional, not accidental.
To understand the “why,” it helps to know how cocoa changes batter behavior. Cocoa powder affects flavor and color, and it can also slightly change moisture and structure, which is why consistent mixing and bake time matter. For background on the science of baking, see cake.
The Art of Crafting Perfect Checkerboard Layers
Start by building two batters: one vanilla base and one cocoa base. Then, portion and shape each layer so the same geometry repeats when stacked.
Most bakers choose two routes. You can cut concentric rings from baked layers, or you can use a ring mold to bake each “disk” with clean edges. Either method works, but ring cutting demands careful trimming.
Precision improves when you keep cakes at the same thickness. Uneven thickness makes some rings compress and others expand, and that blurs square borders. For general guidance on baking mechanics, review confectionery.
Step-by-step shaping approach (rings or squares)
For rings, bake your vanilla and cocoa layers separately, cool them fully, and then trim to level tops. Cut concentric rings with a cutter set that steps down in size. Alternate ring types so the grid forms when you stack and slice.
For squares, you’d bake thicker slabs and cut them into aligned blocks. This route can produce beautiful results, but it requires more measuring and steadier knife work.
After shaping, assemble with a thin buttercream layer between pieces. Use just enough frosting to “glue” layers together without filling gaps that distort the pattern.
Expert Insight matters most during stacking: keep the seam lines aligned, then press gently for contact. For practical details about ingredients and structure, check buttercream while you plan your frosting consistency.
Flavor Pairings and Frosting Choices for the Classic Pattern
Checkerboard cake typically uses vanilla and cocoa because the contrast stays readable in low light and on dessert plates. Still, you can shape the flavor profile without losing the visual effect.
Vanilla carries sweetness and aroma, while chocolate brings depth and a darker color field. If you swap flavors, keep the two batters different enough that each slice shows clear separation.
You can add citrus notes to the vanilla batter, like lemon zest, to brighten the sweetness. You can also deepen cocoa with a touch of espresso powder for a more rounded chocolate flavor, which many bakers prefer. For cocoa background, see cocoa.
Frosting options that hold the pattern
Buttercream works because it spreads smoothly and sets firmly enough for clean finishing. It also supports decoration like piped borders and simple swirls.
Cream cheese frosting adds tang, which helps cut through chocolate richness. Whipped ganache offers a softer finish, but it needs careful chilling so it doesn’t shift the layers.
Choose one frosting style and stick with it. Mixing frosting types can change thickness and cause sliding while you decorate.
Tips and Tricks for Baking a Show-Stopping Checkerboard Cake at Home
Use a clean workflow. Bake, cool, trim, cut, assemble, chill, frost, then decorate. Each step has a timing window, and the pattern depends on that order.
Measure ingredients accurately and keep your oven consistent. If you bake in a new oven or at high altitude, small changes can affect rise and thickness.
For general baking reliability tips, you can also reference baking. It covers core principles like heat transfer and doneness cues that help you avoid overbaking.
Quick checklist before you start
- Measure carefully: use weights when possible so batter thickness stays even.
- Chill layers before trimming so cuts stay clean and crumbs stay controlled.
- Plan your tools: ring cutters or a checkerboard ring mold save time if you want symmetry.
- Chill after assembly before final frosting to lock the structure in place.
Prep, Cook, Yield, and Difficulty
This recipe keeps the process practical for home ovens. You’ll need time for baking and chilling, not just active work.
Difficulty stays medium because cutting rings with clean edges takes patience. If you follow the workflow and chill at each stage, you’ll get strong results.
Prep and Cook time
- Readiness time: 45 minutes
- Cooking time: 30 minutes
- Assembly and decorating: 1 hour
- Total time: Approximately 2 hours 15 minutes
Yield
Serves 12–14 slices, depending on how thick you cut the squares.
Difficulty Level
Medium. Great for home bakers who want a professional-looking interior pattern.
Ingredients for Checkerboard Cake
These ingredients create a stable vanilla and cocoa cake base with enough structure to stack. Use room-temperature dairy and eggs so batter mixes evenly.
If you change ingredient brands, keep the same type and texture. For example, keep butter as butter, and avoid switching from cocoa powder to chocolate bars without adjusting the recipe.
Cake layers
- 2 ½ cups all-purpose flour, sifted
- 2 ½ teaspoons baking powder
- ½ teaspoon salt
- 1 cup unsalted butter, softened
- 2 cups granulated sugar
- 4 large eggs, room temperature
- 1 tablespoon pure vanilla extract
- 1 cup whole milk, room temperature
- ⅓ cup unsweetened cocoa powder
Buttercream frosting
- 1 ½ cups unsalted butter, softened
- 5 cups powdered sugar
- 2 teaspoons vanilla extract
- 3–4 tablespoons heavy cream
Instructions (From Batter to Clean Checkerboard Edges)
Follow the sequence exactly. The pattern depends on baked cake stability and on how you handle trimming and assembly.
Use a timer and check doneness early. Overbaked cakes bake drier and crumble more when you cut rings.
- Preheat the oven to 350°F (175°C). Grease and line three 8-inch round cake pans with parchment paper.
- Whisk dry ingredients: flour, baking powder, and salt in a medium bowl. Set aside.
- Cream butter and sugar until light and fluffy, about 4 minutes. Add eggs one at a time, beating well after each.
- Stir in vanilla extract.
- Mix wet + dry: alternate dry ingredients and milk, beginning and ending with dry. Mix until just combined.
- Divide batter evenly in half. Mix cocoa powder into one half until smooth and fully incorporated.
- Pour batter into pans. Split vanilla and chocolate evenly so each pan bakes a consistent layer thickness for easier cutting.
- Bake for 25–30 minutes, or until a toothpick in the center comes out clean. Cool fully in pans, then on a rack.
- Prepare buttercream. Beat softened butter until creamy. Add powdered sugar gradually, then add vanilla and heavy cream to reach a spreadable texture.
- Trim and cut. Level tops with a serrated knife. Cut concentric rings using a checkerboard ring mold or circle cutters in descending sizes. Alternate ring types when stacking.
- Assemble layers. Spread a thin layer of buttercream between rings and layers to secure the stack without filling gaps.
- Crumb coat and chill. Apply a thin crumb coat, chill 15 minutes, then frost smoothly with the remaining buttercream.
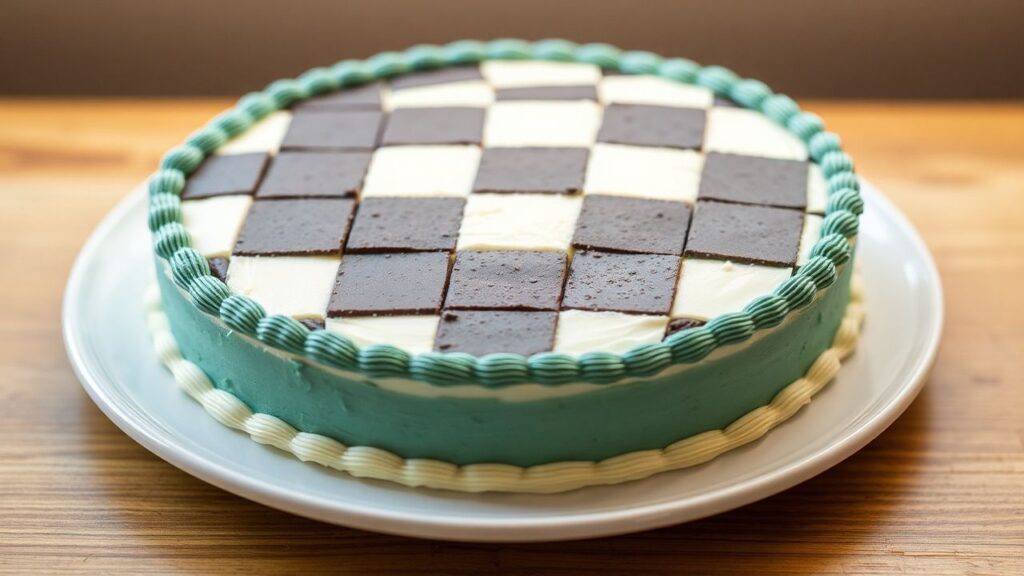
- Decorate. Finish with chocolate shavings, fresh berries, or simple piping for a clean, modern look.
Chef’s Notes: Tips for Success
These tweaks help you keep edges crisp and slices neat. Use them to troubleshoot texture and pattern issues.
- Milk swaps: You can replace whole milk with oat or almond milk for a different flavor profile.
- Make ahead: Bake layers up to 2 weeks ahead and freeze. Thaw fully before trimming.
- Color variations: Add gel food coloring to the vanilla batter for pastel or bold “rainbow board” looks.
- Preventing cracking: Avoid overbaking and handle layers gently during cutting.
For more on how ingredients change texture, consult baking powder. It explains why freshness and balance matter for lift and crumb.
Serving Suggestions That Highlight the Pattern
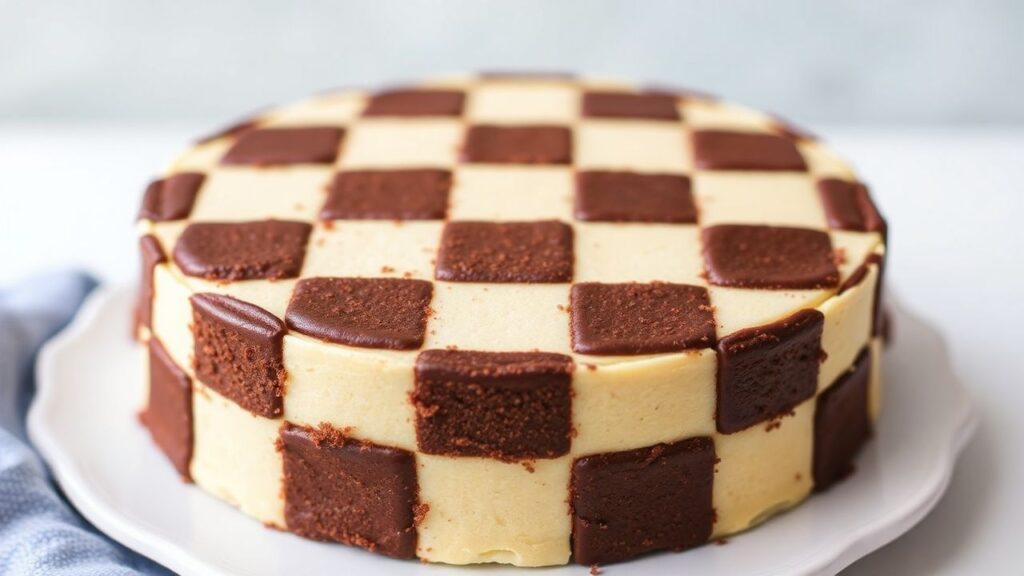
Serve the cake so guests see the checkerboard grid when the first slice lands on the plate. A cool cake also cuts better, so the squares stay sharp.
Dust with cocoa powder or powdered sugar for contrast. Add berries for color and mild acidity, which pairs well with chocolate layers.
At a Glance: Key Takeaways
Use these points to guide your process. If you follow them, your checkerboard cake should look clean on day one and slice well on day two.
- Chill before cutting to protect crisp edges.
- Cut evenly so square borders stay aligned.
- Crumb coat before final frosting for a smooth finish.
- Decorate last so the pattern stays the star.
Plan for steady pacing. When you rush trimming or assembly, the visual grid loses definition. When you work methodically, the technique rewards you with a strong, repeatable result.
For storage guidance, you can also reference cake storage concepts, since moisture control affects texture over time.
FAQ: Checkerboard Cake Questions
These answers address the most common issues home bakers face. If you’re still unsure, use the tips above and adjust gently.
How do I keep checkerboard squares sharp?
Chill layers before trimming, level each cake top, and cut with a steady hand. Also use a thin crumb coat so frosting doesn’t smear the pattern.
What’s the best way to avoid a blurry pattern?
Keep ring thickness consistent and align seams during stacking. Uneven layers compress differently and blur borders in the final slice.
Can I make checkerboard cake without a ring mold?
Yes. You can use circle cutters and trim concentric rings manually. The key is measuring sizes carefully and keeping the stack aligned.
How long should I chill the cake before frosting?
Chill at least 15 minutes after crumb coating. If your kitchen runs warm, chill longer so frosting sets quickly and edges stay crisp.
Can I freeze checkerboard cake layers?
Yes. Freeze baked layers, then thaw fully and bring to safe trimming texture. Assemble only when layers feel firm and stable.
See also: checkerboard cake