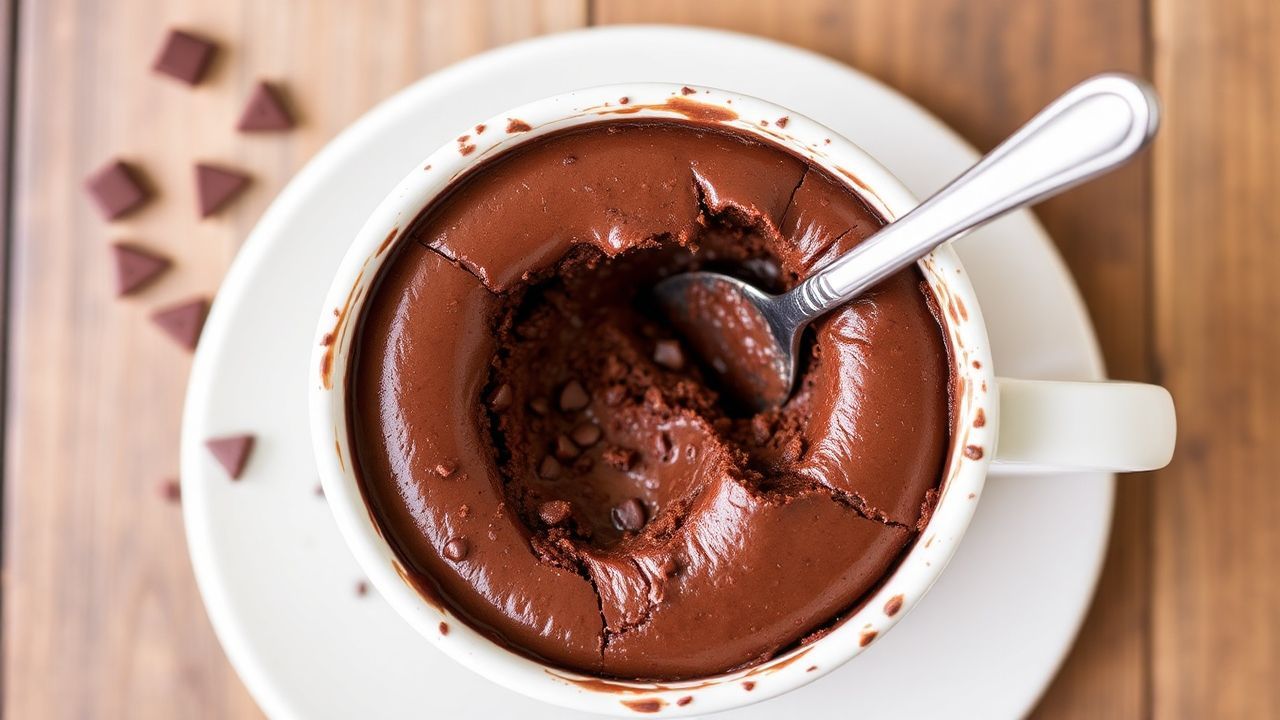
Craving something sweet but short on time? Make a chocolate mug cake in about five minutes using simple pantry items. You get a rich, fudgy center with a soft top—ideal for late-night cravings or quick dessert when guests drop by.
- Whip Up a Fudgy 5-Minute Chocolate Mug Cake: Key Structure and Secret Moisture
- Ingredients for the Best Chocolate Mug Cake
- Instructions: How to Cook a Chocolate Mug Cake Without Dryness
- Chef’s Notes: Tips for Success and Texture Control
- Creative Twists for a Higher-End Chocolate Mug Cake
- Microwave Technique: Timing, Vessel Choice, and Even Heat
- Tools and Cleanup Tips (So You Can Eat Immediately)
- Serving Suggestions for the Perfect Chocolate Mug Cake Moment
- FAQ: Chocolate Mug Cake Questions (Quick Answers)
- Cook fast: Microwave in short bursts to prevent dryness.
- Stay moist: Use a balanced mix of milk and oil.
- Boost flavor: Add chocolate chips or a pinch of espresso powder.
- Serve right away: Rest briefly, then top and enjoy.
Below, you’ll follow a clear method for a consistent chocolate mug cake, plus fixes for common problems like rubbery texture or an undercooked middle. Keep reading for timing guidance, ingredient ratios, and practical serving ideas that raise the final taste.
Whip Up a Fudgy 5-Minute Chocolate Mug Cake: Key Structure and Secret Moisture
A mug cake works because the batter sets quickly in a small vessel. With the right liquid-to-flour ratio, heat spreads fast and traps steam, which helps the cake stay tender.
For best results, focus on two things: mix evenly and cook briefly. If you overmix, you can develop a tougher crumb. If you overcook, the cake loses moisture and turns dry.
The Secret Ingredients That Improve Moistness
Oil and milk do the heavy lifting in a chocolate mug cake. Oil melts during cooking and slows starch firming, so the cake keeps a softer bite. Milk adds water for steam, which improves tenderness.
You can also use unsweetened cocoa for a deeper chocolate flavor. If you want extra richness, stir in chocolate chips or chunks; they melt and create pockets of gooey texture.
For background on how baked goods firm up as proteins and starches heat, you can review starch and denaturation on Wikipedia. This helps explain why timing matters so much for mug cakes.
Prep and Cook Time
- Planning: 2 minutes
- Cook Time: 3 minutes
- Total Time: 5 minutes
Yield
- Serves 1 mug cake (about one generous serving)
Difficulty Level
- Easy for beginners and chocolate lovers
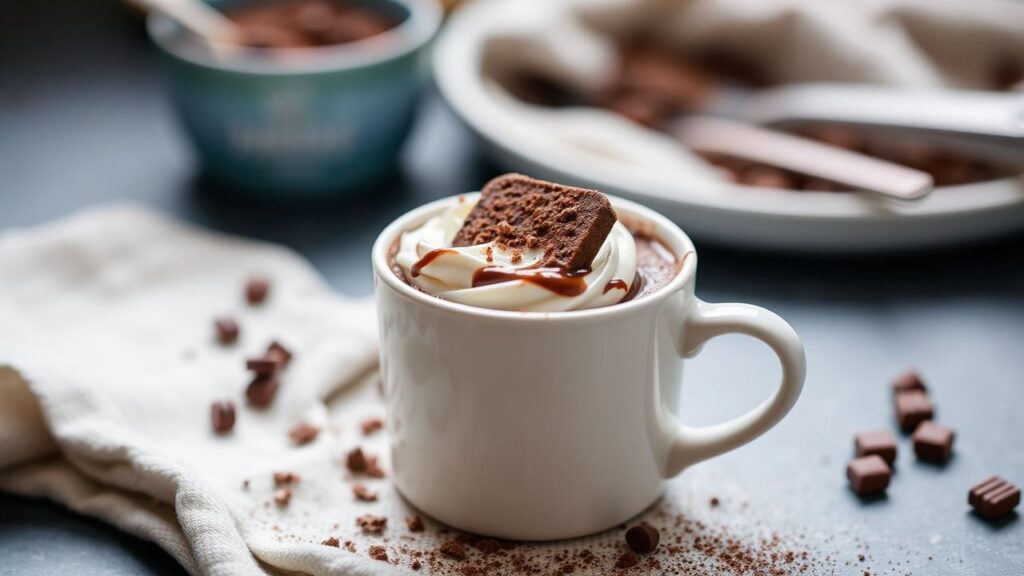
Ingredients for the Best Chocolate Mug Cake
Measure your ingredients carefully. In mug cakes, small changes in flour or liquid can shift the final texture fast.
Use the list below as your base. Then swap toppings and add-ins to match your taste.
Dry Ingredients
- 3 tbsp all-purpose flour, sifted
- 2 tbsp unsweetened cocoa powder, sifted
- 1/4 tsp baking powder
- 2 tbsp granulated sugar
- Pinch of salt
Wet Ingredients
- 3 tbsp whole milk
- 2 tbsp vegetable oil (or melted coconut oil)
- 1/4 tsp pure vanilla extract
Add-Ins (Optional but Recommended)
- 2 tbsp chocolate chips or chunks
If you want deeper chocolate flavor, cocoa type and roast can matter. You can learn more about cocoa and how chocolate products differ on Wikipedia.
Instructions: How to Cook a Chocolate Mug Cake Without Dryness
Follow these steps exactly once, then you can tweak. Start with the timing and then calibrate to your microwave.
Microwaves vary widely by wattage. Use the chart-like approach below: start lower, check, then add short bursts.
Step-by-Step Method
- Mix dry ingredients: In a microwave-safe mug (about 12 oz capacity), combine flour, cocoa, baking powder, sugar, and salt. Stir until no cocoa lumps remain.
- Add wet ingredients: Pour in milk, oil, and vanilla. Stir until the batter looks smooth and glossy. Scrape the mug sides so dry pockets don’t hide.
- Fold in chocolate: Sprinkle in chocolate chips or chunks and fold gently.
- Microwave carefully: Cook on high for 70–90 seconds. Start with 70 seconds, then check. The cake should rise and look set at the edges.
- Rest and serve: Let it rest for 1 minute. During this rest, steam finishes setting the center. Top and eat immediately.
For more on how baking chemistry works, see baking powder. It helps explain why a small amount can lift a mug cake quickly.
To manage heat evenly, use a ceramic or glass mug with straight sides. Even heat distribution reduces the risk of a rubbery outer layer with an undercooked center.
💡 Expert Insight
Expert Insight: Calibrate Your Microwave for Repeatable Results
Count your microwave’s wattage by testing once. After 70 seconds, check the surface. If it still looks wet in the middle, add 10–15 second bursts.
Write down your time for next week. When you repeat the same mug size and ingredient amounts, you’ll get consistent texture every time.
Chef’s Notes: Tips for Success and Texture Control
Small actions protect tenderness. Use these notes to avoid the two most common mug cake failures: dry crumb and rubbery bite.
Work like a baker, not a guesser. Measure, mix well, then stop cooking early.
Moisture Balance That Works
- Oil + milk: Keeps the crumb soft and supports steam during heating.
- Don’t skip the rest: Steam continues to finish the center after you remove the mug.
Mixing and Baking Powder Lift
- Stir just enough: Combine until smooth, but avoid long, aggressive mixing.
- Fresh baking powder: Helps the rise stay light and tender.
If you want to understand why some baked textures become tough, read gluten. Mug cakes still rely on basic flour structure, so overmixing can matter.
Creative Twists for a Higher-End Chocolate Mug Cake
Once your base is consistent, toppings make it feel restaurant-level. Choose one twist at a time so you can track what you like.
These add-ons don’t change your core method. They simply change flavor and texture.
Flavor Boosts
- Espresso powder pinch: Deepens chocolate flavor without tasting like coffee.
- Sea salt: Adds contrast for a more “fancy” bite.
- Peanut butter swirl: Makes a rich, slightly nutty center.
Texture Changes
- Toasted nuts: Add crunch on top.
- Raspberries or chopped strawberries: Add bright, juicy notes.
For a general reference on flavors and acids in fruit, you can check fruit on Wikipedia. It supports why berries taste “brighter” when paired with rich chocolate.
Microwave Technique: Timing, Vessel Choice, and Even Heat
Good mug cake texture depends on control. Use short cooking cycles and watch the surface, not just the clock.
Also, the mug shape matters. Wider mugs heat slightly faster because the batter spreads, while taller mugs can need a tiny time adjustment.
Vessel Choice
Use a microwave-safe ceramic or glass mug. Metal can reflect microwaves and cause uneven heating. Plastic can warp with heat, which also affects texture.
If you want more general science behind microwave heating, see microwave on Wikipedia. It explains how microwaves transfer energy, which helps you understand why wattage changes your timing.
How to Know It’s Done
- Edges set: The outer ring should look cooked.
- Center soft: It may look slightly moist, not raw.
- Rise then settle: Mug cakes often rise and then relax after standing.
Tools and Cleanup Tips (So You Can Eat Immediately)
Keep cleanup easy by using the right tools. A mug cake should feel effortless from start to finish.
With a few basics, you’ll avoid sticky drips and messy counters.
Tools to Use
- Microwave-safe ceramic mug: Helps with even heating.
- Small whisk or fork: Mixes quickly inside the mug.
- Measuring spoons: Keeps your ratio consistent.
Quick Cleanup Routine
- Wipe the mug outside: If batter splashes, wipe right away.
- Rinse immediately: Cocoa and oil loosen faster when warm.
For general guidance on kitchen hygiene and safe handling, you can review food safety on Wikipedia.
Serving Suggestions for the Perfect Chocolate Mug Cake Moment
Serve your chocolate mug cake right away. Warm cake tastes richer because aromas rise faster when the dessert is hot.
Pick one topping and keep it simple. The goal is balance: creamy, crunchy, or fruity—without overpowering the cake.
Top It Like a Pro
- Vanilla ice cream: Melts into the center for extra gooeyness.
- Whipped cream: Softens the chocolate intensity.
- Powdered sugar: Adds quick elegance.
- Ganache drizzle: Boosts richness for a dessert-shop vibe.
| Nutrient | Per Serving |
|---|---|
| Calories | 320 kcal |
| Protein | 5 g |
| Carbohydrates | 38 g |
| Fat | 15 g |
If you want more ideas for single-serve sweet treats, search for microwave dessert recipes using your favorite terms. For additional learning on cocoa processing, you can also read chocolate on Wikipedia.
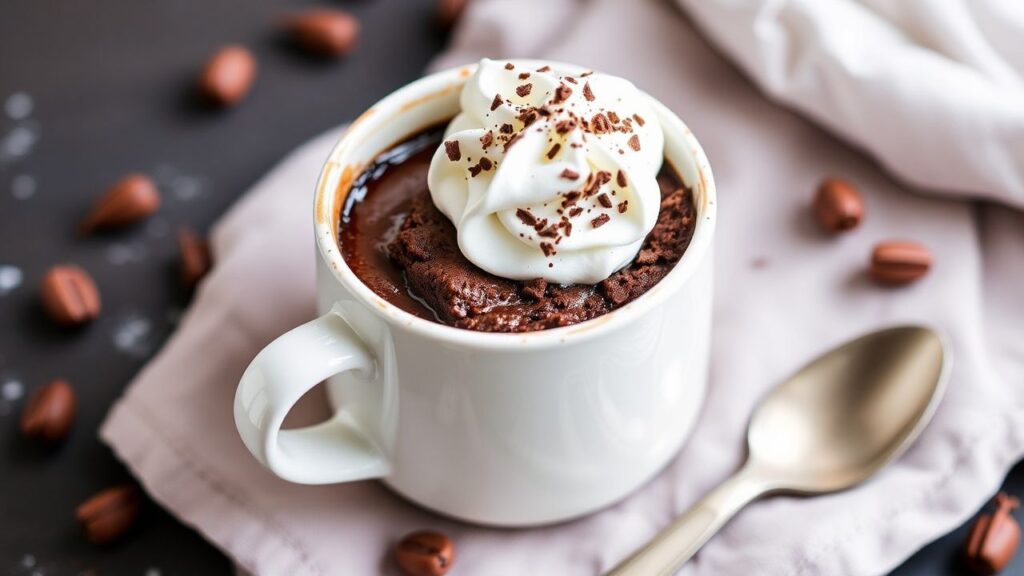
FAQ: Chocolate Mug Cake Questions (Quick Answers)
Here are common questions readers ask when making a chocolate mug cake. Use these answers to troubleshoot fast.
If you still feel unsure, start with a lower cook time and add small bursts. That approach almost always produces better texture.
1) Why is my chocolate mug cake rubbery?
Rubbery texture usually comes from overcooking or overmixing. Next time, mix until smooth, then stop. Also pull the cake when the edges look set and the center stays soft.
2) Can I make chocolate mug cake without chocolate chips?
Yes. You can still make a tasty mug cake with cocoa powder alone. Chocolate chips only add extra melty pockets and richer flavor, so the cake may feel slightly less gooey.
3) How do I fix an undercooked center?
Microwave in 10–15 second bursts until the center firms up. Let the mug cake rest for 1 minute, because it continues to set as steam redistributes.
4) What’s the best mug size for a 5-minute chocolate mug cake?
Use a mug around 12 oz (about 350 ml). This size gives batter room to rise without overflowing and helps prevent uneven heating.
5) Can I reheat a chocolate mug cake?
You can reheat briefly, but it can lose some moisture. If you must, warm for about 10–15 seconds, then check immediately. For best texture, bake and serve right away.
See also: chocolate mug cake