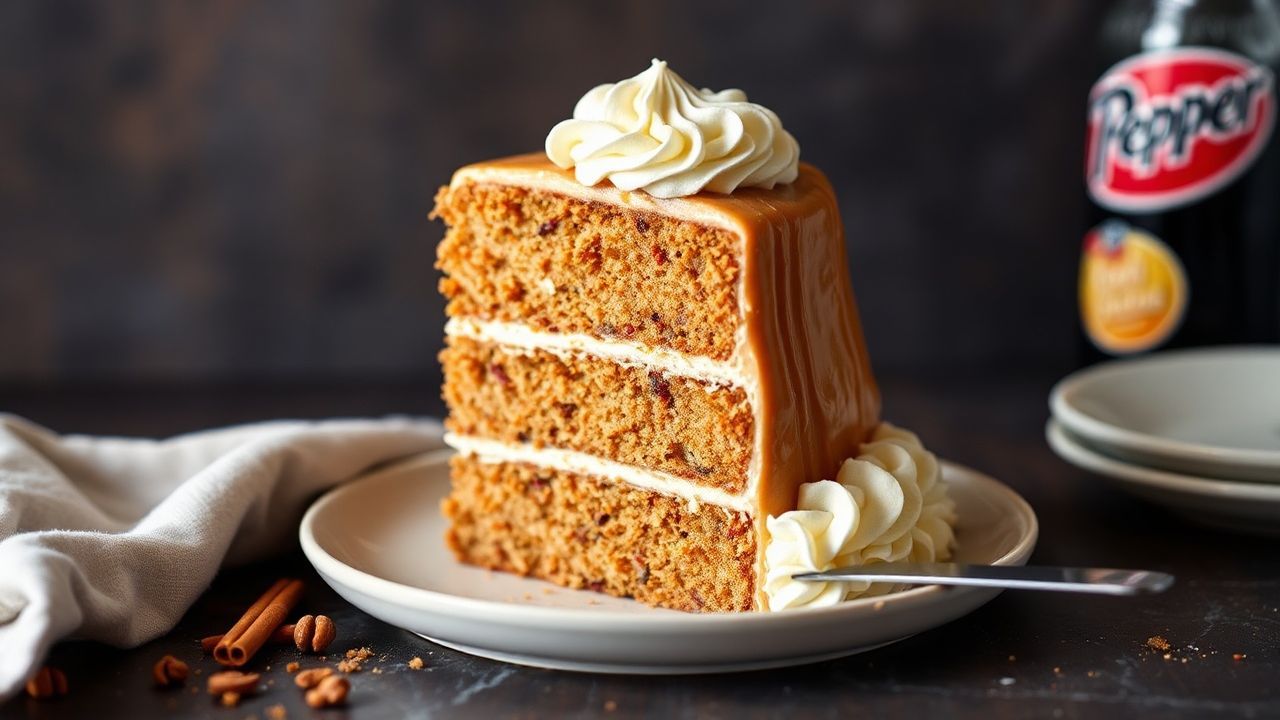
Beneath the caramel-brown crumb of a Dr. Pepper cake sits more than comfort dessert. It’s a practical mix of chemistry and classic baking technique that turns soda sweetness into a moist, tender slice with a warm spiced finish.
- Carbonation + baking soda help create lift and a soft crumb.
- Room-temperature liquids support better mixing and even texture.
- Spice + cocoa amplify the soda’s vanilla, cherry, and caramel-like notes.
- Gentle folding preserves bubbles for a lighter result.
This cake earns its “iconic” status for a simple reason: Dr. Pepper brings both sugar and a mix of mild acids plus flavor compounds. When you bake, those acids interact with baking soda, and heat helps sugars and cocoa deepen into a rich crust.
As written, the recipe uses Dr. Pepper soda (not diet) plus buttermilk and cocoa. That combination gives you a balanced profile—sweet, lightly tangy, and spiced—without tasting like “just soda in batter.”
The Sweet Science Behind Dr. Pepper Cake
The key idea is acid–base reaction during mixing and early baking. Dr. Pepper contains acids that help trigger carbon dioxide release when paired with baking soda, which supports rise and a tender interior. You can see the same general principle in acid–base chemistry, though your kitchen outcome depends on timing and mixing.
Next, carbonation affects the crumb structure. Bubbles created by the reaction spread through the batter, then set as proteins and starches coagulate and gelatinize. In baking terms, this is the same pathway discussed in bread and cake crumb formation, just scaled to a quick-cake bake.
Finally, flavors lock in as cocoa and sugar react under heat. Cocoa contributes dark chocolate notes and a deeper cocoa aroma, while sugar and soda sugars take part in browning reactions. If you want a science anchor, review Maillard reaction and related browning processes that drive the crust’s color and aroma.
Why the “fizz” helps after baking
Even though the carbonation dissipates in the oven, the effect survives as a lighter, more delicate crumb. You get a moist texture because the cake holds liquid well and sets gently—especially when you avoid over-mixing.
When you mix too hard, you develop gluten in the flour and compress air cells. That can shift your cake toward a firmer mouthfeel. For reference on why mixing affects structure, see gluten development.
Prep and Cook Time
Plan for steady steps and clean pacing. Preheat fully, measure accurately, and keep your liquids at room temperature so the batter mixes evenly.
Preparation: 15 minutes
Cooking: 35–40 minutes
Cooling: 20 minutes
Yield and Difficulty
This recipe yields a cake that serves a crowd without tasting dry. Slice it for gatherings, potlucks, or a week of dessert lunches.
Yield: Serves 10 generous slices
Difficulty: Medium—best for confident home bakers who can follow mixing cues.
Ingredients
Use fresh baking soda and unsweetened cocoa for the best flavor payoff. If your baking soda loses strength over time, the rise and crumb feel will change.
Here’s the ingredient list for a classic Dr. Pepper cake build:
- 2 cups all-purpose flour, sifted
- 1/2 cup unsweetened cocoa powder, sifted
- 1 tsp baking soda
- 1/2 tsp salt
- 1 tsp ground cinnamon
- 1/2 tsp ground nutmeg
- 1/2 cup unsalted butter, softened
- 1 1/2 cups granulated sugar
- 2 large eggs, room temperature
- 1 tsp pure vanilla extract
- 1 cup buttermilk, room temperature
- 1 cup Dr Pepper soda (not diet), room temperature
- Optional: 1/2 cup chopped pecans or walnuts
If you want a quick science reference for leavening, check leavening agents to see how chemical leaveners differ from yeast.
Instructions
Follow the steps in order. The batter needs gentle timing so the soda reaction supports lift without becoming flat.
Step-by-step Dr. Pepper cake instructions:
- Preheat oven to 350°F (175°C). Grease and flour a 9×13 inch baking pan, or line it with parchment.
- Combine dry ingredients: Sift flour and cocoa, then whisk in baking soda, salt, cinnamon, and nutmeg. Mix until the spices look evenly distributed.
- Cream butter and sugar: Beat butter and sugar until light and fluffy, about 3–4 minutes. This step helps trap air for a softer crumb.
- Add eggs and vanilla: Beat in eggs one at a time. Stir in vanilla for a round, bakery-style aroma.
- Alternate dry and liquids: Add one-third dry, then half buttermilk. Repeat once more, then finish with the last dry. Mix just until smooth.
- Fold in Dr Pepper: Pour in Dr Pepper and fold gently with soft strokes. Stir in nuts now if using them. Stop as soon as no dark streaks remain.
- Pour batter evenly: Scrape bowl, then smooth the top with a spatula for even baking.
- Bake for 35–40 minutes: A toothpick should come out with a few moist crumbs, not wet batter. Avoid opening the oven in the first 25 minutes.
- Cool correctly: Cool in the pan about 20 minutes, then move to a wire rack. Cool wholly before frosting or cutting for clean slices.
Protein setting matters for texture. Eggs and flour form the cake’s internal structure as they heat, which aligns with the general role described in eggs in baking.
For best results, measure with weight if you can. Consistency helps the cake bake evenly, especially with cocoa, which can vary in density.
Tips for Success: Mastering the Sweet Science Behind Dr. Pepper Cake
- Temperature matters: Keep Dr Pepper and buttermilk at room temperature. It improves batter flow and supports consistent rise.
- Don’t skip sifting: Sift cocoa and flour for fewer lumps. You’ll get a smoother batter and a more even crumb.
- Embrace gentle mixing: Fold the soda in briefly. Over-mixing can reduce lift and make the cake feel denser.
- Buttermilk substitute: Mix 1 cup milk with 1 tbsp lemon juice or white vinegar. Let it rest 5 minutes before adding.
- Make ahead: Wrap and chill overnight if you want richer flavor. Bring to room temperature before serving.
If you’re curious about why acidic dairy thickens and softens batter, look up buttermilk for background on acidity and texture.
Serving Suggestions
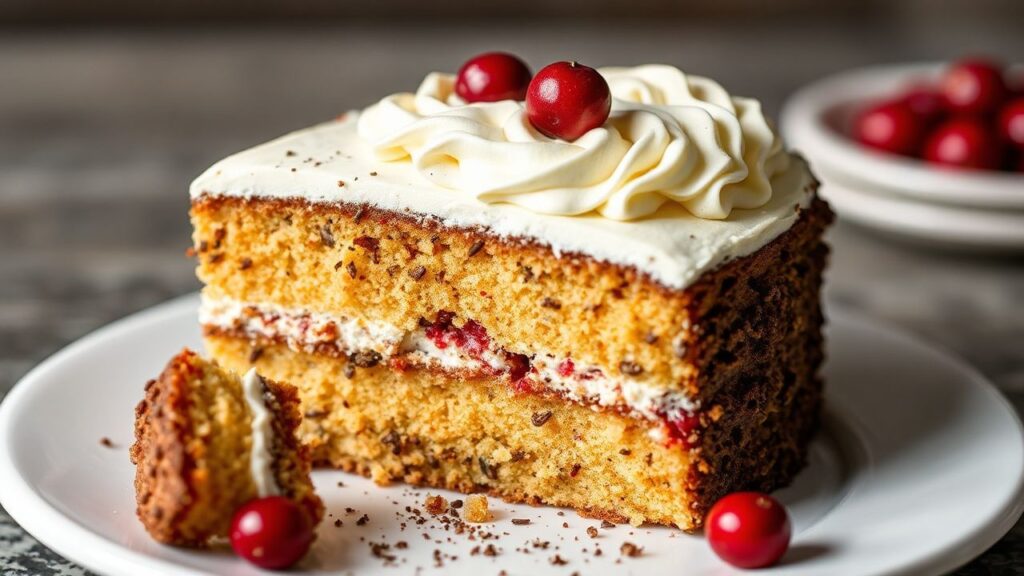
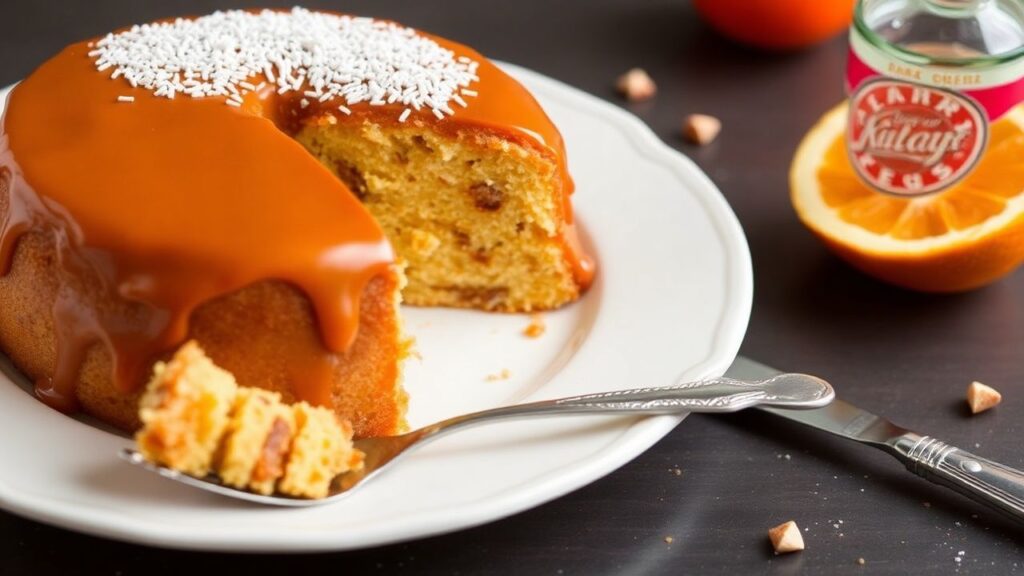
Dr. Pepper cake tastes best with frosting that balances sweet and spice. Cream cheese frosting adds tang and smooth richness, so the soda’s flavor feels more layered.
You can also use a simple powdered sugar glaze with vanilla. For extra aroma, toast nuts lightly or add a small sprinkle of cinnamon on top right after frosting.
Pairing matters too. Serve with whipped cream or a scoop of vanilla ice cream for contrast, and consider coffee or black tea to cut through the cocoa sweetness.
Nutrition Snapshot (Per Slice)
Nutrition varies by brand of soda, sugar level, and any frosting you add. Use this table as a rough planning guide for portioning.
| Nutrient | Amount per Slice |
|---|---|
| Calories | 320 kcal |
| Protein | 4 g |
| Carbohydrates | 48 g |
| Fat | 11 g |
If you track macros, remember that frosting can add a big share of calories and sugar. Keep a spreadsheet for your favorite toppings so you can adjust portions confidently.
FAQ
These answers focus on baking science you can use immediately. If you follow the same logic, you’ll get a consistent Dr. Pepper cake every time.
Can I use diet Dr Pepper?
For the closest result, use regular Dr Pepper. Diet versions often have different sweeteners and can change browning and texture, which may affect crumb tenderness.
Why did my cake turn out dense?
Density often comes from over-mixing after adding flour or soda. Make sure you fold the Dr Pepper in gently and stop mixing once the batter looks uniform.
How do I store Dr. Pepper cake?
Wrap the cake tightly and store in the refrigerator up to 3–4 days. For best flavor and texture, bring slices to room temperature before serving.
Can I freeze this cake?
Yes. Freeze unfrosted slices in airtight wrap for up to 2–3 months. Thaw in the fridge overnight, then warm slightly before eating.
What frosting pairs best with Dr. Pepper cake?
Cream cheese frosting and spiced vanilla glaze both work well. Choose frosting with a hint of tang or warmth so it complements cocoa and soda spices.
See also: Dr. Pepper cake